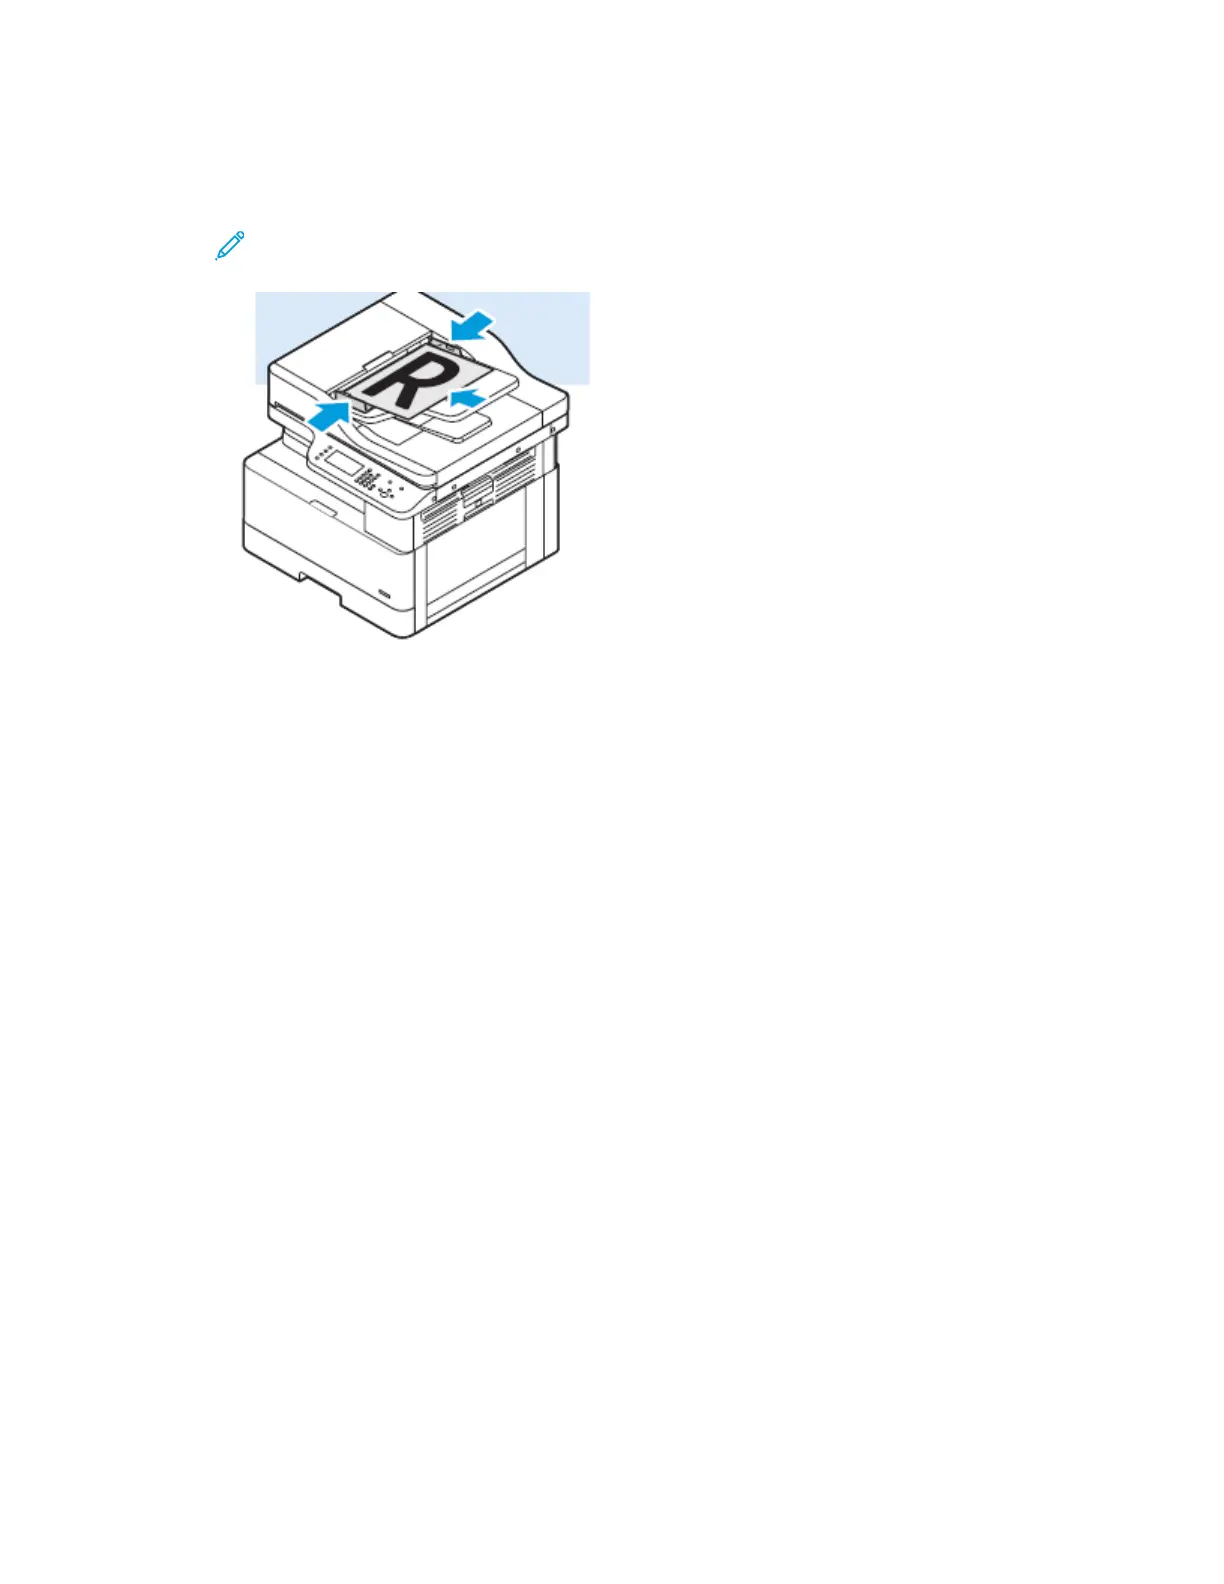
• For multiple or single pages, you can use the optional document feeder. Remove any staples
and paper clips from the pages, then place the pages face up in the optional document
feeder.
Note: For details, refer to Using the Optional Document Feeder and Document Feeder
Guidelines.
2. At the printer control panel, press the Clear All button.
3. Press the Scan To button.
If the Scanning to a Folder on a Network Computer feature is grayed-out, contact your system
administrator to enable the feature. For details, refer to the System Administrator Guide at www.
xerox.com/office/B1022_B1025docs.
4. To select Network, press the Down Arrow button, then press the OK button.
The Address Book screen appears.
5. To find the name of the recipient of the scanned document, press the Down Arrow button as
many times as necessary.
6. Press the OK button.
The Network screen appears.
7. Select one of the following options.
• Change File Destination: This option accesses the Address Book so that you can change the
recipient of the scanned document.
• Name of Contact: This option keeps the contact name the same.
• Network Features: To access network features, select this option, then click the OK button. To
select a setting, use the arrow buttons, then make your changes. For details, refer to Adjusting
Scanning Settings.
8. To begin the scan, press the green Start button.
Xerox
®
B1022 Multifunction Printer
User Guide
61
Using the Services

 Loading...


