Using Your Printer in Linux
33
•
Text
- allows you to specify the page margins and set the text
options, such as spacing or columns.
•
Graphics
- allows you to set image options that are used when
printing images/files, such as color options, image size, or image
position.
•
Device
: allows you to set the print resolution, paper source, and
destination.
5
Click
Apply
to apply the changes and close the Properties window.
6
Click
OK
in the LPR GUI window to start printing.
7
The Printing window appears, allowing you to monitor the status of
your print job.
To abort the current job, click
Cancel
.
Printing Files
You can print many different types of files on the Xerox machine device
using the standard CUPS way - directly from the command line interface.
The CUPS lpr utility allows you do that. But the drivers package replaces
the standard lpr tool by a much more user-friendly LPR GUI program.
To print any document file:
1
Type
lpr <file_name>
from the Linux shell command line and
press
Enter
. The LPR GUI window appears.
When you type only
lpr
and press
Enter
, the Select file(s) to print
window appears first. Just select any files you want to print and
click
Open
.
2
In the LPR GUI window, select your printer from the list, and
change the printer and print job properties.
For details about the properties window, see page 32.
3
Click
OK
to start printing.
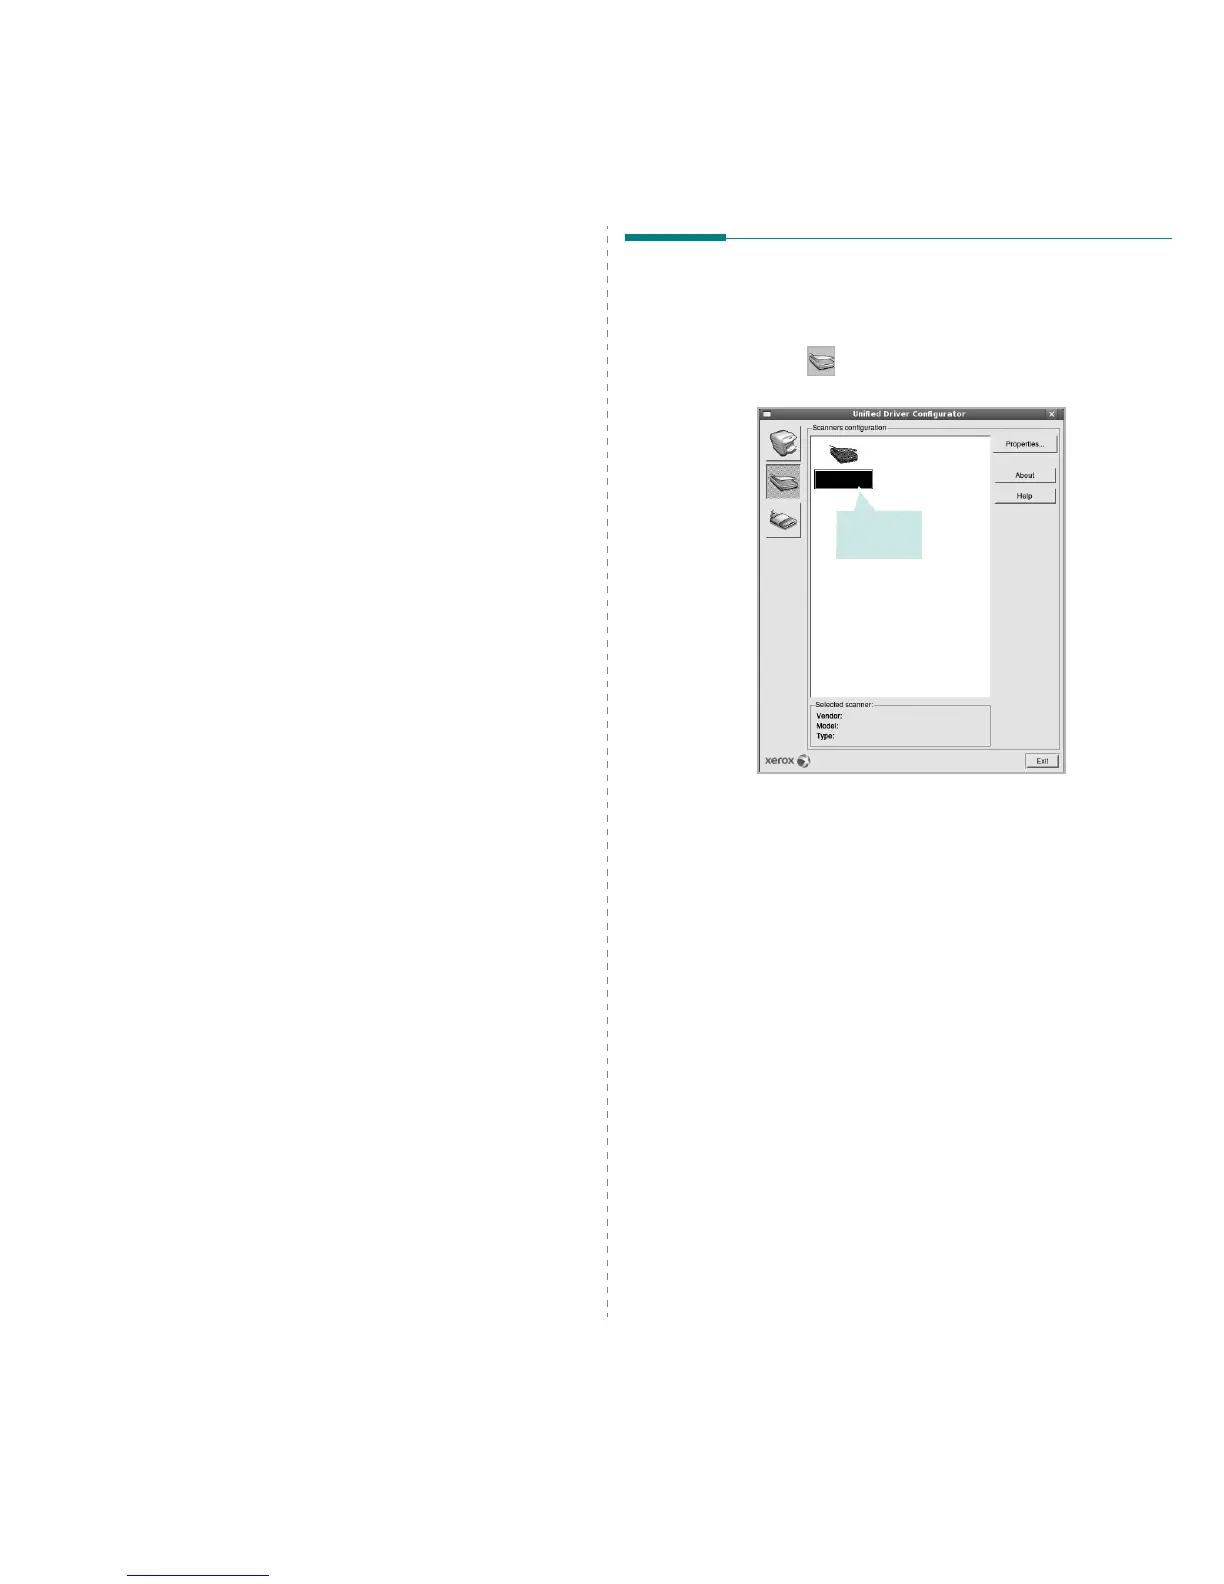
Scanning a Document
You can scan a document using the Unified Driver Configurator window.
1
Double-click the Unified Driver Configurator on your desktop.
2
Click the button to switch to Scanners Configuration.
3
Select the scanner on the list.
When you have only one MFP device and it is connected to the
computer and turned on, your scanner appears on the list and is
automatically selected.
If you have two or more scanners attached to your computer, you
can select any scanner to work at any time. For example, while
acquisition is in progress on the first scanner, you may select the
second scanner, set the device options and start the image
acquisition simultaneously.
4
Click
Properties
.
5
Load the document to be scanned
face up into the ADF (Automatic
Document Feeder) or face down on the document glass.
6
Click
Preview
in the Scanner Properties window.
Click your
scanner.