Scanning
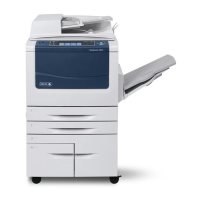
WorkCentre 5300 Series Multifunction Printer
User Guide
122
Scanning to an Email Address
Scanning to an email address sends scanned documents as attachments to email.
Note: This feature must be enabled by your system administrator.
To send a scanned image to an email address:
1. Load the original on the document glass or in the document feeder.
2. On the control panel, press the Services Home button.
3. Touch E-Mail.
4. Specify the recipient using one of these methods:
•Touch New Recipient: using the touch screen keyboard, enter the complete email address,
touch Add, then touch Close.
•Touch Address Book. Then select the tye of adress book. Search Network to search the
Network Address Book. Search Public to search the Public Address Book. List all Public
Entries to select a recipient from all Public Address Book entries.
5. Repeat Step 4 to add additional recipients to the list. When all recipients have been added to the
list, touch Close.
6. A default subject is provided for the email. To change the subject, touch Subject. Using the touch
screen keyboard, enter the new subject, then touch Save.
7. To change any of the scan settings, touch the four menus at the bottom of the control panel:
Color Scanning, 2-Sided Scanning, Original Type and Scan Presets. For details, see Setting Scan
Options on page 127.
8. Press the green Start button.
Setting Email Options
You can override the template settings created by your system administrator, and change the following
email settings:
•File Name
•File Format
• Reply To
•Read Receipts
To change the File Name, Message or Reply to email options:
1. On the printer control panel, press the Services Home button.
2. Touch E-Mail, then touch the E-mail Options tab.
3. Touch File Name, Message, or Reply to. Using the touch screen keyboard, delete or modify
the text.
4. Touch Save.
To change the file format:
1. On the printer control panel, press the Services Home button.
2. Touch E-Mail, then touch the E-mail Options tab.

 Loading...


