VESDA-EVEP-A10-P Product Guide
6 www.xtralis.com
2.3 Front Panel
The VEP-A10-P detector provides the following information and control capability:
l Status LEDs: Alert, Action, Fire 1, Fire 2, Disabled, Fault and Power.
l Controls: Reset and Disable button. Touch-screen featuring a limited set of additional controls and
lookup tools.
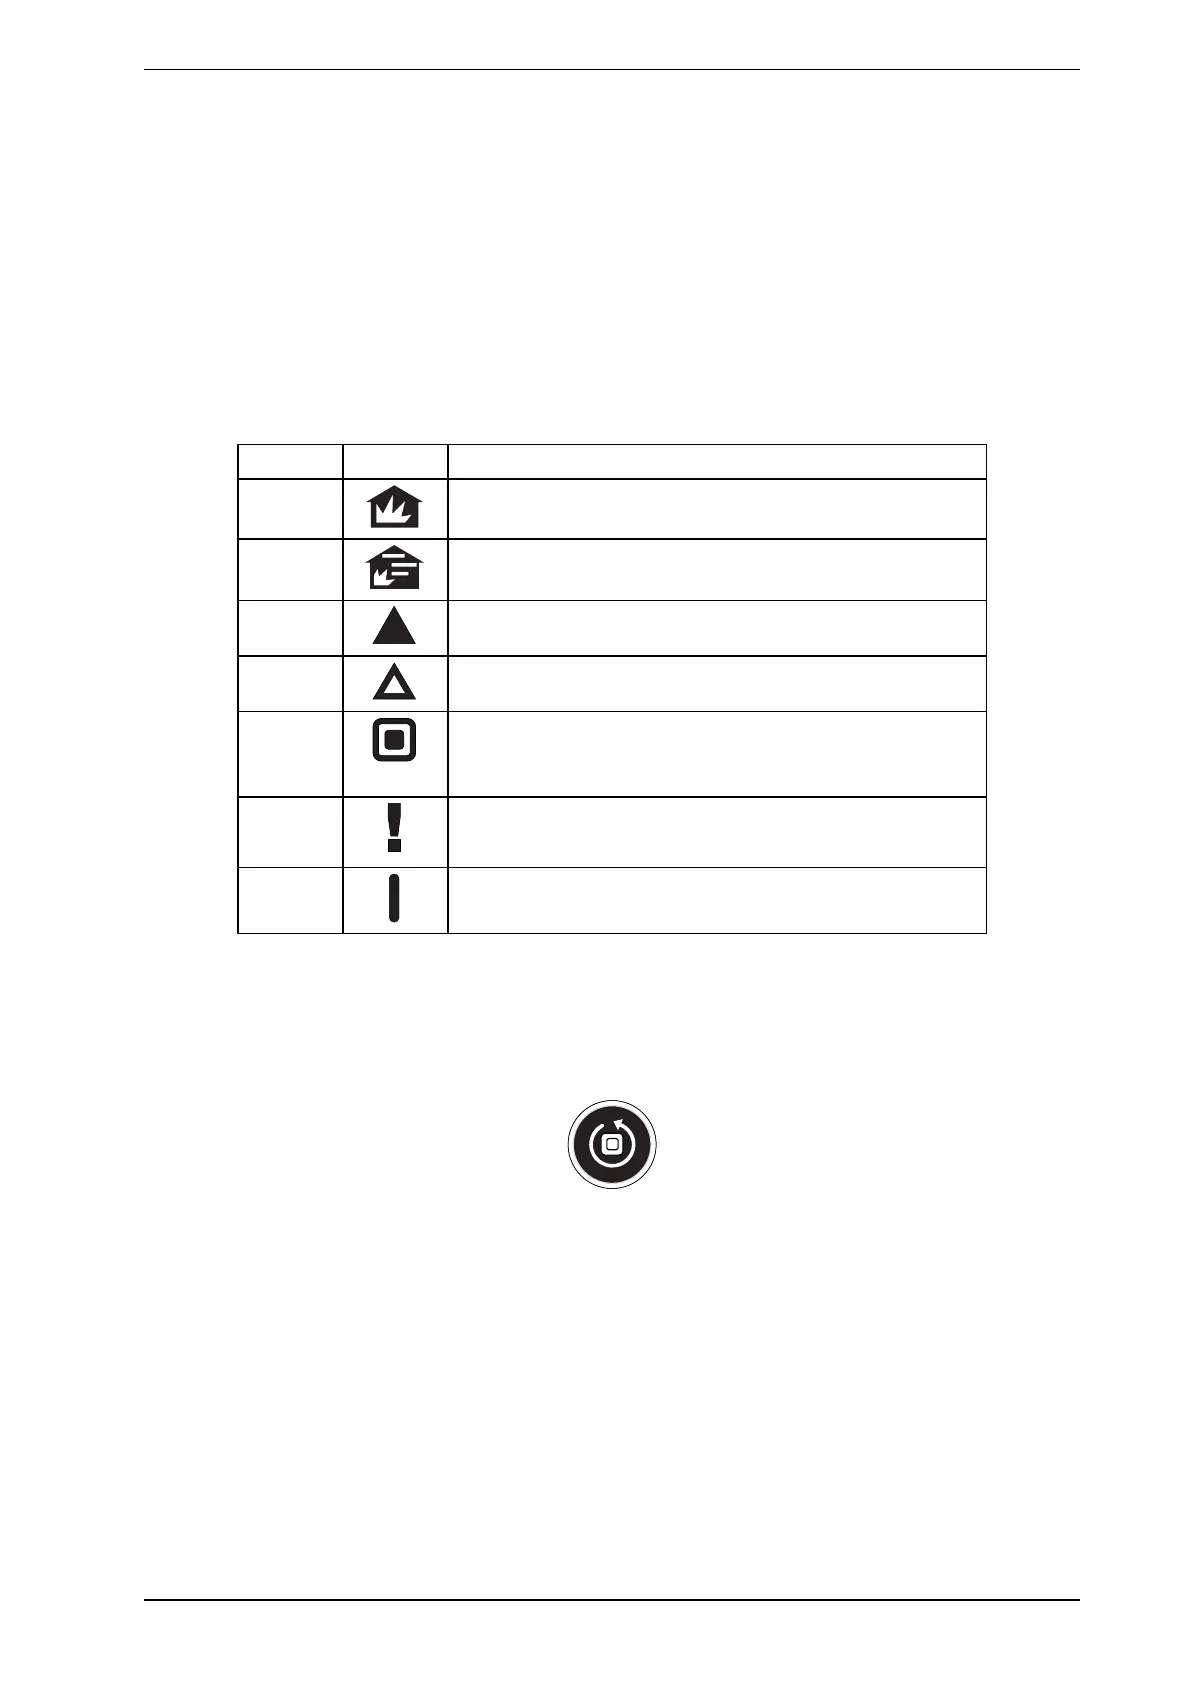
2.3.1 Status LEDS
The VESDA-E VEP-A10-P detector features a range of LED Indicators which illuminate when their respective
activation conditions are met.
LED Symbol Description
Fire 2 The Fire 2 LED is lit when the Fire 2 Alarm threshold is
reached.
Fire 1 The Fire 1 LED is lit when the Fire 1 Alarm threshold is
reached.
Action The Action LED is lit when the Action threshold is reached.
Alert The Alert LED is lit when the Alert threshold is reached.
Disabled The DISABLED LED is lit continuously when the detector is
disabled and flashes once every two seconds when the
detector is in Standby mode.
Fault The FAULT LED is lit when a fault condition is detected.
Refer to Chapter 8 for information on troubleshooting.
Power The POWERLED illuminates when the detector is powered
up.
Table2-1: LED Indicators
Notes:
l The LEDs are tested during the power up cycle. To manually test the LEDs, run the Lamp Test using
Xtralis VSC.
2.3.2 RESET / DISABLE Button
Figure2-2: Reset / Disable Button
Resetting the detector unlatches all latched alarms and faults, returns relays to their normal state and clears
the active event list in Xtralis VSC.
l To reset the detector, press this button once.
Disabling the detector disables signaling of alarms and faults via the relays. The aspirator remains active.
Disabled mode is signaled on relay #1 by default. Other relays may also be configured to signal disabled
mode. Refer to sections 4.3.6 and 5.5.10 for further information. For example, disabled mode may be also
signaled as an additional condition on the Fault Relay (Relay #3).
l To disable the detector, press and hold the button for approximately 4 seconds, until the DISABLED
LEDilluminates continuously.
l To re-enable the unit, press and hold the button for approximately 4 seconds, until the DISABLED