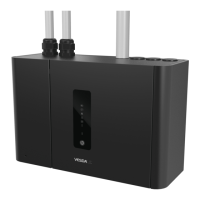
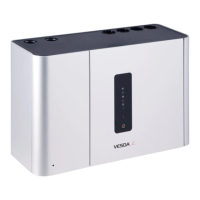
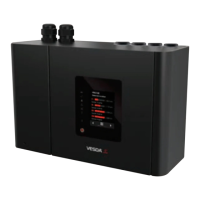
VESDA-EVEP-A10-P Product Guide
www.xtralis.com 1
Table of Contents
1 Introduction 3
1.1 Features 3
2 Product Information 5
2.1 Detector Components 5
2.2 How the VEP-A10-P works 5
2.3 Front Panel 6
2.4 Internal Buttons 8
2.5 Communication Ports 9
2.6 VESDAnet 9
2.7 Specifications 11
2.8 Dimensions 13
3 Pipe Network Design and Installation 17
3.1 Design Considerations 17
3.2 Installation Considerations 17
3.3 Pipe Inlets 17
3.4 Managing the Exhaust Air 18
4 Installation 19
4.1 Prepare the Detector 19
4.2 Mounting 20
4.3 Wiring 35
4.4 Powering Up 45
4.5 Installation Checklist 46
4.6 Preliminary System Check 47
5 Configuration 49
5.1 Communication between Xtralis VSC and the detector 49
5.2 Connecting to the Detector 53
5.3 Security 56
5.4 Commands 57
5.5 Configuration Options 60
5.6 Factory Default Settings 73
6 Commissioning 77
6.1 AutoLearn Smoke 77
6.2 AutoLearn Flow 78
6.3 Commissioning Smoke Test 78
7 Maintenance 79
7.1 Standby 79
7.2 Open the Door 80
7.3 Replacing the Filter 81
7.4 Remove the Fascia 84
7.5 Replacing the Aspirator 86
7.6 Replacing the Smoke Detection Chamber 88
7.7 Replacing the Sampling Module 92
7.8 Spare Parts 96
8 Troubleshooting 97
8.1 Fault Reporting through Relays 97
8.2 Troubleshooting with the Front Panel Display 97
8.3 Troubleshooting with Xtralis VSC 98
A Commissioning Forms 99
A.1 VEP-A10-P Detector Commissioning Configuration 101
A.2 ASPIRE Data 101
 Loading...
