5-13
POWR
E
STATOR AND TIMING BELT
SERVICE POINTS
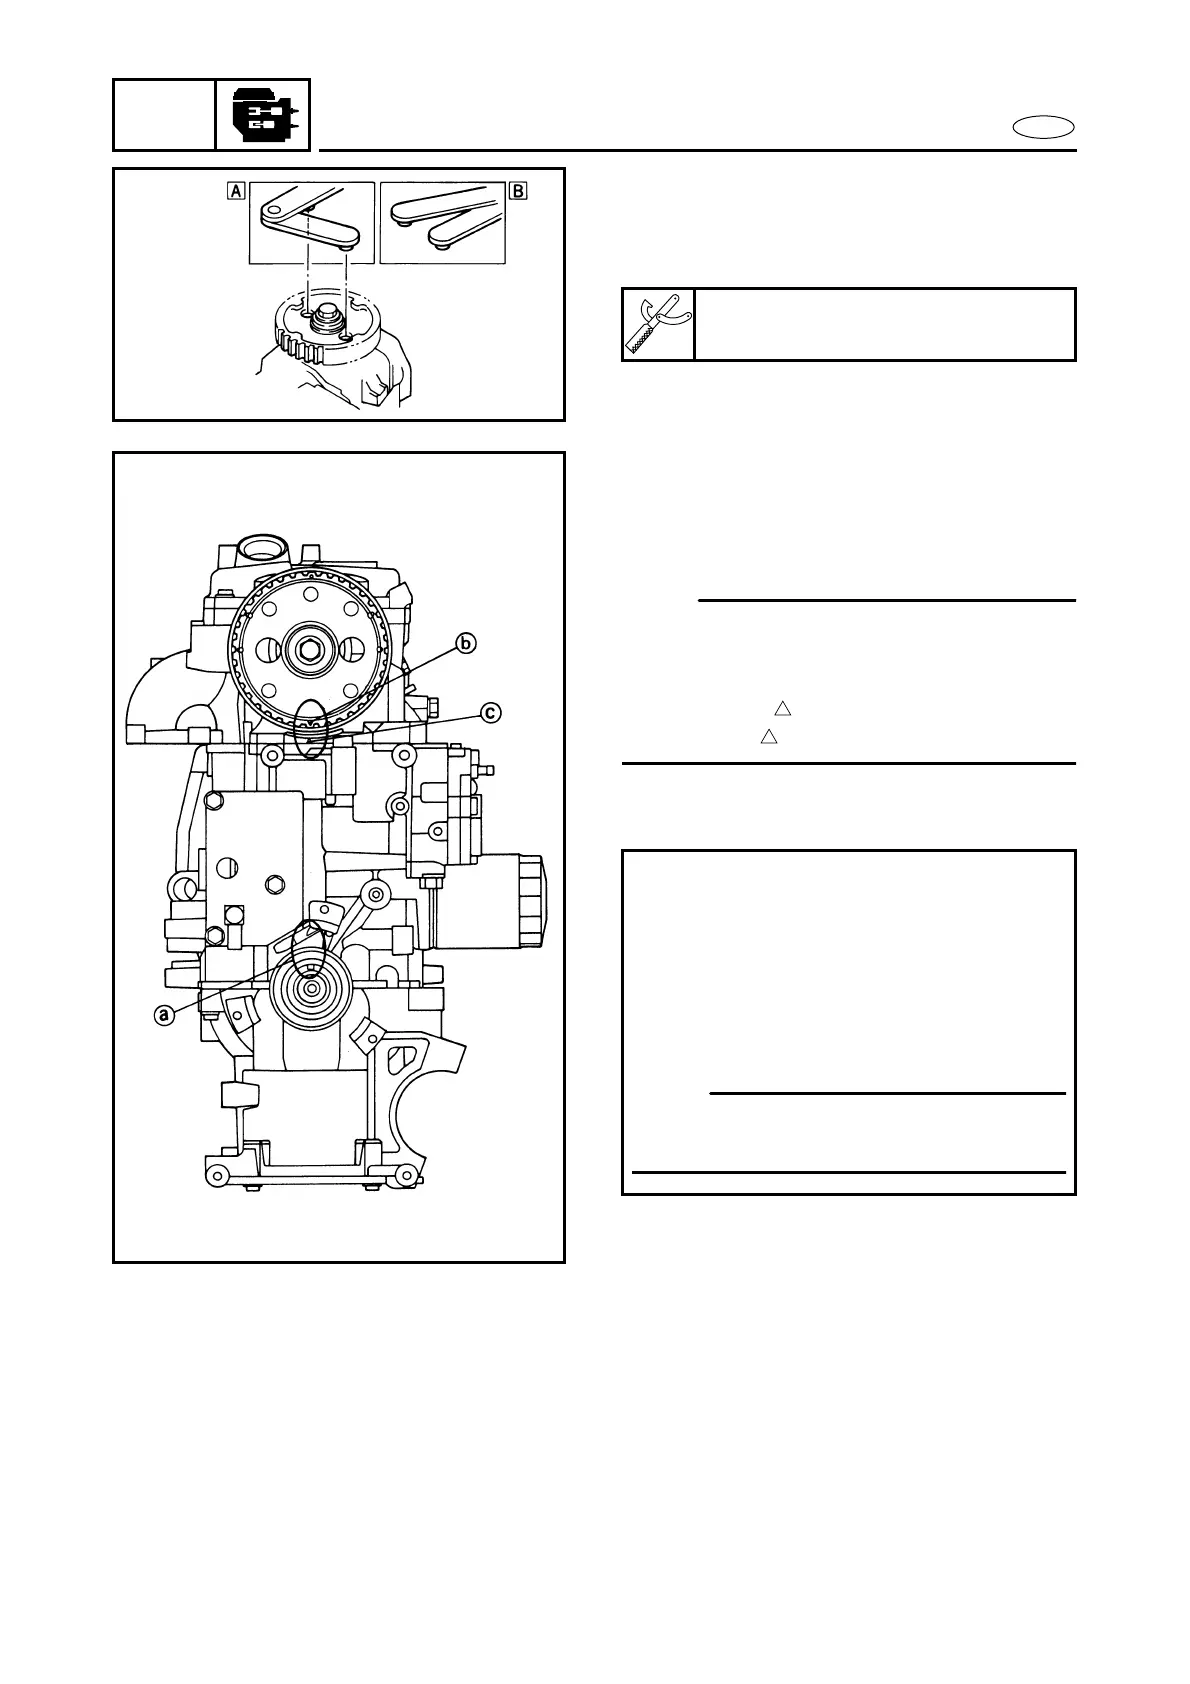
Driven sprocket removal and installation
1. Remove and install:
● Bolt
Å For USA and CANADA
ı Except for USA and CANADA
Flywheel holder:
YB-06139/90890-06522
Timing belt installation
1. Position:
● Drive sprocket
● Driven sprocket
NOTE:
● Align the woodruff key hole a on the
crankshaft with the edge of the cylinder
block.
● Align mark “” b on the driven sprocket
with mark “” c on the cylinder head.
2. Install:
● Timing belt
Installation steps:
● Attach the timing belt to the drive
sprocket.
● Then, install the timing belt onto the
driven sprocket. Alternately push
down on the drive and then the driven
sprocket until the belt is properly
seated.
NOTE:
Be sure that the printed mark is not
inverted.