CHASSIS
3-22
EAS1SM1091
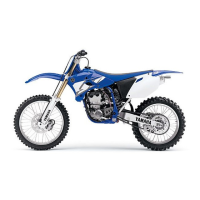
CHECKING THE BRAKE HOSE
1. Check:
• Brake hose “1”
Cracks/damage/wear Replace.
2. Check:
• Brake hose clamp
Loose Connection Tighten the clamp bolt.
3. Stand the vehicle upright and apply the front
brake and the rear brake several times.
4. Check:
• Brake hoses
Brake fluid leaks Replace the damaged
brake hose.
Refer to “FRONT BRAKE” on page 4-11.
Refer to “REAR BRAKE” on page 4-21.
EAS1SM1092
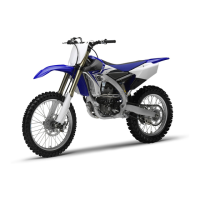
ADJUSTING THE FRONT BRAKE
1. Check:
• Brake lever position “a”
2. Remove:
• Brake lever cover
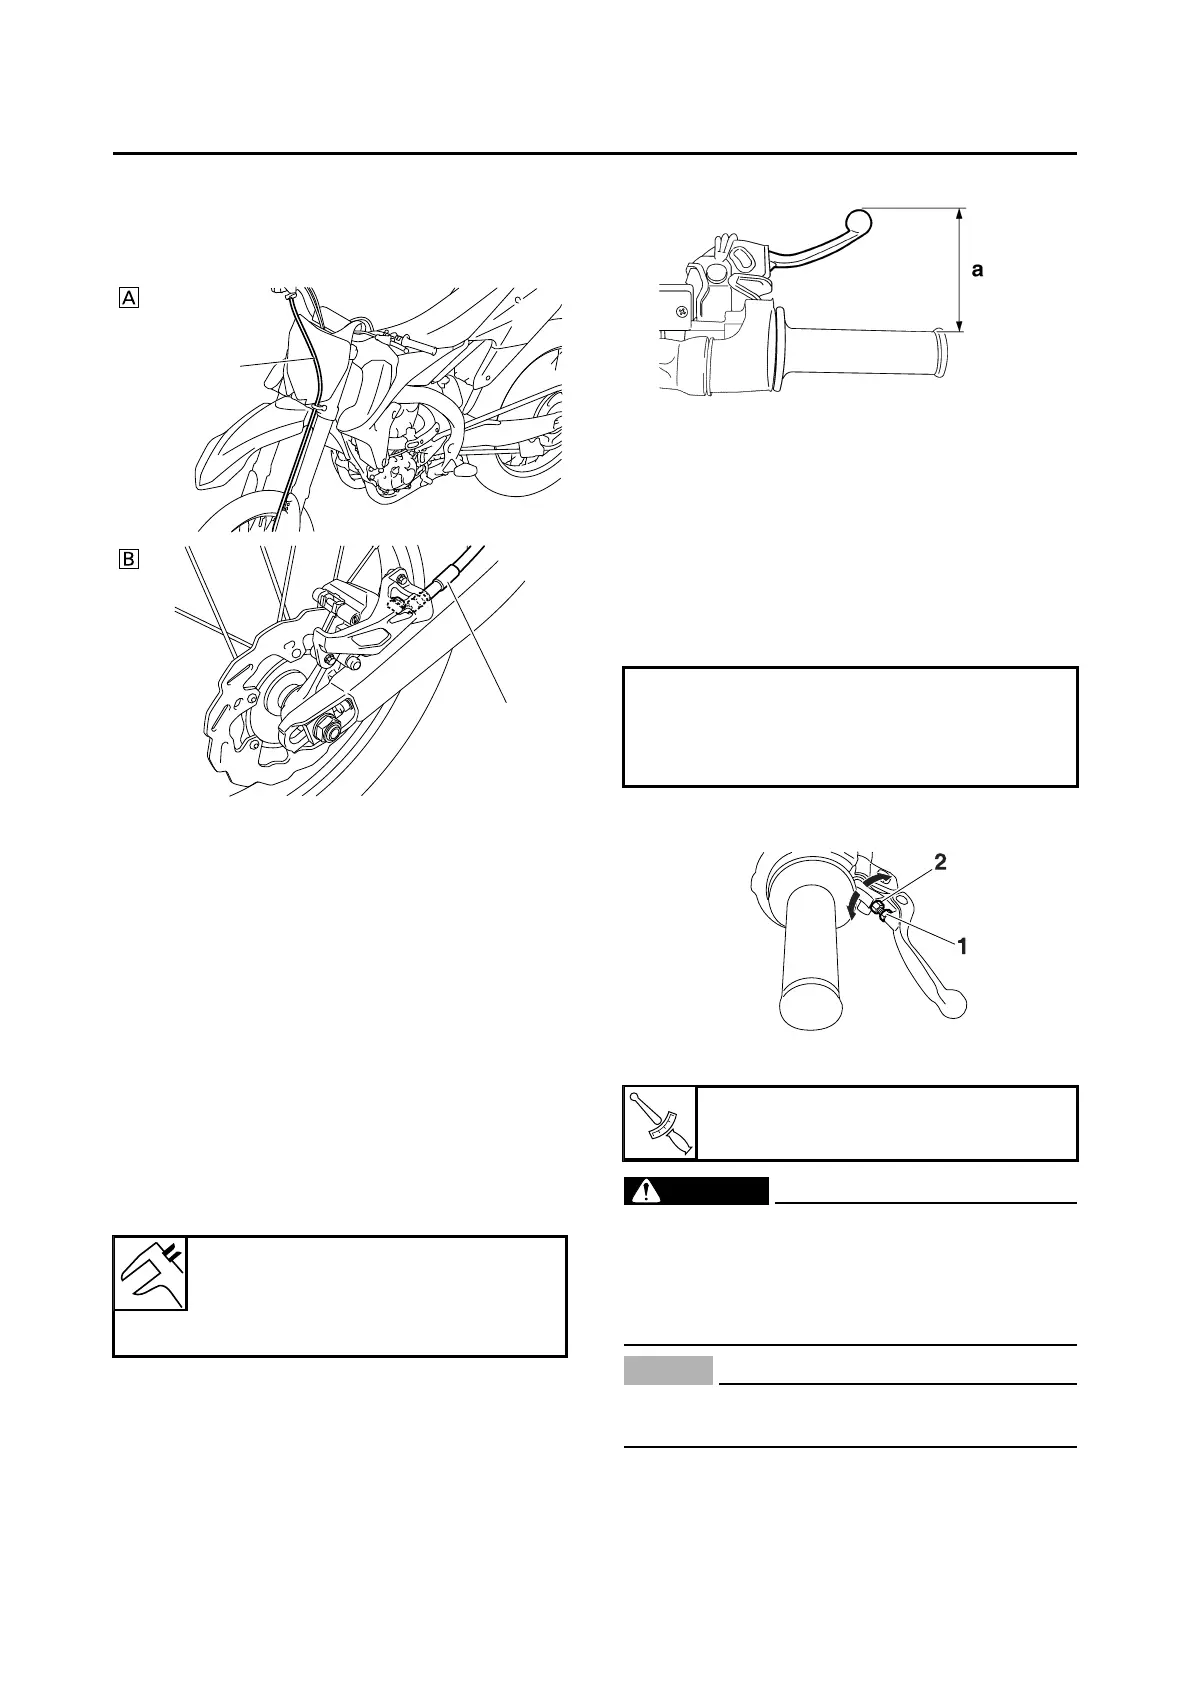
3. Adjust:
• Brake lever position
▼▼▼▼▼▼▼▼▼▼▼▼▼▼▼▼▼▼▼▼▼▼▼▼▼▼▼▼▼▼▼▼
a. Loosen the locknut “1”.
b. Turn the adjusting bolt “2” in direction “a” or
“b” until the specified brake lever position is
obtained.
c. Tighten the locknut.
EWA13050
A soft or spongy feeling in the brake lever
can indicate the presence of air in the brake
system. Before running, bleed the brake
system. Air in the brake system will cause
braking performance to be reduced.
ECA13490
After adjusting the brake lever position,
make sure that there is no brake drag.
▲▲▲▲▲▲▲▲▲▲▲▲▲▲▲▲▲▲▲▲▲▲▲▲▲▲▲▲▲▲▲▲
4. Install:
• Brake lever cover
A. Front
B. Rear
Brake lever position
95 mm (3.74 in)
Extent of adjustment
86–105 mm (3.39–4.13 in)
Direction “a”
Brake lever position is increased.
Direction “b”
Brake lever position is decreased.
Locknut
5 Nm (0.5 m·kgf, 3.6 ft·lbf)