TRANSMISSION
5-70
EAS1SM1290
REMOVING THE TRANSMISSION
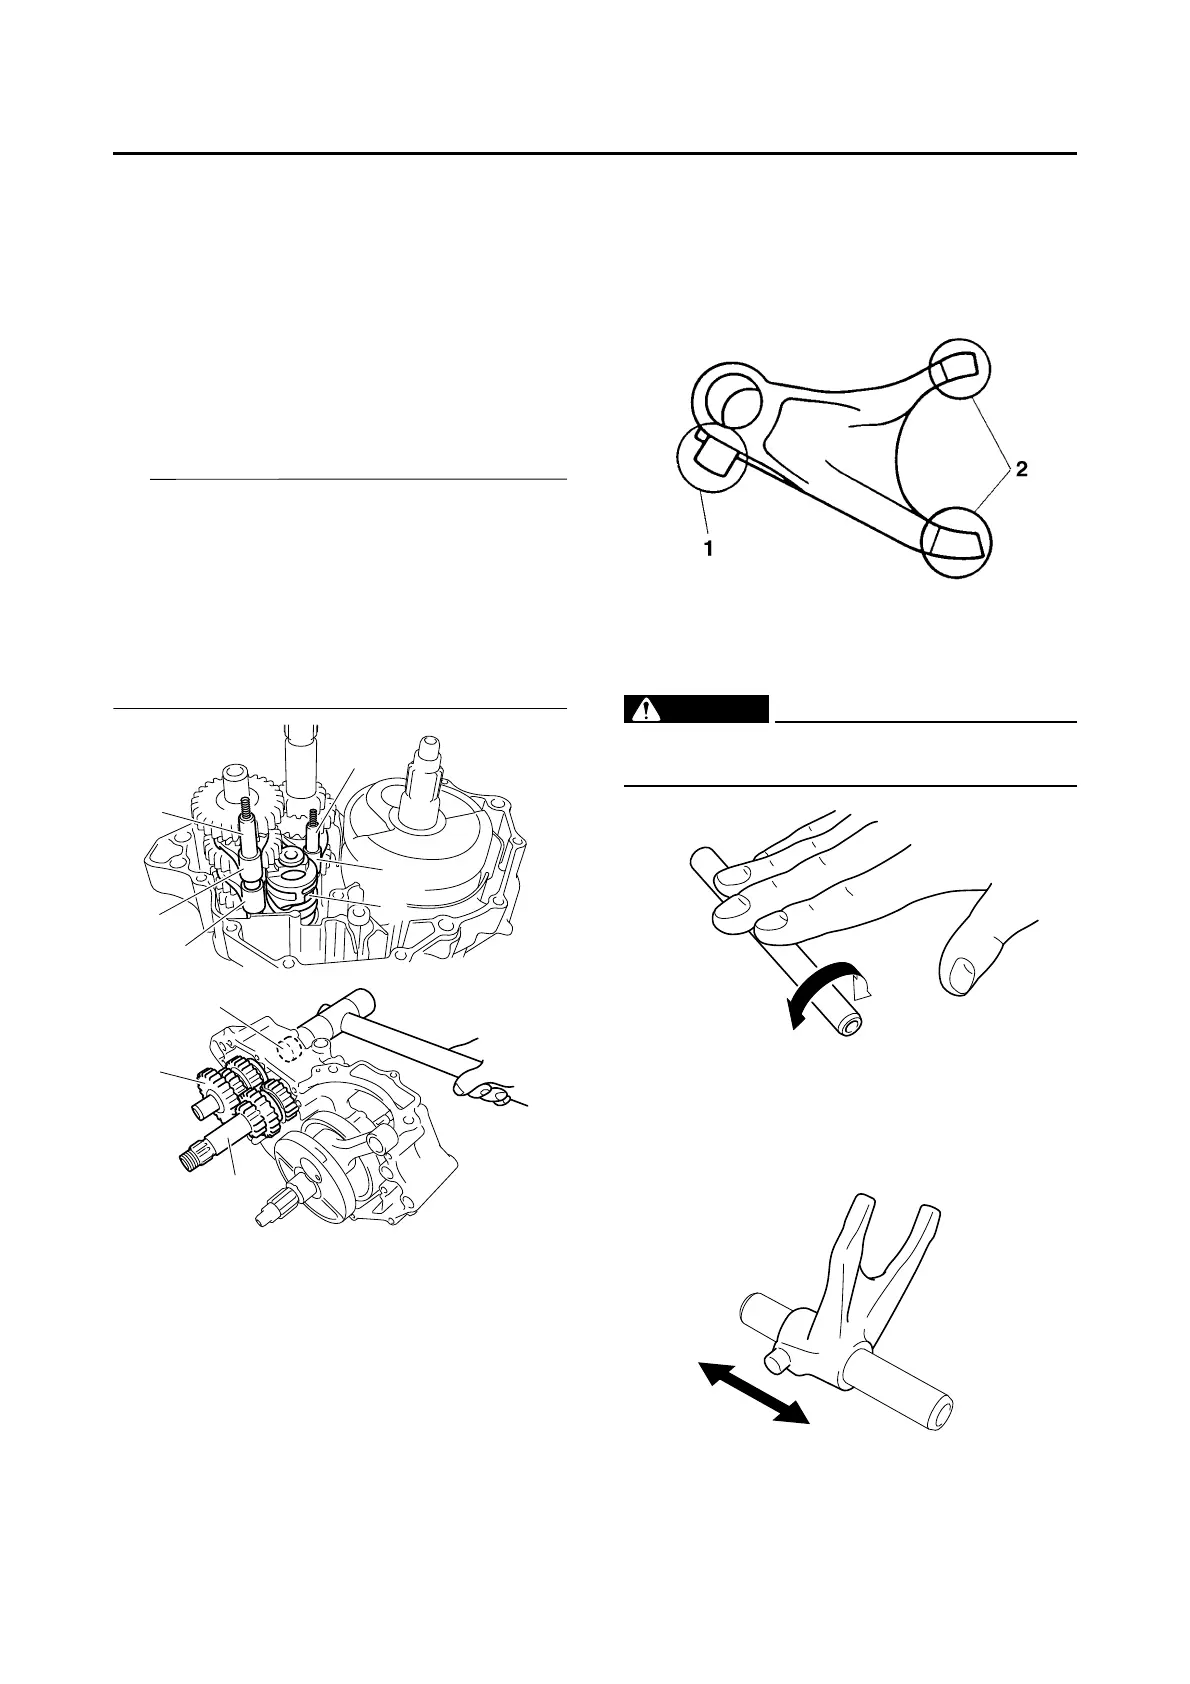
1. Remove:
• Long shift fork guide bar “1”
• Short shift fork guide bar “2”
• Shift cam “3”
• Shift fork 3 “4”
• Shift fork 2 “5”
• Shift fork 1 “6”
• Main axle “7”
• Drive axle “8”
• Collar “9”
• Remove assembly with the collar “9” installed
to the crankcase.
• Make a note of the position of each part. Pay
particular attention to the location and direc-
tion of shift forks.
• Remove the main axle and the drive axle all
together by tapping the drive axle lightly with
a soft hammer.
EAS1SM1291
CHECKING THE SHIFT FORKS
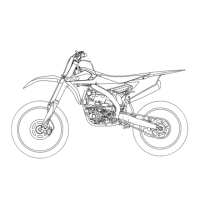
1. Check:
• Shift fork cam follower “1”
• Shift fork pawl “2”
Bends/damage/scoring/wear Replace the
shift fork.
2. Check:
• Shift fork guide bar
Roll the shift fork guide bar on a flat surface.
Bends Replace.
EWA12840
Do not attempt to straighten a bent shift fork
guide bar.
3. Check:
• Shift fork movement
(along the shift fork guide bar)
Rough movement Replace the shift forks
and shift fork guide bar as a set.
EAS1SM1292