FUEL TANK
7-3
EAS1SM1311
INSTALLING THE FUEL TANK
1. Install:
• Fuel tank
2. Connect:
• Fuel hose
ECA33DD069
• Connect the fuel hose securely, and check
that the orientation of the installed fuel
hose holder is correct.
• Take care not to kink or pinch the fuel
hose.
• Insert the fuel hose into the fuel pipe securely
until you hear a “click”.
• Slide the fuel hose connector cover “1” at the
hose end in the direction of the arrow.
• Install the fuel hose connector holder “a”.
• Check that the fuel hose and the fuel pump
lead are routed through the guide on the cov-
er.
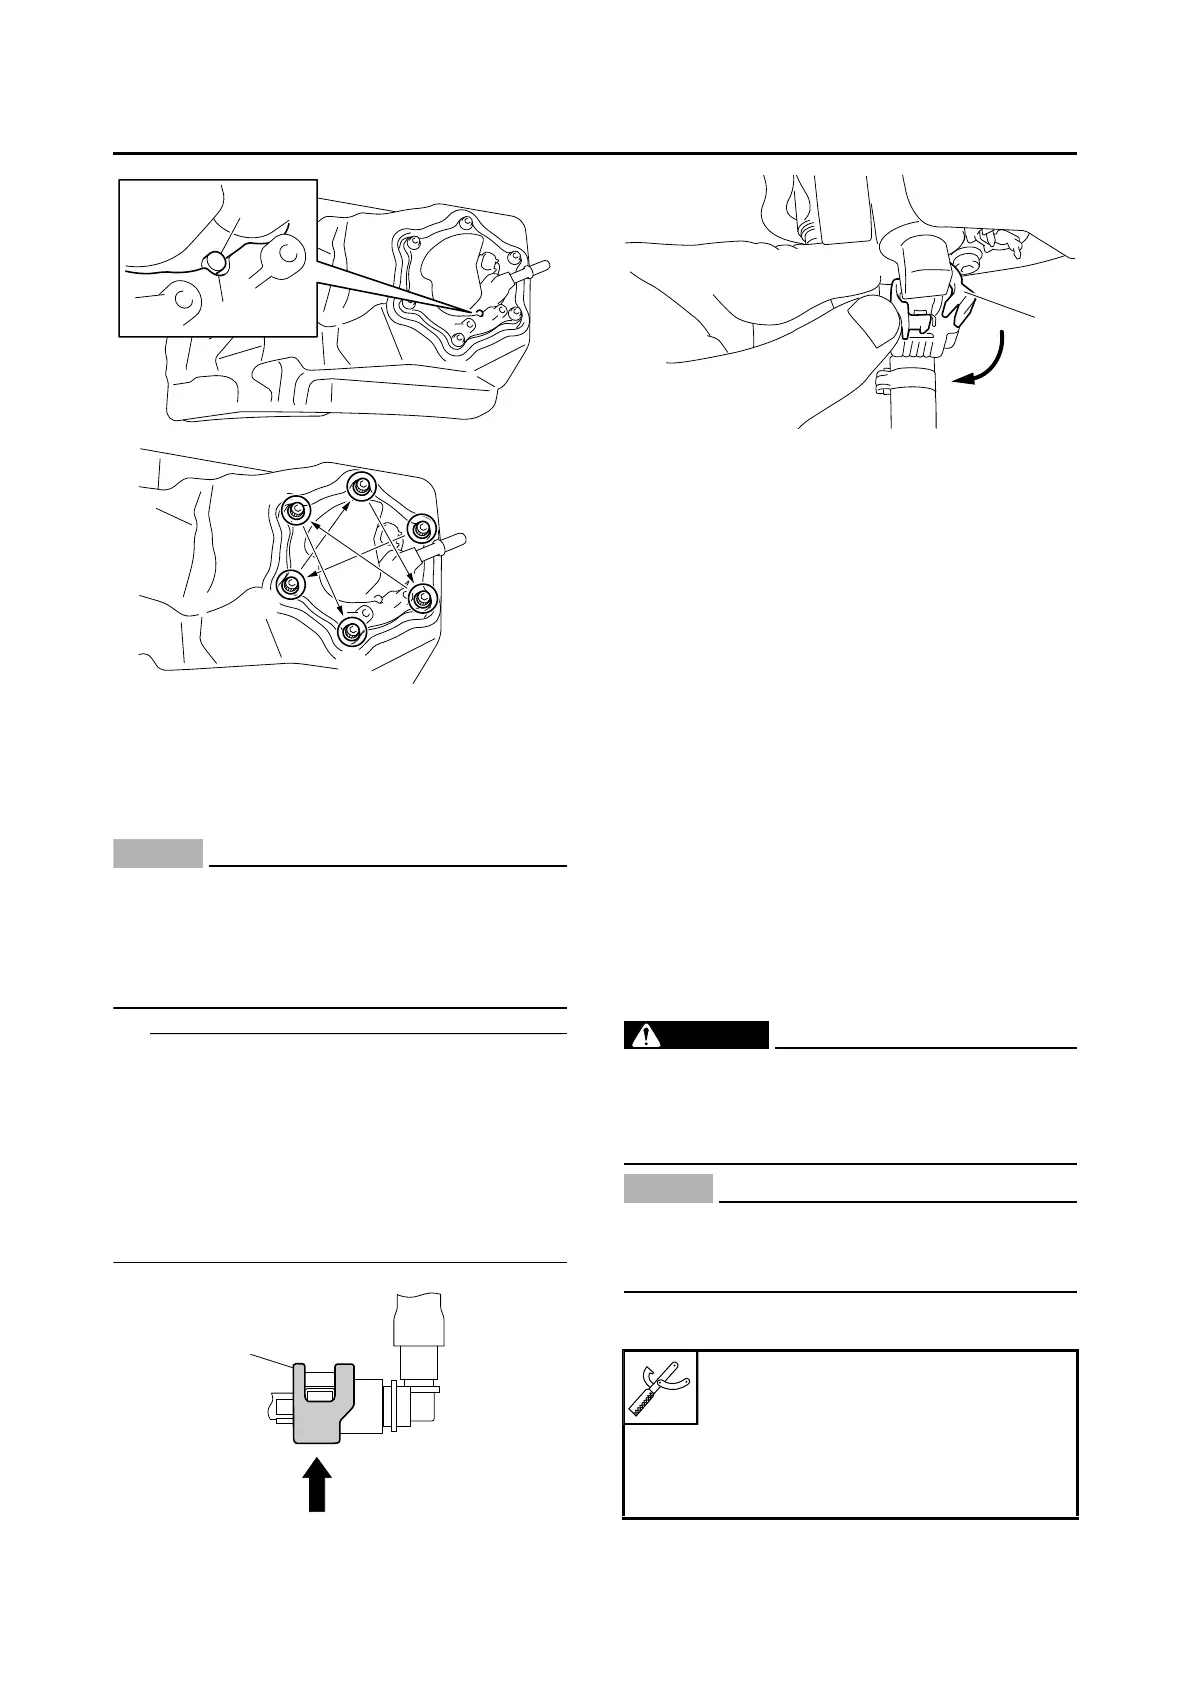
3. Connect:
• Fuel pump coupler
4. Install:
• Air scoop (left/right)
• Seat
• Side cover (left/right)
Refer to “GENERAL CHASSIS” on page 4-
1.
EAS1SM1312
CHECKING THE FUEL PRESSURE
1. Check:
• Fuel pressure
▼▼▼▼▼▼▼▼▼▼▼▼▼▼▼▼▼▼▼▼▼▼▼▼▼▼▼▼▼▼▼▼
a. Remove the side cover (left/right), the seat
and the air scoop (left/right).
Refer to “GENERAL CHASSIS” on page 4-
1.
b. Remove the fuel tank bolt and lift the fuel
tank.
c. Disconnect the fuel hose from the fuel
pump.
Refer to “REMOVING THE FUEL TANK” on
page 7-2.
EWA1DX1008
Cover the fuel hose connection with a cloth
when disconnecting it. This is because re-
sidual pressure in the fuel hose could cause
fuel to spurt out when the hose is removed.
ECA1DX1025
Make sure that the fuel hose is disconnect-
ed by hand. Do not forcibly disconnect the
hose with tools.
d. Connect the pressure gauge “1” and the fuel
pressure adapter “2” to the fuel hose.
Pressure gauge
90890-03153
YU-03153
Fuel pressure adapter
90890-03186
YM-03186