REAR WHEEL
4-10
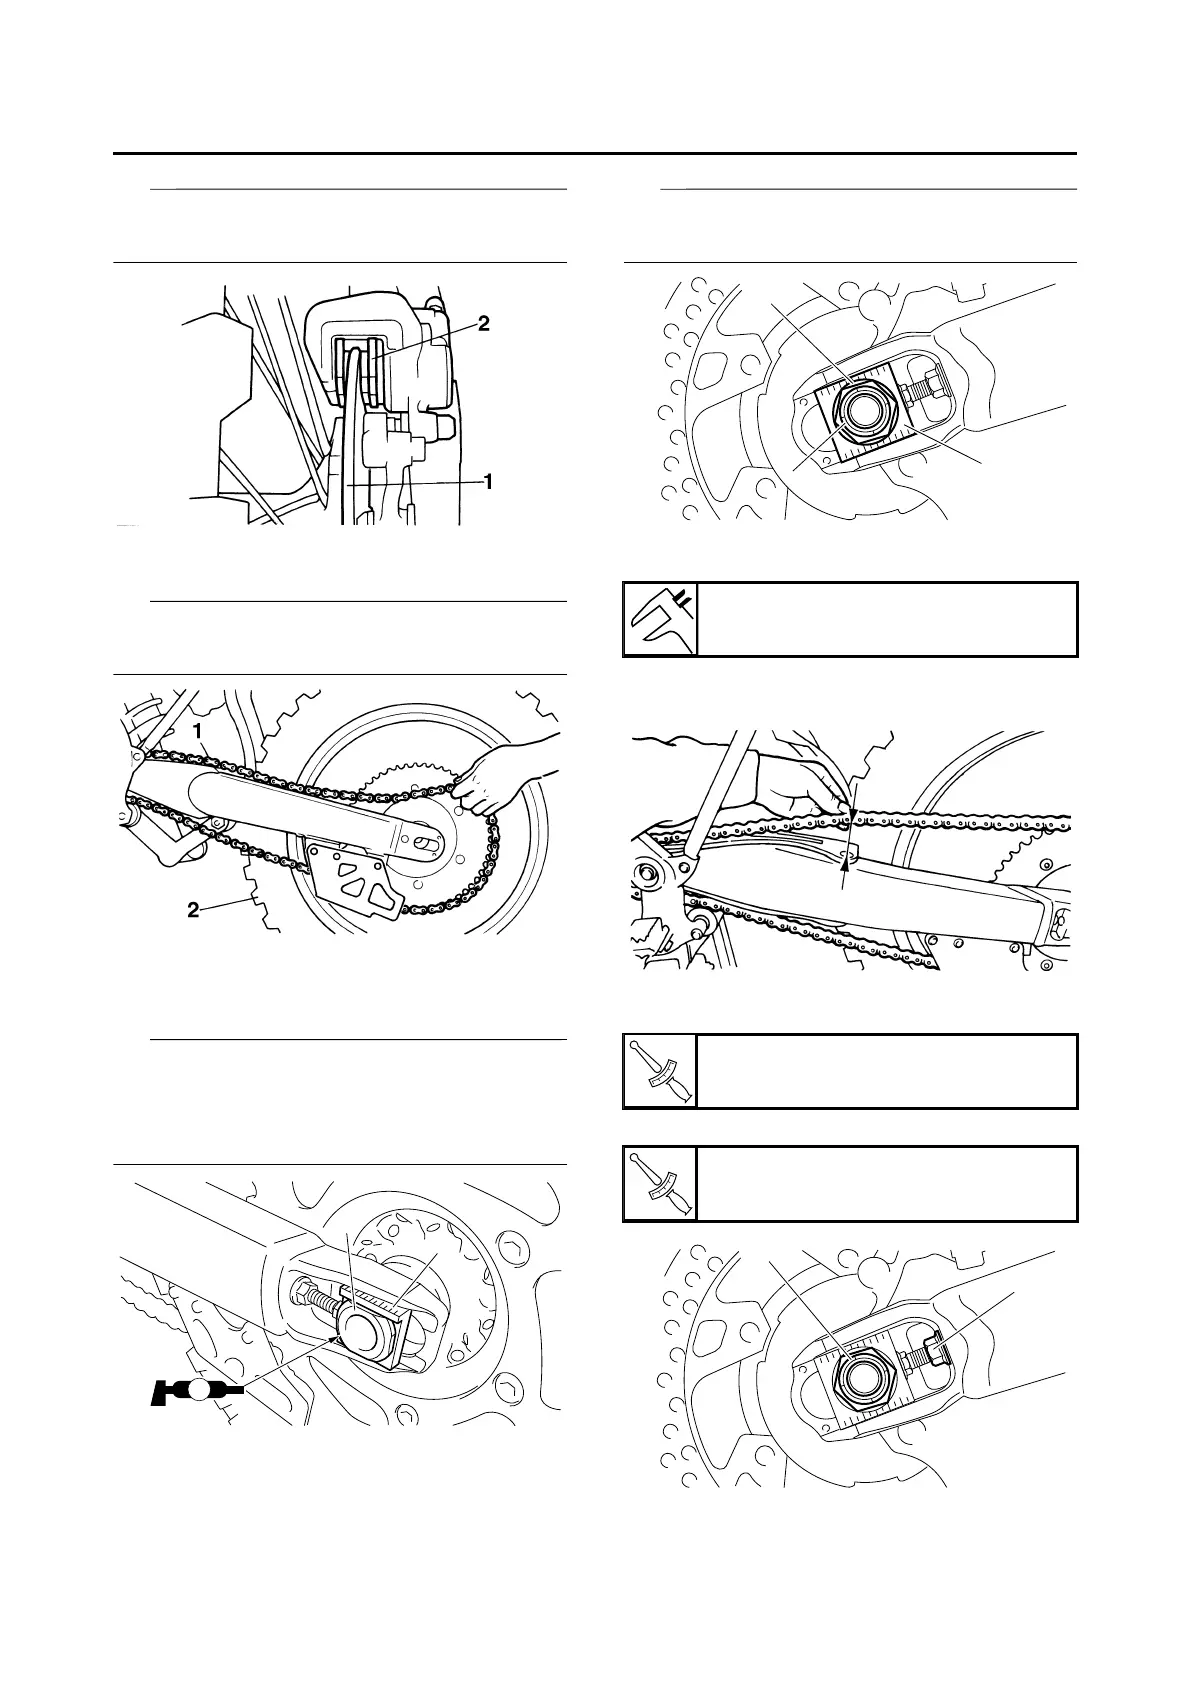
Install the brake disc “1” between the brake
pads “2” correctly.
2. Install:
• Drive chain “1”
Push the rear wheel “2” forward and install the
drive chain.
3. Install:
• Left drive chain puller “1”
• Rear wheel axle “2”
• Install the left drive chain puller, and insert the
rear wheel axle from the left side.
• Apply the lithium soap base grease to the rear
wheel axle.
4. Install:
• Right drive chain puller “1”
• Washer “2”
• Rear wheel axle nut “3”
Temporarily tighten the nut (rear wheel axle) at
this point.
5. Adjust:
• Drive chain slack “a”
Refer to “ADJUSTING THE DRIVE CHAIN
SLACK” on page 3-27.
6. Tighten:
• Rear wheel axle nut “1”
• Locknut “2”
Drive chain slack
50–60 mm (1.97–2.36 in)
Wheel axle nut
135 Nm (13.5 m·kgf, 98 ft·lbf)
Locknut
21 Nm (2.1 m·kgf, 15 ft·lbf)