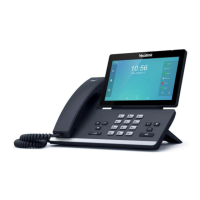
Customizing Your Phone
105
default account.
Ext Keys
If EXP50 is connected to the phone, you can customize features for ext keys.
To customize ext keys via phone user interface:
1. Long press the desired ext key on EXP50.
The IP phone LCD screen will enter the user setting interface of this key.
2. Customize specific features for this key on the IP phone.
3. Press the Save soft key to accept the change or the Back soft key to cancel.
Ext keys are configurable via web user interface at the path Dsskey->Ext Key.
For more information, refer to
Yealink EXP50 User Guide
.
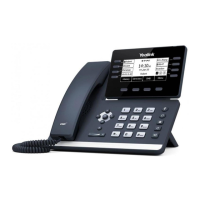
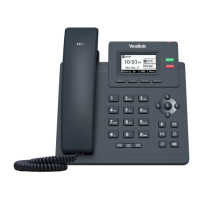
Account Management
You can register one or multiple accounts on the SIP-T54S media IP phone. You can also
configure each line key to associate with an account or configure multiple line keys to associate
with an account.
Account Registration
To register an account via phone user interface:
1. Press Menu->Advanced (default password: admin) ->Accounts.
2. Select the desired account and then press the Enter soft key.
3. Select Enabled from the Activation field.
4. Enter the desired value in Label, Display Name, Register Name, User Name, Password
and SIP Server1/2 field respectively. Contact your system administrator for more
information.
5. If you use the outbound proxy servers, do the following:
1) Press or , or the Switch soft key to select Enabled from the Outbound Status
field.
2) Enter the desired value in the Outbound Proxy1/2 and Fallback Interval field
respectively. Contact your system administrator for more information.
6. Press the Save soft key to accept the change or the Back soft key to cancel.
You can repeat steps 2 to 6 to register more accounts.
The following figures demonstrate single or multiple accounts registered on the phone:
 Loading...