User Guide for the SIP-T54S Media IP Phone
30
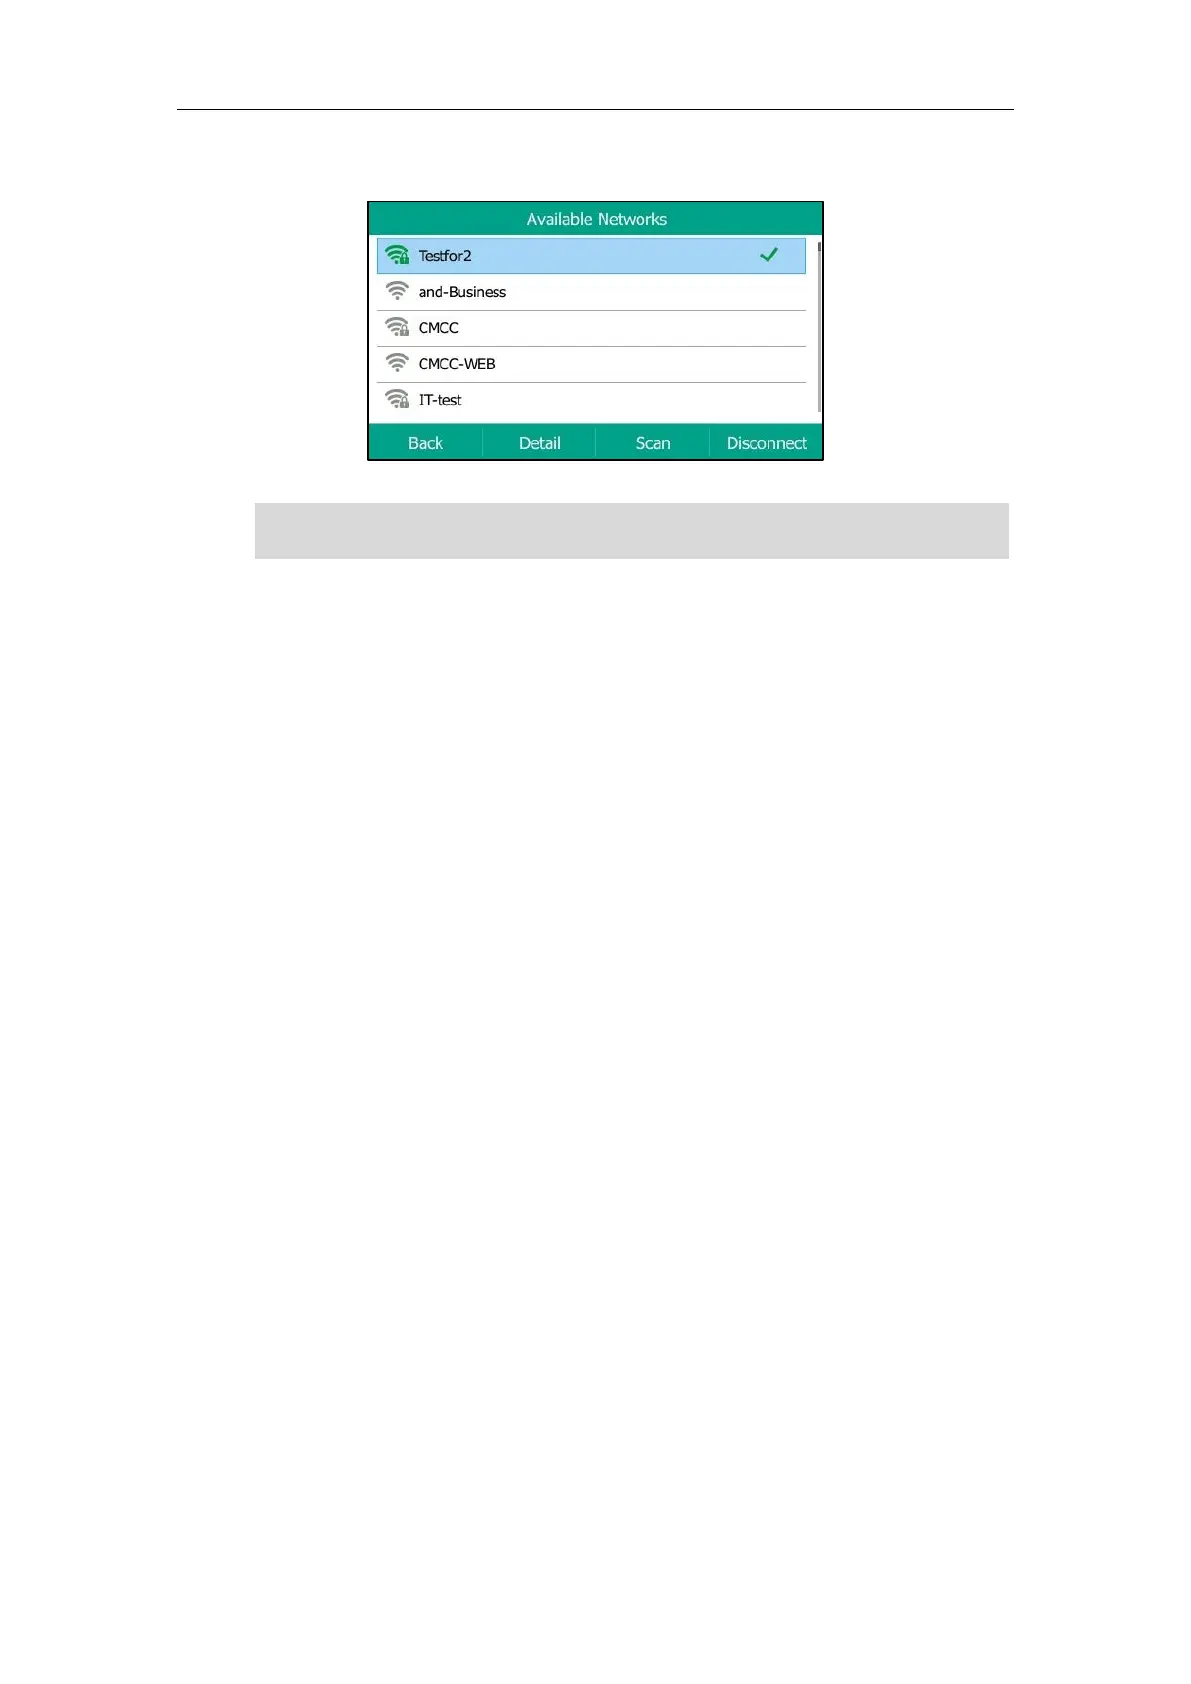
Once the connection has completed successfully, the icon changes to green.
Note
Wi-Fi Protected Setup (WPS)
Wi-Fi Protected Setup (WPS) provides simplified mechanisms to configure secure wireless
networks. WPS can automatically configure a wireless network with a network name (SSID) and
strong WPA data encryption and authentication.
Two methods supported by Yealink IP phones in the Wi-Fi protected setup:
Push Button Configuration (PBC): The user simply has to press WPS key on both the IP
phone and gateway/router to connect.
Personal Identification Number (PIN): The user has to enter a PIN generated randomly
by the IP phone on the gateway/router to connect.
Push Button Configuration (PBC)
To connect to the wireless network using PBC method:
1. Press Menu->Basic->Wi-Fi.
2. Press the WPS soft key, and then select WPS from the prompt list.
The LCD screen prompts “WPS has been activated, connect in 120s”.
3. Long press the WPS key on your gateway/router.
Personal Identification Number (PIN)
To connect to the wireless network using PIN method:
1. Press Menu->Basic->Wi-Fi.
2. Press the WPS soft key, and then select WPS-PIN from the prompt list.
The LCD screen prompts “Please input below PIN code on your Wi-Fi router and press OK
to start connecting: xxx”.
3. Log into your gateway/router’s web interface, and configure it to search the clients. For
more information, refer to the documentation from the gateway/router manufacturer.
For more information on the password of the wireless network, contact your system
administrator.
 Loading...