Physical Installation 29
If you need to upgrade the software:
1 Use the Switch software CD if one has been included with your Layer 3
Module. Otherwise, download the latest version of the software from
3Com’s information delivery systems, as described in “Online Technical
Services” on page 145.
2 Follow the instructions for upgrading software that are provided in the
Switch management guide.
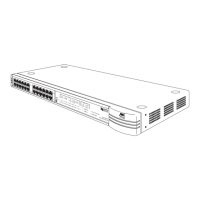
Physical Installation This section describes how to install the Layer 3 Module using the
example of a SuperStack II Switch 3300.
If you have connected several switches in a stack using the SuperStack II
Switch Matrix Module, install only one Layer 3 Module in the stack.
1 Turn off the power to the Switch and disconnect the Switch from the
main power supply.
2 Locate and remove the blanking plate which covers the module slot.
Retain the blanking plate and the screws for future use.
See your Switch management guide to locate the slot for the module.
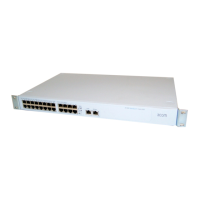
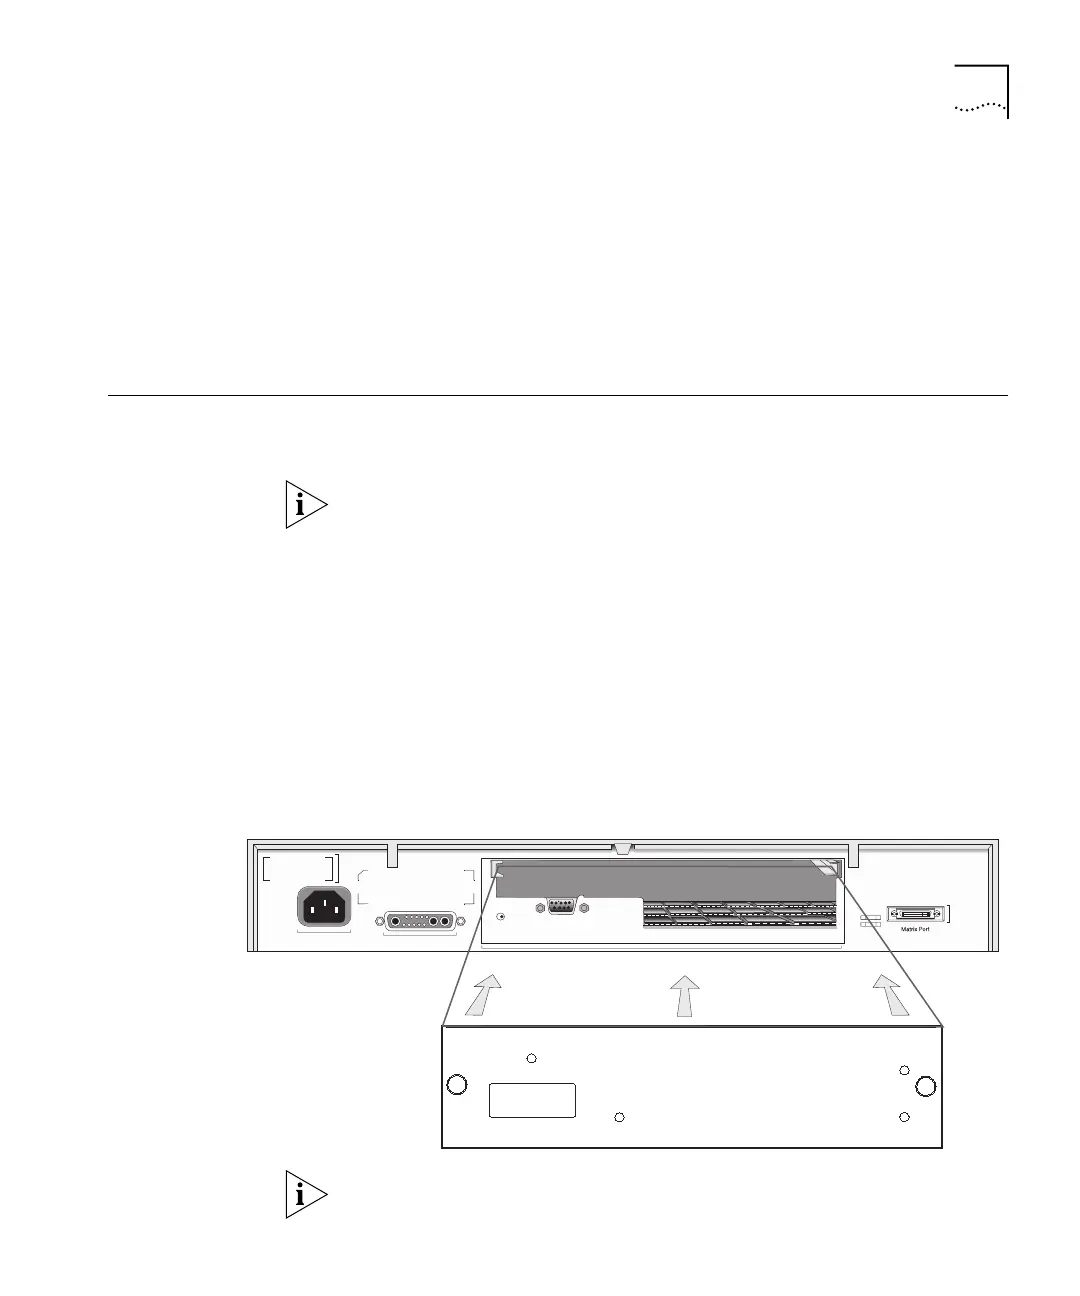
3 Use the guide rails within the Switch slot to align the Layer 3 Module. The
location of the guide rails and the correct positioning of the module is
shown in Figure 9.
Figure 9 Fitting the Layer 3 Module
The configuration switch is used to access the Configuration Application,
as described in Appendix B.
Configuration
Console
(max) 19200,8,1,N
3C16968 SuperStac3C16968 SuperStack
®
II Switch Layer 3 Module