page 19
A10 Thunder Series 6430(S) ADC/CGN
Sliding Rail Kit Installation
Make a note of the chassis side (left or right) for each bracket. The default brackets are labeled “L”
and “R” (Left and Right). The front brackets used for sliding-rail installation are labeled the same
way.
NOTE: The example shows a wide ear bracket. If you use the narrow ear brack-
ets instead, the orientation applies.
2. Use 2 of the flat-head screws to attach the additional bracket to the chassis.
Attach the Inner Rails to the Chassis
Perform the following steps for each inner rail.
1. Fully extend the rail assembly until the inner rail locks into place.
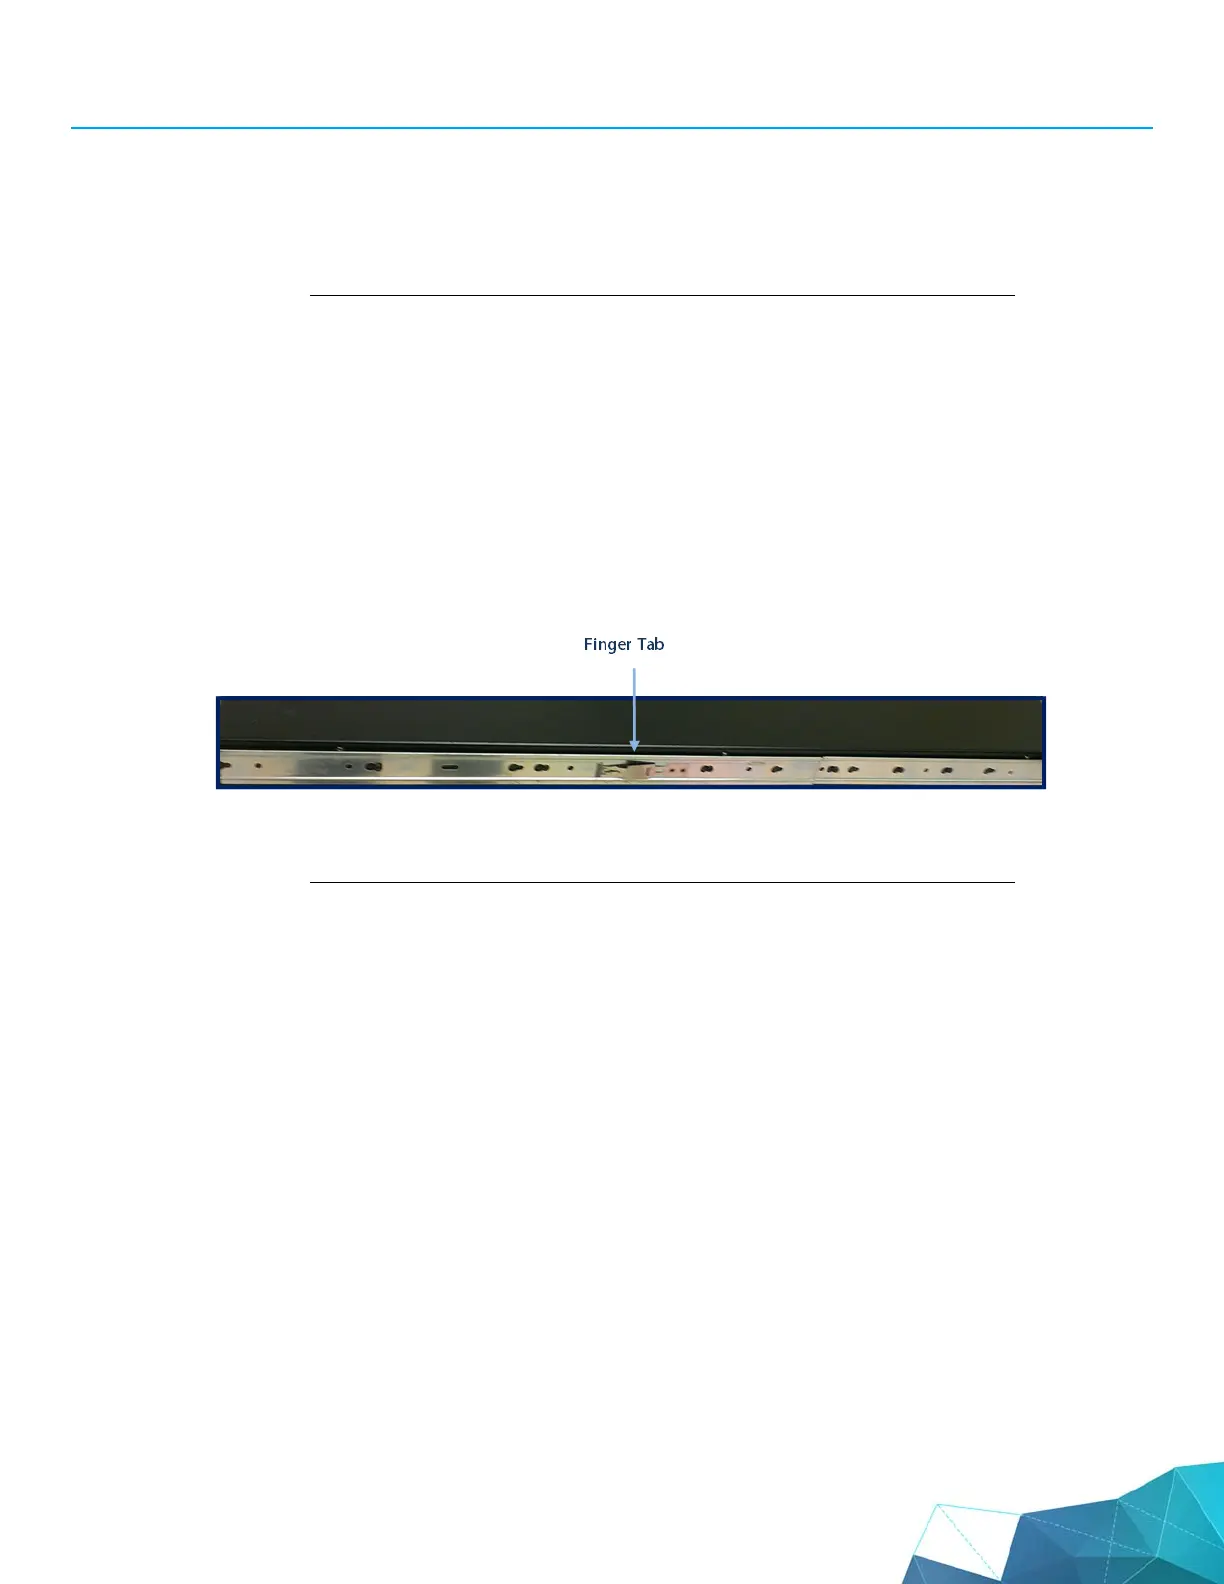
2. Release the inner rail by pressing down on the finger tab.
3. Pull the inner rail completely free of the rail assembly.
NOTE: There is no need to separate any of the other rail assembly parts.
4. Align the inner rail along the side of the chassis, as shown in the figure below.