A10 Thunder Series 6430(S) ADC/CGN
Rack-Mount Installation
page 10
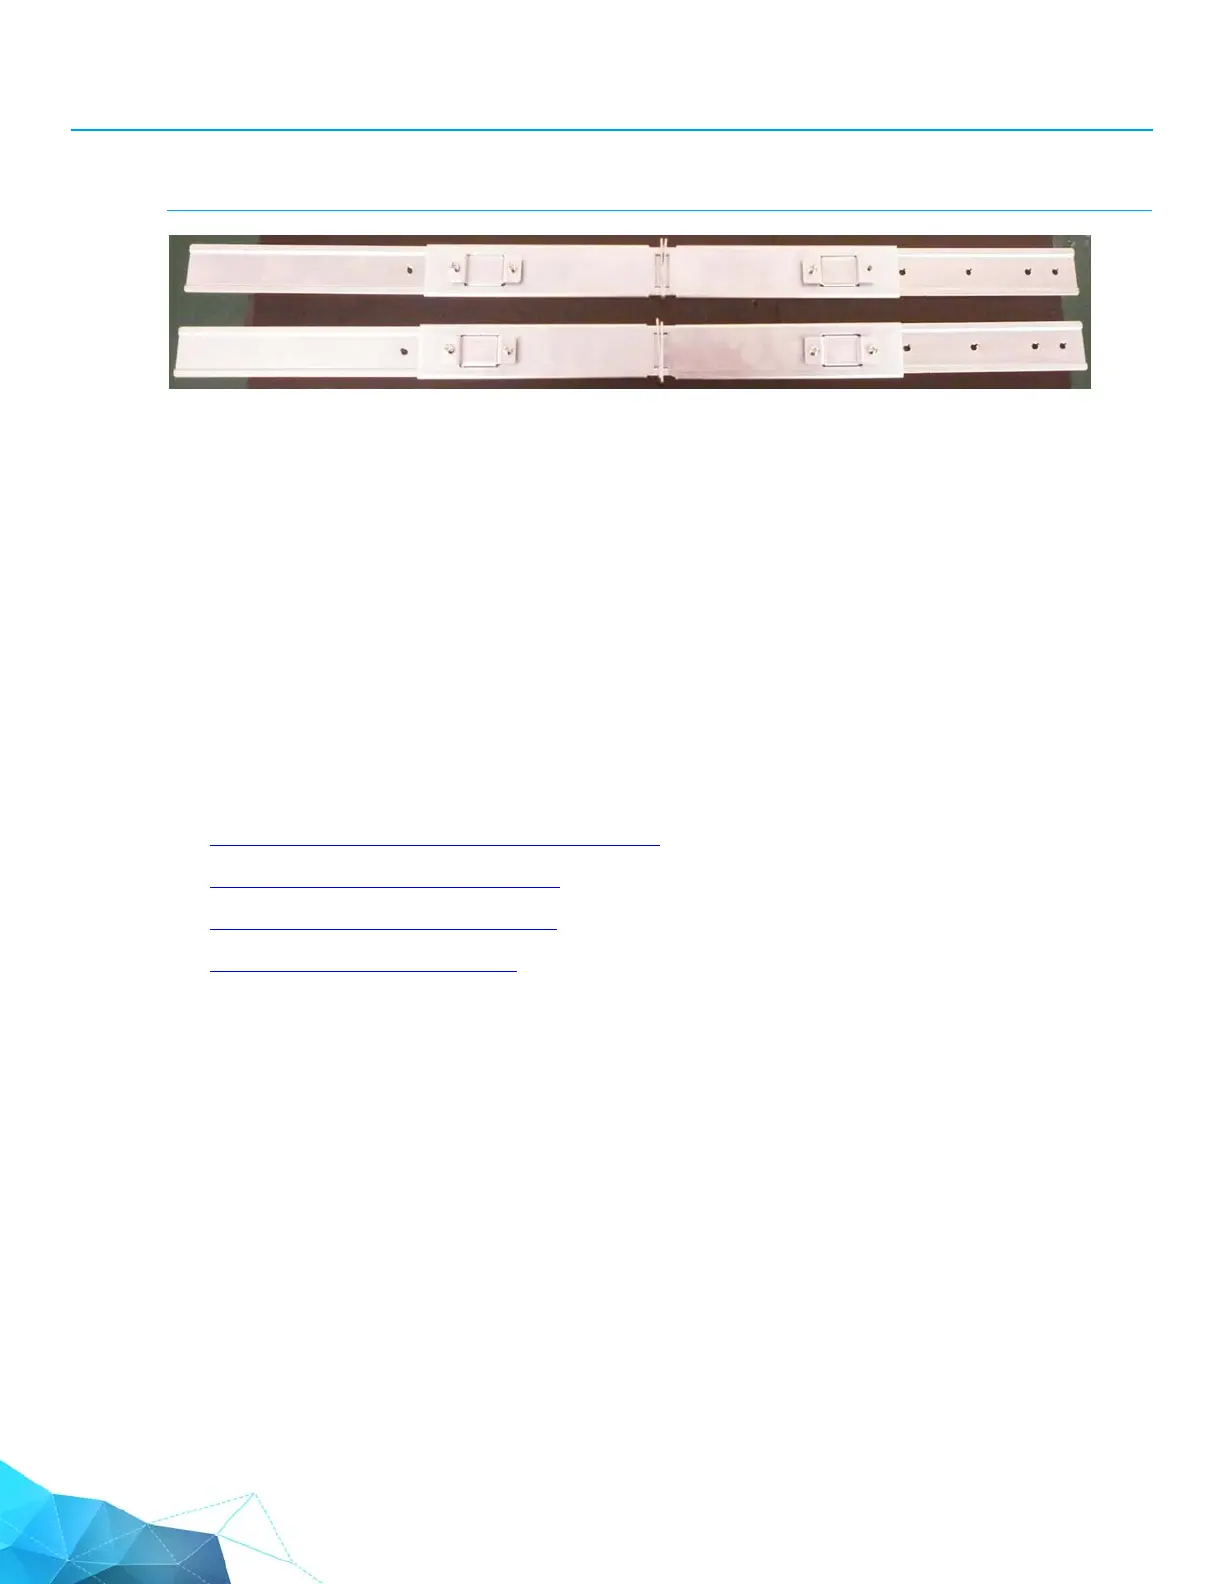
FIGURE 5 Rail Assemblies
Required Tools
To install the rack-mount kit, you will need the following tools:
• Anti-static wrist strap and conductive foam pad (recommended)
• #2 Phillips-head screwdriver
Rack-Mount Installation
Rack-mount Installation consists of the following tasks:
1. Separate the End Brackets from the Inner Rails
.
2. Attach the Inner Rails to the Chassis
.
3. Attach the End Brackets to the Rack
.
4. Insert the Chassis Into the Rack
.
The following sections provides detailed steps for each task.
Separate the End Brackets from the Inner Rails
To separate the end brackets from the inner rails:
1. Use the #2 Phillips head screwdriver to remove the end brackets from the rail assemblies. Each
end bracket is attached by 2 pan-head screws.
2. Keep the brackets and screws nearby. You will need to attach the brackets to the rack.