Note: The screw tightens the connections and grounds the module. It is essential
for fulfilling the EMC requirements and for proper operation of the module.
WARNING!
Do not use excessive force, or leave the screw too loose. Over-tightening
can cause damage to the screw or module. A loose screw can cause an
operation failure.
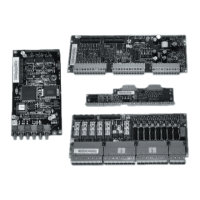
6. Connect the wiring to the module. Obey the instructions given in the
documentation of the module.
If you need to remove the option module after it has been installed into the drive, use
a suitable tool (e.g. small pliers) to carefully pull out the lock.
Connecting a PC
WARNING!
Do not connect the PC directly to the control panel connector of the control
unit. It can cause damage.
A PC (with, for example, the Drive Composer PC tool) can be connected as follows:
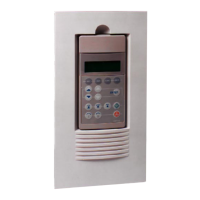
1. To connect a control panel to the unit, either
• insert the control panel into the panel holder or platform, or
• use an Ethernet (eg, Cat 5e) networking cable.
2. Remove the USB connector cover on the front of the control panel.
3. Connect an USB cable (Type A to Type Mini-B) between the USB connector on the
control panel (3a) and a free USB port on the PC (3b).
4. The panel will display an indication whenever the connection is active.
5. See the documentation of the PC tool for setup instructions.
Electrical installation 61
 Loading...