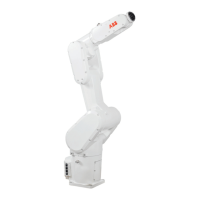
Removing the lower arm
Use these procedures to remove the lower arm.
Preparations before removing the lower arm
NoteAction
Decide which calibration routine to use, and take
actions accordingly prior to beginning the repair
procedure.
1
CAUTION
For robots with protection type Clean Room
Always cut the paint with a knife and grind the
paint edge when disassembling parts of the robot!
See Cut the paint or surface on the robot before
replacing parts on page 145.
2
Jogging the robot to oil draining position
NoteAction
xx2000001519
Jog the robot to the specified position:
• Axis 1: 0°
• Axis 2: -67.5
• Axis 3: 0°
• Axis 4: 0°
• Axis 5: 0°
• Axis 6: No significance.
1
DANGER
Turn off all:
• electric power supply
• hydraulic pressure supply
• air pressure supply
to the robot, before entering the safeguarded
space.
2
Draining oil of axis-2 gearbox
NoteAction
WARNING
Handling gearbox oil involves several
safety risks, see Gearbox lubricants (oil or
grease) on page 29.
1
Continues on next page
Product manual - IRB 1300 299
3HAC070390-001 Revision: G
© Copyright 2020-2022 ABB. All rights reserved.
5 Repair
5.5.1 Replacing the lower arm
Continued

 Loading...