NoteAction
Secure the lock nut in these three steps:
1 Tighten with a torque of 300 Nm.
2 Unscrew the lock nut.
3 Tighten the lock nut finally with a
tightening torque of 175 Nm.
Note
The recommended order of tightening the
lock nut is important to follow to avoid future
problems with the shaft.
9
See Cut away view of the assembly of the
link on page 236.
Refit the both VK covers.10
Art.no. is specified in Required equipment
on page 237
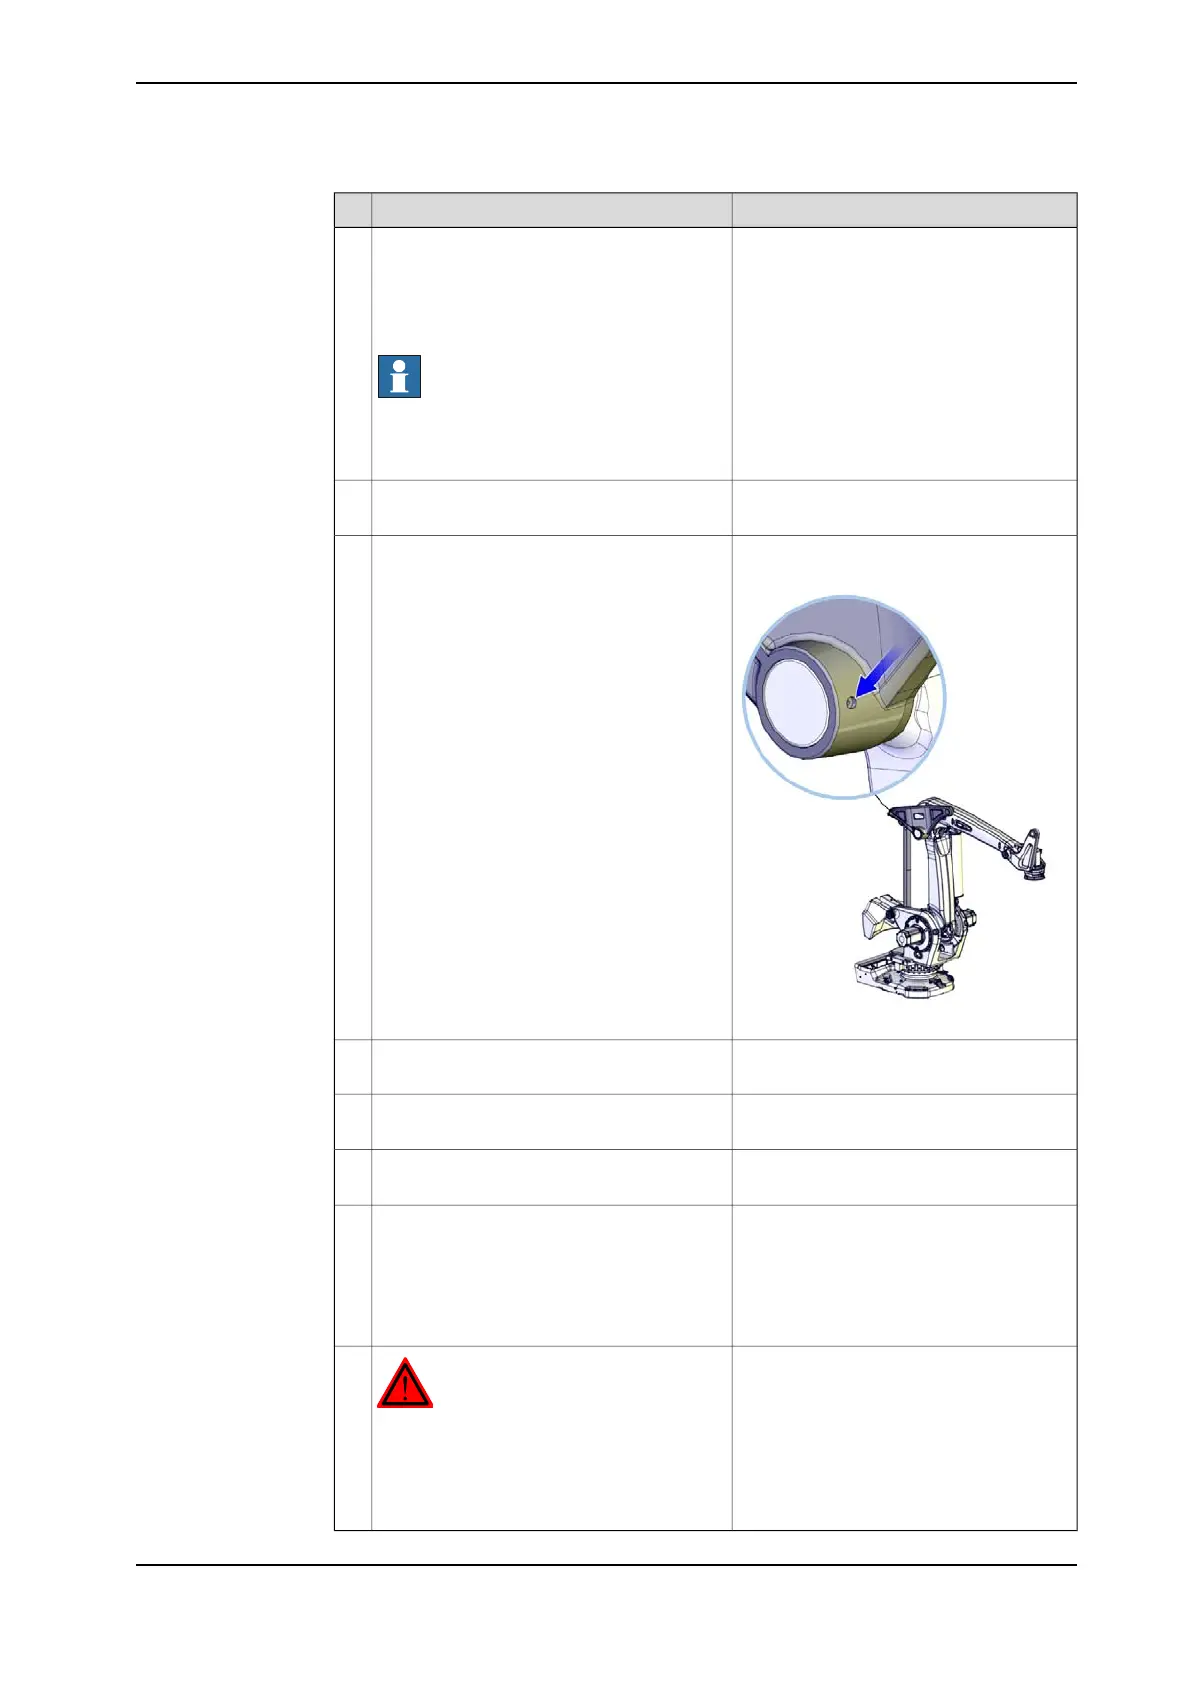
xx1000001266
Fill the link with grease. Use lubrication tool.11
Refit the screw and washer in the hole for
filling grease.
12
Detailed in section Replacing linkage -
upper link arm on page 221
Refit the upper link arm to the link.13
Detailed in section Replacing the linkage
- lower link arm on page 228
Refit the upper link arm to the link.14
Calibration is detailed in a separate calib-
ration manual enclosed with the calibra-
tion tools.
Recalibrate the robot!15
General calibration information is included
in section Calibration information on
page 329.
DANGER
Make sure all safety requirements are met
when performing the first test run. These
are further detailed in the section DANGER
- First test run may cause injury or damage!
on page 45.
16
3HAC039838-001 Revision: C 243
© Copyright 2013 ABB. All rights reserved.
4 Repair
4.4.6 Replacement of linkage - link
Continued