18-4 – Miscellaneous Items 18 Revision 3.01, Oct
2012
2. Select “Setup Sensors” from the “Miscellaneous Items” banner screen menu.
3. Select “Edit” from the “Manage Sensors” banner screen menu.
NOTE
To edit an existing unlocked sensor in the list, select it at this point, and proceed with step 5
. For
adding a new sensor, go to step 4. Preset sensors cannot be edited, only those entered by the user.
4. Press the [F1] key, which corresponds, to the function key window labeled “New” at the
bottom of the screen.
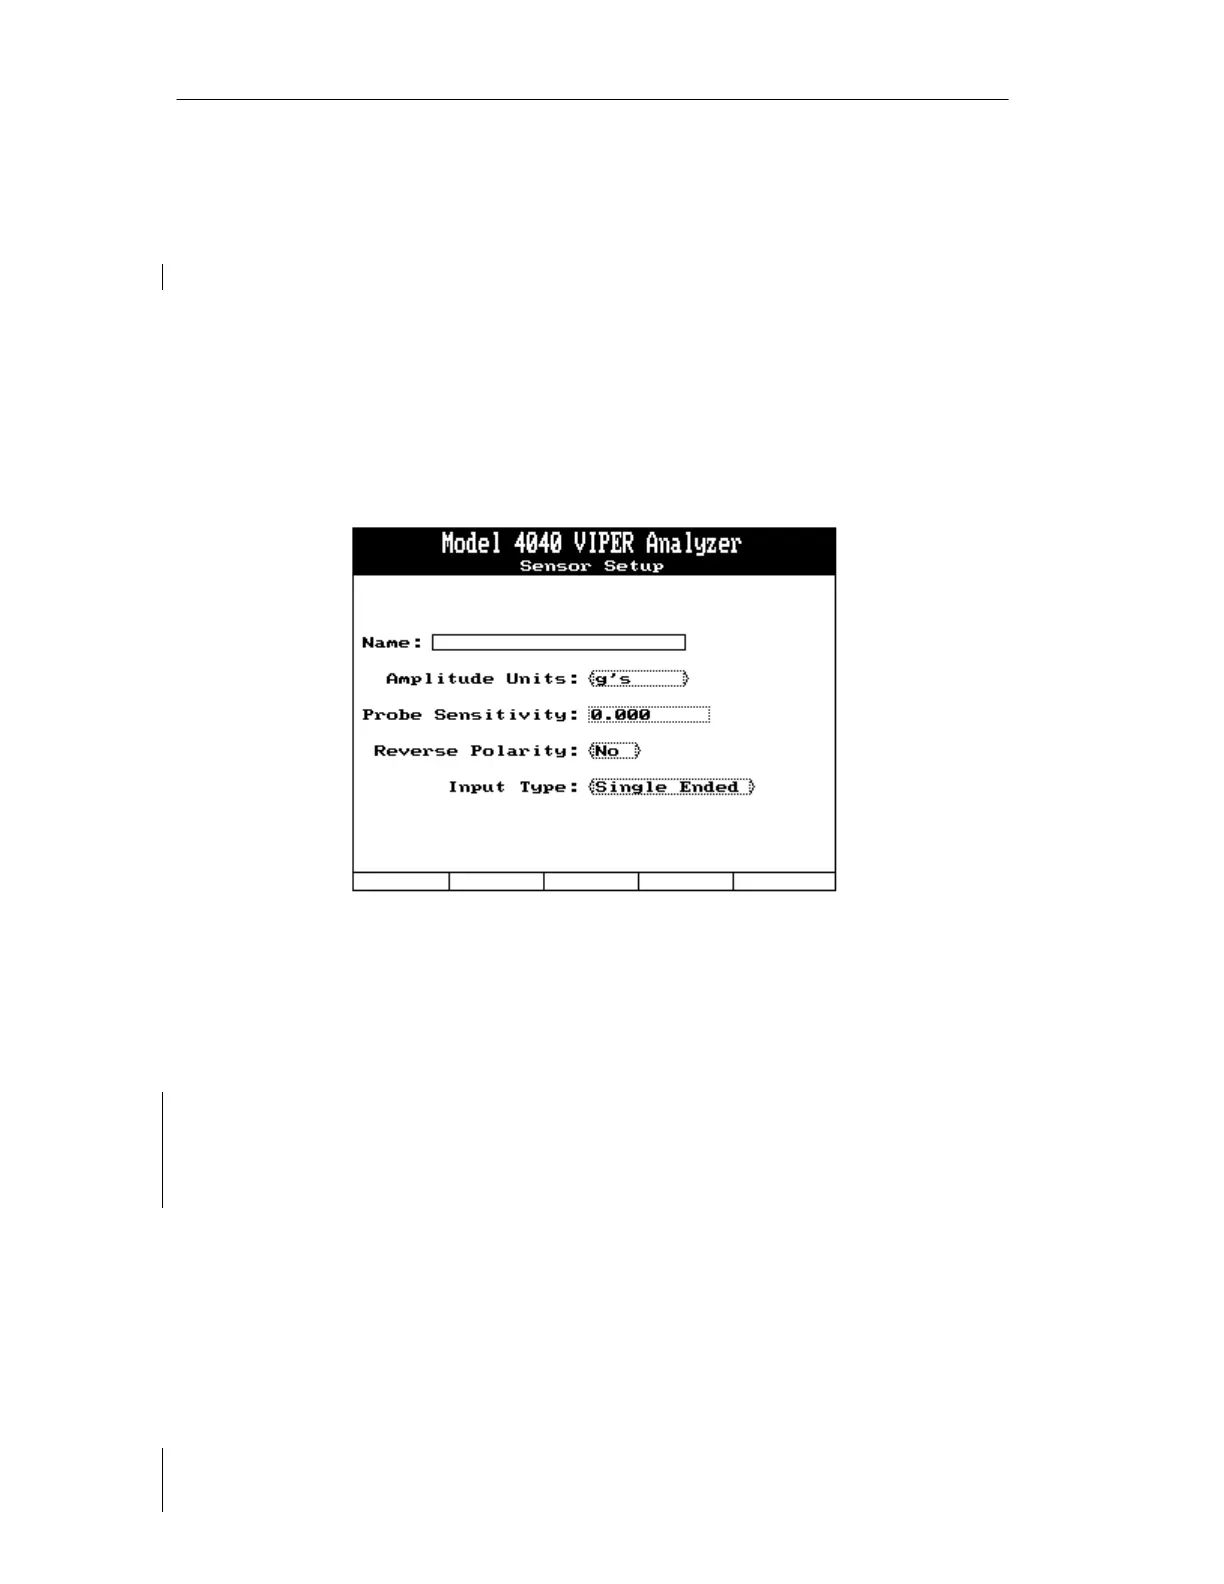
5. The Sensor Setup screen shown below will be displayed. Toggle between the fields using
the [⇑] or [⇓] key.
6. Enter a name for the sensor in the “Name:” field, using the keypad. The field will accept
up to twenty, alphanumeric characters.
7. The “Amplitude Units:” field is a toggle selection field. Use the [⇐] or [⇒] key to toggle
between the selections until the appropriate units are displayed. The choices are gs; (for
equivalent gravities), IPS (Inches Per Second), mm/sec (millimeters per second), cm/sec
(centimeters per second), mils (1000th of an inch), microns (1,000,000th of a meter),
ubars (µbars, 0.1 Pascal), Pascals (100,000 bars), Volts, m/s/s (meters per second per
second), cm/s/s (centimeters per second per second), db (decibels) or Special (custom
configuration).
8. The “Probe Sensitivity” field is a numeric data field. It is used to enter the millivolt (mV)
output of the sensor. This information can be found on the Sensor’s Specification Sheet
from the manufacturer. Valid entries are from 0.001 to 3000.0 mV.
9. The “Reverse Polarity” is a toggle selection field. The two selections are “Yes” and
“No”. This is a special function that will only apply to a very few sensors available. The
selection should be toggled to “No” for the majority of cases. The ACES 991V sensor



 To Next Page