• • • • • • • • • • • • • • • • • • • • • • • • • • • • • • • • • • • • • • • • • • • • • • • • • • • • • • • • • 3 – 1
3
Section 3 –
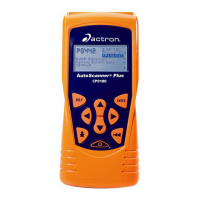
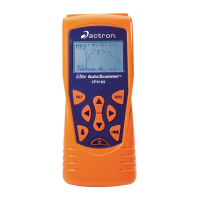
Section 3 – Using The Scan Tool
The Scan Tool
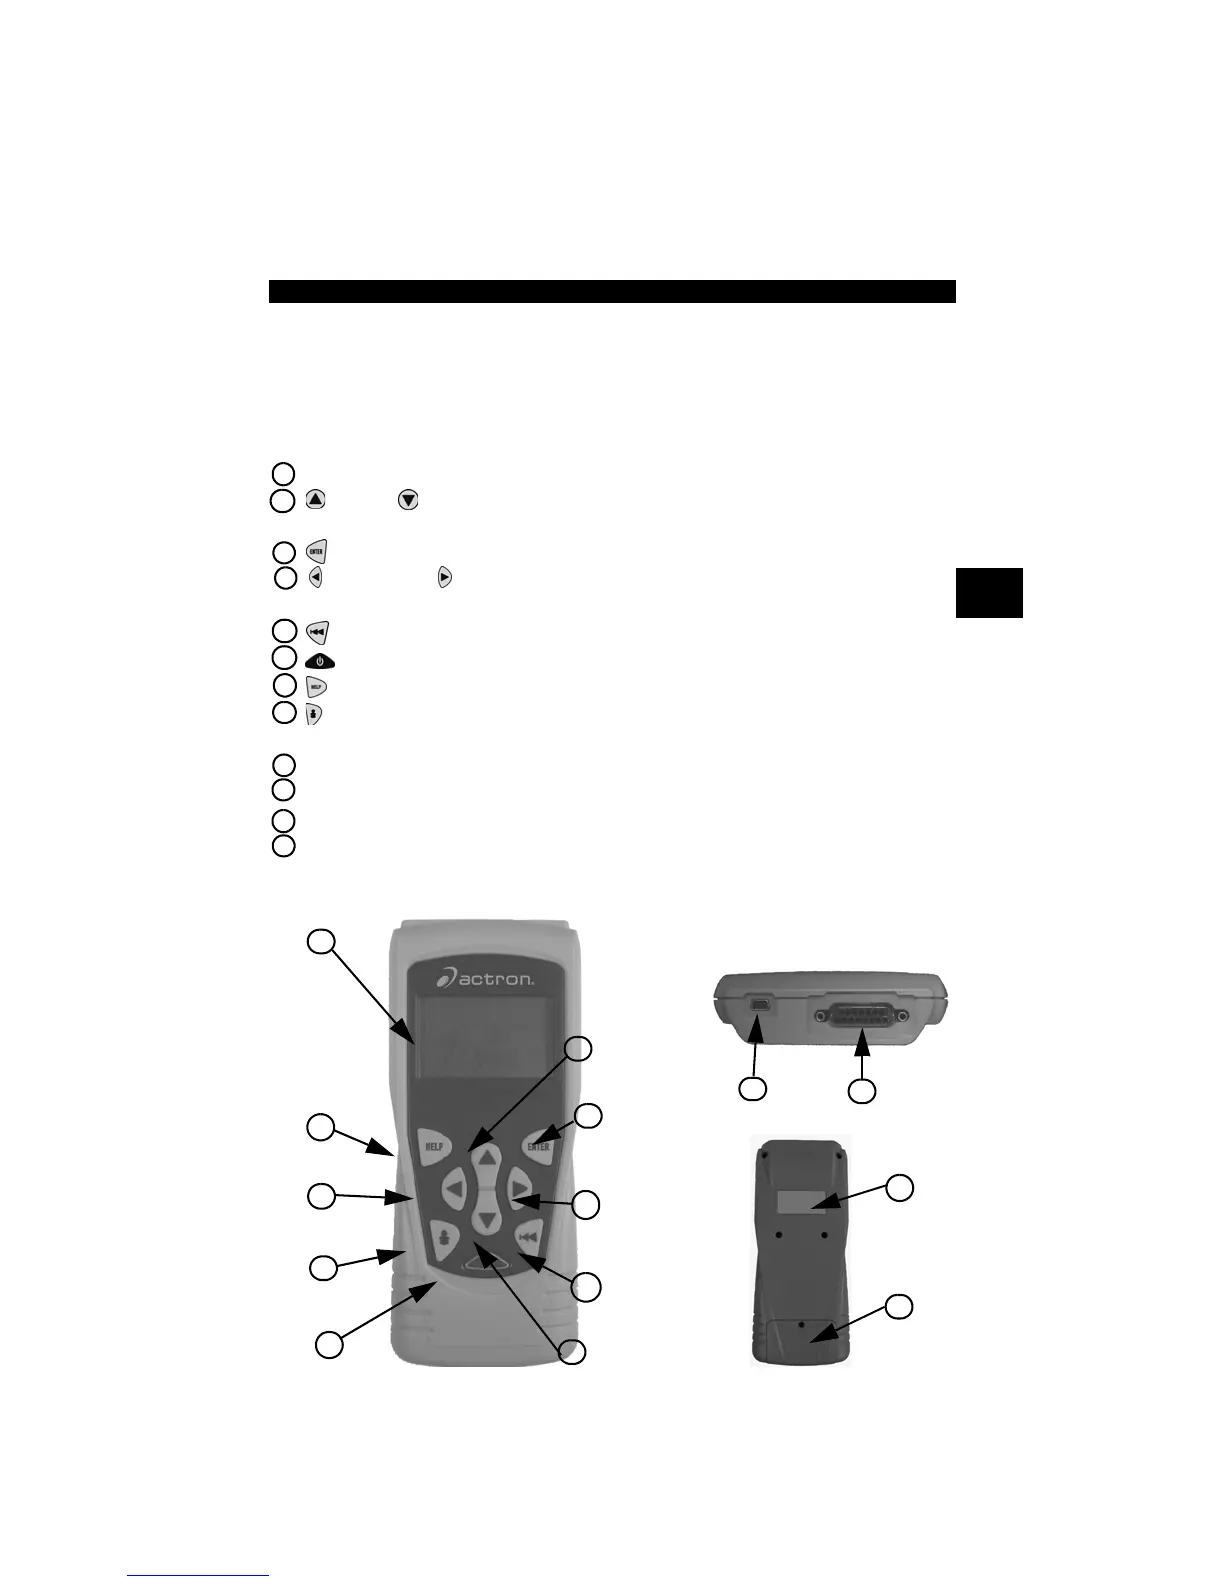
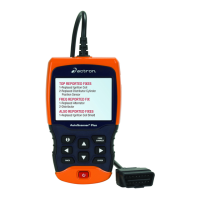
1 LCD Display – backlit, 128 x 64 pixel display with contrast adjustment.
2
UP
and
DOWN
arrow keys – moves selection UP or DOWN, or selects
YES or NO.
3
ENTER
key – selects displayed items.
4 LEFT and RIGHT arrow keys – selects YES or NO, and selects
data parameters for custom data list.
5
BACK
key – goes to the previous screen or level.
6
ON/OFF
key – turns power ON or OFF.
7
HELP
key – accesses the Help Function.
8 USER key - allows the operator to perform Read Codes with a touch of
a key.
9 DLC Cable – provides connection for vehicle interface.
10
USB Port – provides a USB connection for the computer.
11
Serial Number Plate – provides serial number of Scan Tool.
12
Battery Compartment – provides power to the Scan Tool when
reprogramming from a personal computer or off-vehicle reviewing of codes
and printing.
12
11
1
3
4
5
6
7
4
8
2
2
Back of Scan Tool
9
10
Top of Scan Tool