46 Agilent 1200 Preparative Pump User Manual
3 Installing the Pump
Flow Connections for a Dual (Binary Gradient) Preparative Pump
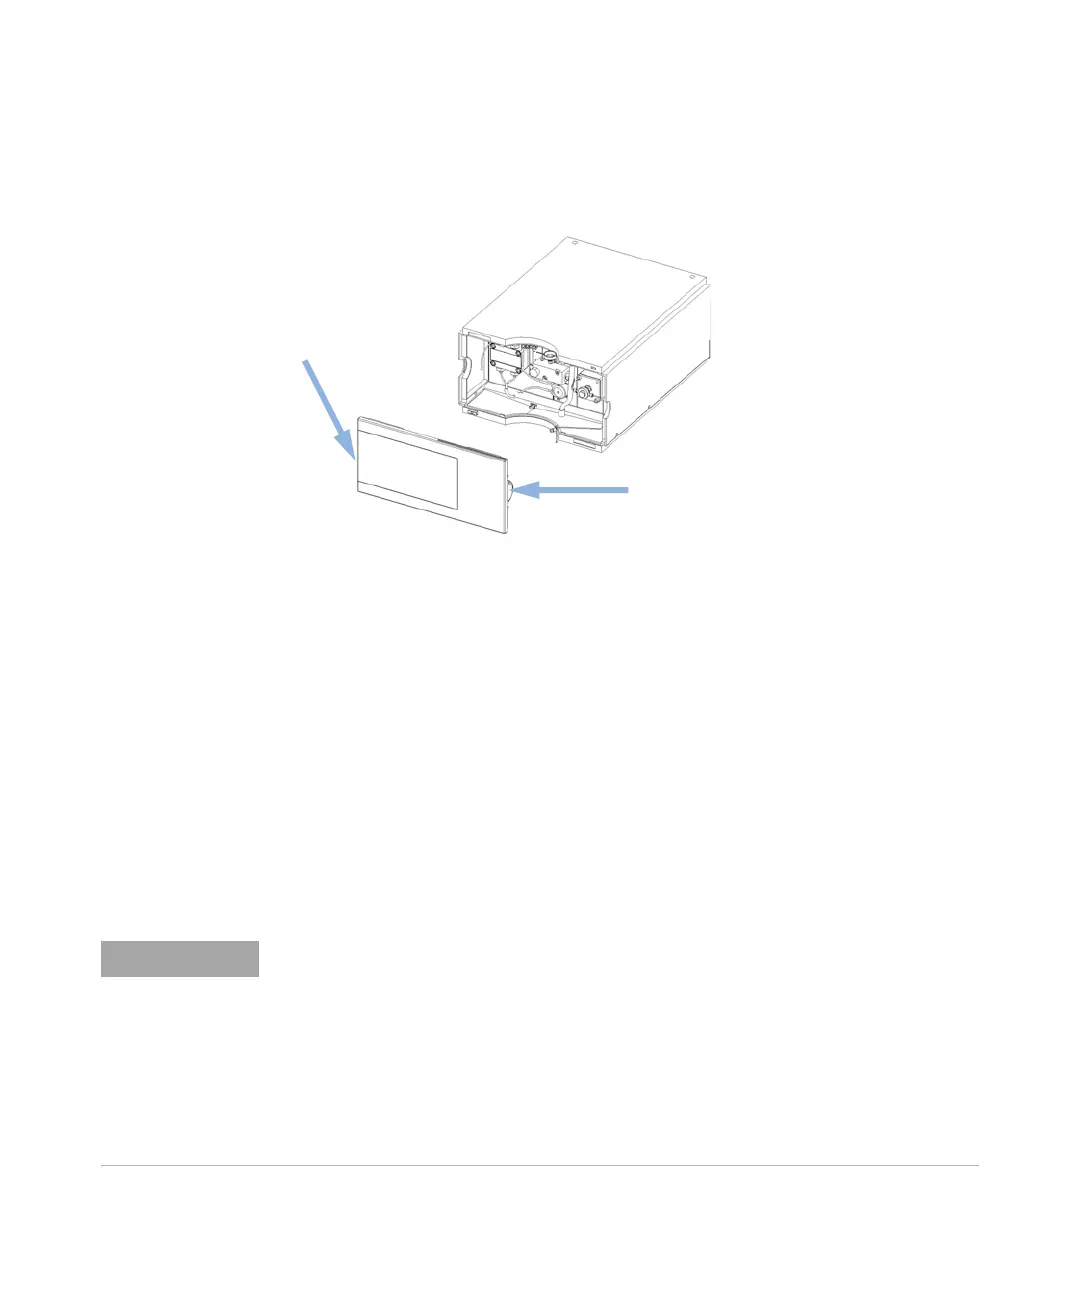
1 Remove the front covers of both pumps by pressing the snap fasteners on
both sides.
Figure 12 Removing the Front Cover
2 Place the solvent cabinet on top of the module.
3 Place the bottles into the solvent cabinet and place a bottle head assembly
into each bottle. Ground the solvent bottles!
4 Connect the solvent tubes from the bottle head assemblies to the inlet
adapters of the pumps. Fix the tubes in the clips of solvent cabinet and
preparative pumps.
5 By holding a piece of sanding paper around the waste tubing connect it to
the electromagnetic purge valve (EMPV) of each pump and place it into your
waste system.
6 If one of the preparative pumps is placed on the bottom of a stack, connect
the corrugated waste tube to the waste outlet of the pump leak handling
system.
In order to guarantee an error-free handling of any leakage that may occur in the system, all
modules of a stack must be thoroughly aligned on top of each other. Outstanding knobs at
the rear of the top covers of the modules and holes as counterparts at the rear of the
bottom covers of the modules will help to align the instruments nicely on top of each other
by making them slide into the correct position. This will then allow any possible spills to be
routed safely from one instrument to the next one with the help of the built in leak drainage
system. (Each module has a funnel to catch drops coming from the above instrument, from
there spills a lead through a waste drain tube into the leak pan and out from there through
an outlet on to the next module).

 Loading...