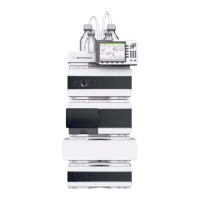
76 1260 Infinity Micro Degasser Service Manual
8 Repairs
Overview of Internal Parts
Exchanging the Degasser Control Assembly and the Sensor
Assembly
1 Remove Top Cover, see “Removing and Refitting the Top Cover” on
page 55.
2 Disconnect all connectors at the control assembly board (for identifying
internal parts see “Overview of Internal Parts” on page 66).
3 Loosen and remove the two holding clips at the control board of the
control assembly.
4 Unclip the power switch light pipe at the degasser control assembly
power switch.
5 Remove the four holding screws at the side panel — two at the left side,
two on the right side of the micro vacuum degasser.
6 Lift the degasser control assembly out of the unit.
7 Remove the coupler from the control assembly and place it onto the
power switch in the exchange control assembly.
When No power available, vacuum pump or switching valve not activated
Tools required p/n Description
8710-0899 Screwdriver, Pozidriv #1
Parts required # p/n Description
1 G1379-66500 Degasser control assembly (includes the sensor assembly)
Instrument is partially energized when switched off
Opening the degasser control assembly can lead to an electrical shock!
➔ The degasser control assembly does not include any serviceable parts.
➔ Never open the degasser control assembly!
Sensor assembly and degasser control assembly are a matched pair and must be
exchanged together.

 Loading...