2 Installing 8890 GC Columns
To Install a Capillary Column in a Split/Splitless Inlet
7000/7010 Series TQ GC/MS Operating Manual 33
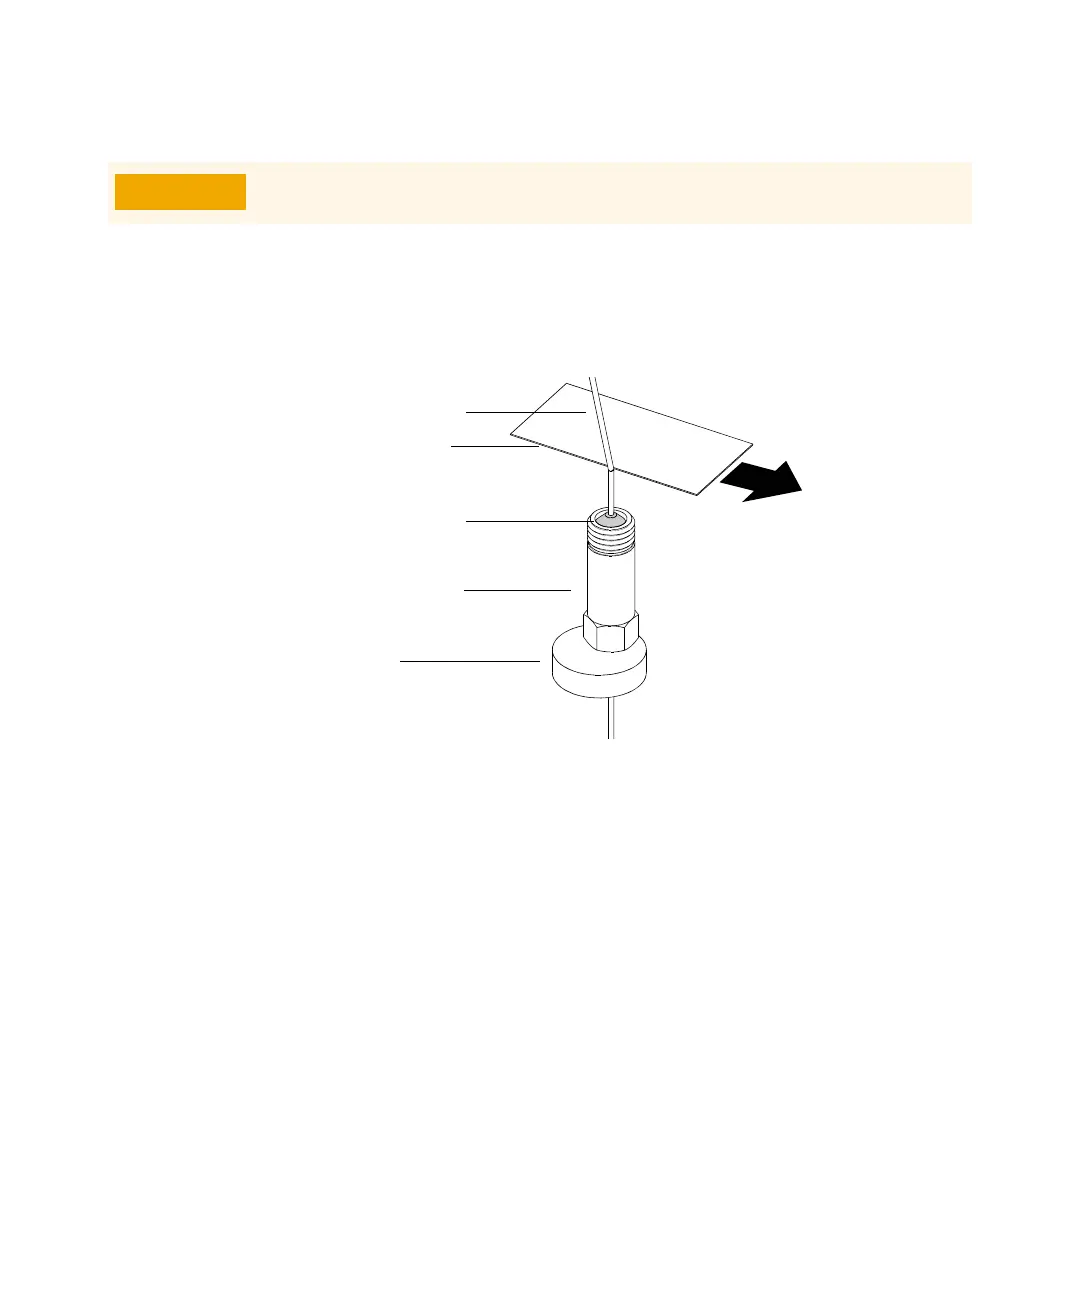
2 Wearing clean gloves, slide a septum, column nut, and conditioned ferrule
onto the free end of the column. Figure 2 shows a standard inlet column nut,
but the nut is similarly positioned for a self-tightening column nut. The
tapered end of the ferrule should point away from the column nut for a
column attachment to an inlet.
3 Use the column cutter to score the column 2 cm from the end.
4 While holding the column against the column cutter with your thumb, break
the column against the edge of the column cutter.
5 Inspect the end for jagged edges or burrs. If the break is not clean and even,
repeat steps 3 and 4.
6 Wipe the outside of the free end of the column with a lint-free cloth
moistened with methanol.
7 Position the septum under the column nut so that the column extends 4 to
6 mm past the end of the ferrule. (See Figure 3 on page 34.)
8 Insert the column in the inlet.
9 Slide the nut up the column to the inlet base and finger-tighten the nut.
Always wear clean gloves while handling any parts that go inside the GC or
analyzer chambers.
Figure 2. Preparing a capillary column for installation (standard inlet column nut
shown)
Capillary column
Column cutter
Ferrule
Inlet column nut
Septum
 Loading...


