-8 dB Range Flatness Adjustment (Channel 2)
-8 dB Range Flatness Adjustment (Channel 2)
This section applies to channel 2. It checks high frequency AC amplitude flatness on the -8 dB attenuator range. It also
checks flatness for all other ranges excluding the -24 dB and 0 dB attenuator ranges.
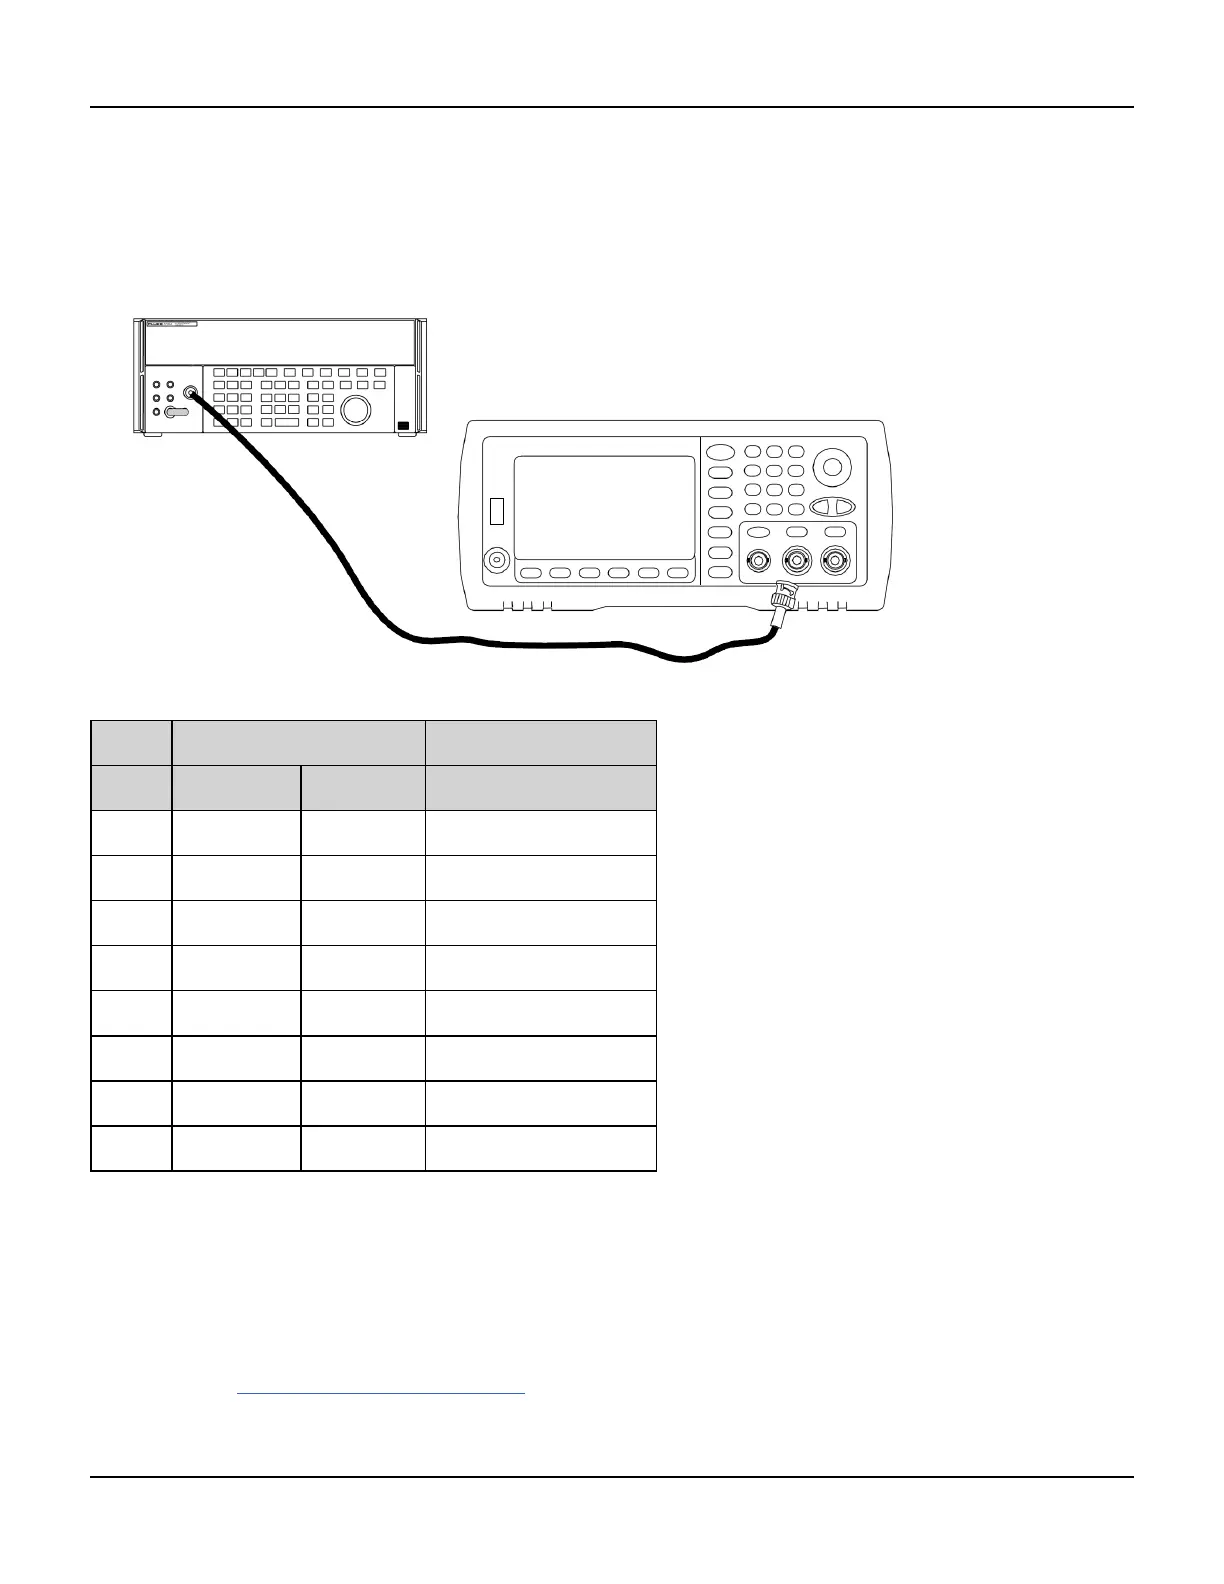
1. Connect a precision AC voltmeter to measure the output amplitude as shown below. Connect the BNC cable to the
Wide Band input of the Fluke 5790A.
2. Use the precision AC voltmeter to measure the output amplitude for each setup in the table below.
Nominal Signal
Setup Frequency Amplitude
93* 1 kHz 1.22 Vrms Flatness for -8 dB range
94* 100 kHz 1.22 Vrms Flatness for -8 dB range
95* 1 MHz 1.22 Vrms Flatness for -8 dB range
96* 5 MHz 1.22 Vrms Flatness for -8 dB range
97* 10 MHz 1.22 Vrms Flatness for -8 dB range
98* 20 MHz 1.22 Vrms Flatness for -8 dB range
99* 25 MHz 1.22 Vrms Flatness for -8 dB range
100* 30 MHz 1.22 Vrms Flatness for -8 dB range
* Constants are stored after completing this setup.
3. Using the numeric keypad or knob, adjust the displayed voltage at each setup to match the measured voltage.
Select ENTER VALUE.
4. After performing setup 100, you have now completed the recommended adjustment procedures. Verification of
the output specifications is recommended.
a. If your calibration procedures require you to verify the adjustment just made, exit the calibration menu and
perform -8 dB Range Flatness Verification.
404 Agilent 33500 Series Operating and Service Guide
 Loading...