15
Chapter 1 Quick Start
To Prepare the Instrument for Use
4
1
To Prepare the Instrument for Use
1 Check the list of supplied items
Verify that you have received the following items with your
Agilent 3499A/B/C mainframe:
❏ One power cord;
❏ This User’s Manual;
❏ One Quick Reference Guide;
❏ One Tie Down Clip 03499-21002 (for Agilent 3499B only);
❏ Any plug-in modules that you ordered are delivered in separate
shipping containers.
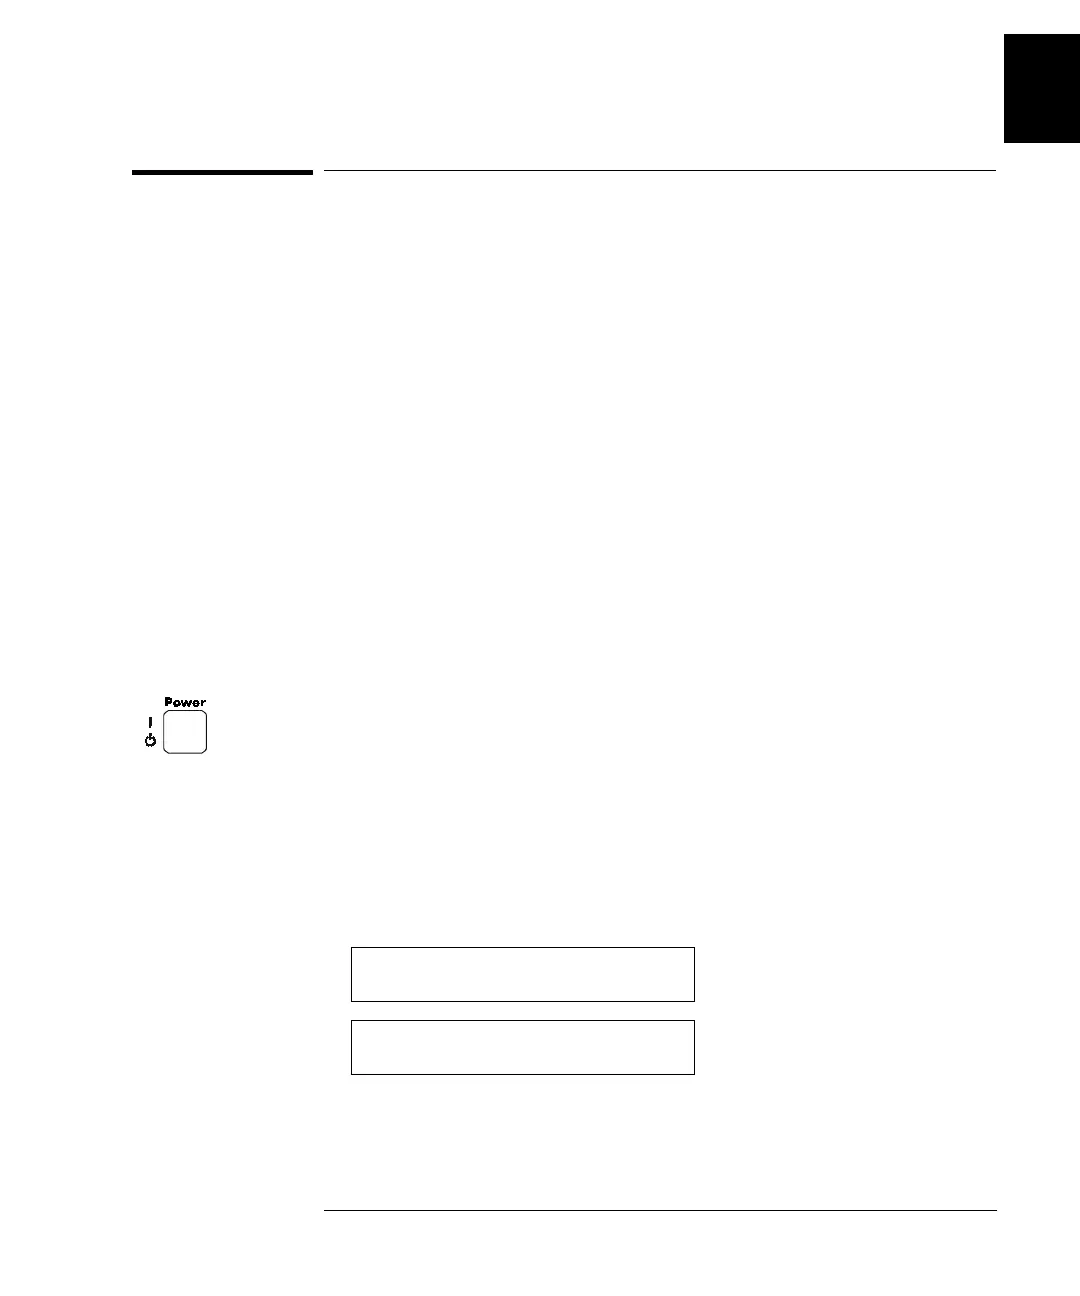
2 Connect the power cord and turn on the instrument
1. Connect the 3499A/B/C to an AC power source with the supplied
power cord.
2. Push the Power switch located on the lower left side of the front
panel.
3. On power-up, every segment in the display will light up briefly,
including all annunciators. Following this “starburst” display, the
internal self-test will begin.
4. If the self-test passes
1
, the default system mode and the GPIB
address are displayed, together with a “beep” sound. Then the display
shows the instrument model number and the active slot (slot 0).
1
If the self-test failed, the failure will be displayed on the front panel. For
details of all self-test errors, refer to “Error Messages” starting on page
165.
3499 0
SCPI GPIB 9
 Loading...