ProST Hardware Installation User Guide
Page 36 Commercial in Confidence UWB-D00111 Rev L
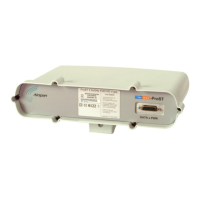
Figure19‐Wallmounttemplate
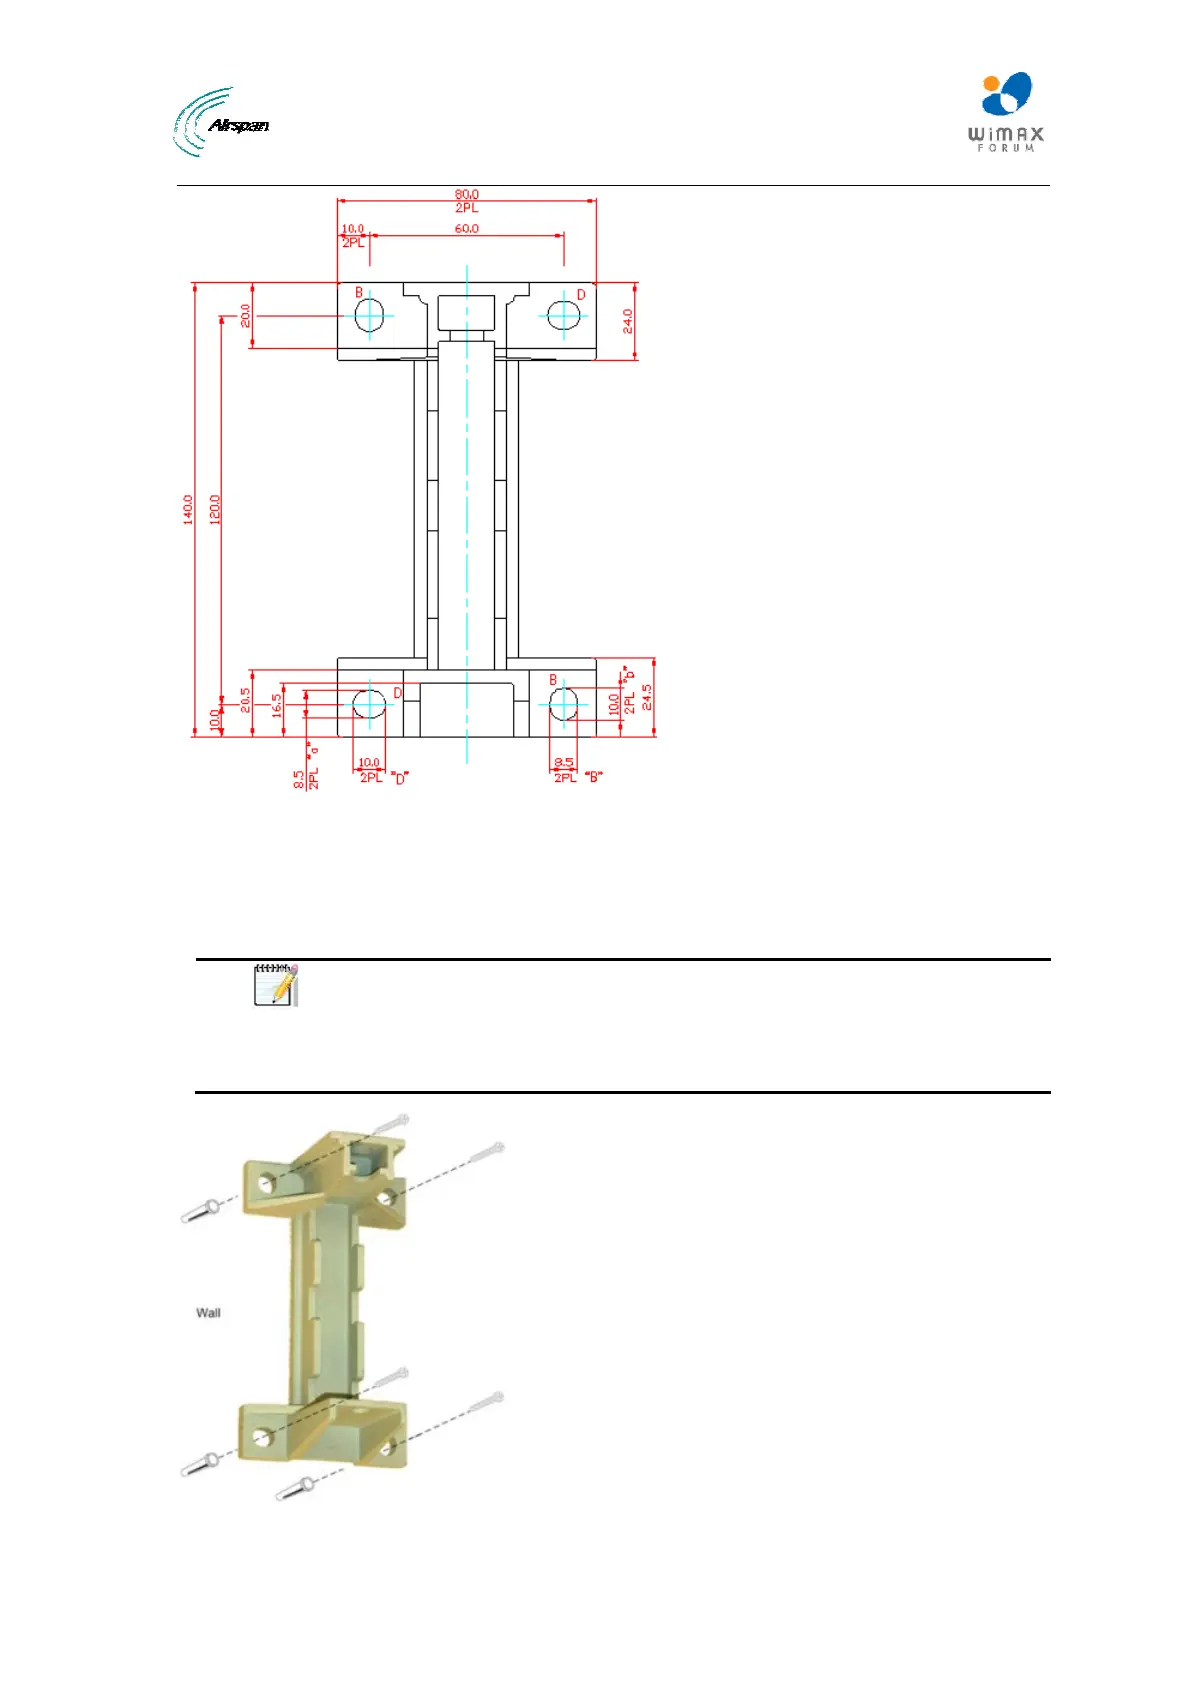
2. Drill holes for each hole that you marked in the step above.
3. Insert wall anchors (not supplied) into each of the drilled holes.
4. Align the mounting bracket's four holes with the wall anchors, and then insert a screw (not
supplied) through the mounting bracket holes into each wall anchor, and tighten.
Note: The screws are not provided for attaching the mounting bracket to the
wall. The screw size depends on the structure of the building to which the
bracket is to be attached. When selecting screw sizes, consideration must be
given to the weight of the ProST and load that may be induced in windy
conditions.