4 - CONNECTIONS - DD1500X
Page 14 Version 2.00 - March, 1996
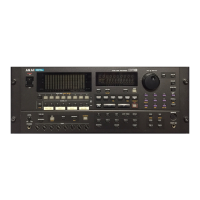
FRONT PANEL - INSERTING AN MO DISK
Assuming you have an MO drive installed, the disk is inserted thus:
W R I T E P R O T E C T S W I T C H
( T h i s s i d e )
W R I T E P R O T E C T S W I T C H
( O t h e r s i d e )
The side you wish to use is inserted face up. Power must be on for the disk to be
accepted as the load mechanism is motorised.
Disk Activity LED Disk Eject Button
When the disk is in use (i.e. playing back, recording, saving, loading, etc.), the DISK
ACTIVITY LED will flash.
To eject the disk, press the DISK EJECT button. Power must be on for the disk to be
ejected as the mechanism is motorised.
NOTE: If there is some problem ejecting the disk and/or power is not applied to the drive,
you can eject the disk by inserting a small metal tool in the small hole alongside the disk
eject button. Something like a rolled out paper clip will do it but a special tool is
recommended. This tool may accompany the drive unit.
It is possible to write protect MO disks to prevent accidental erasure, editing, formatting,
etc.. To do this, slide the WRITE PROTECT switch to the PROTECT position. If you only
intend to playback from the disk, it is a wise precaution to write protect the disk to prevent
accidental damage to a project.
Please consult your dealer about installing a second MO drive or hard disk drive.
 Loading...