Note:
The custom Option type must be a string. The value is the URL
4. Rename the AutoP config template.
5. Select general provisioning configuration file for the device
in-batch provisioning or the MAC-based configuration file for the
specific device provisioning.
6. Upload firmware to DHCP/TFTP/FTP/HTTP/HTTPS server.
7. Edit AutoP config template.
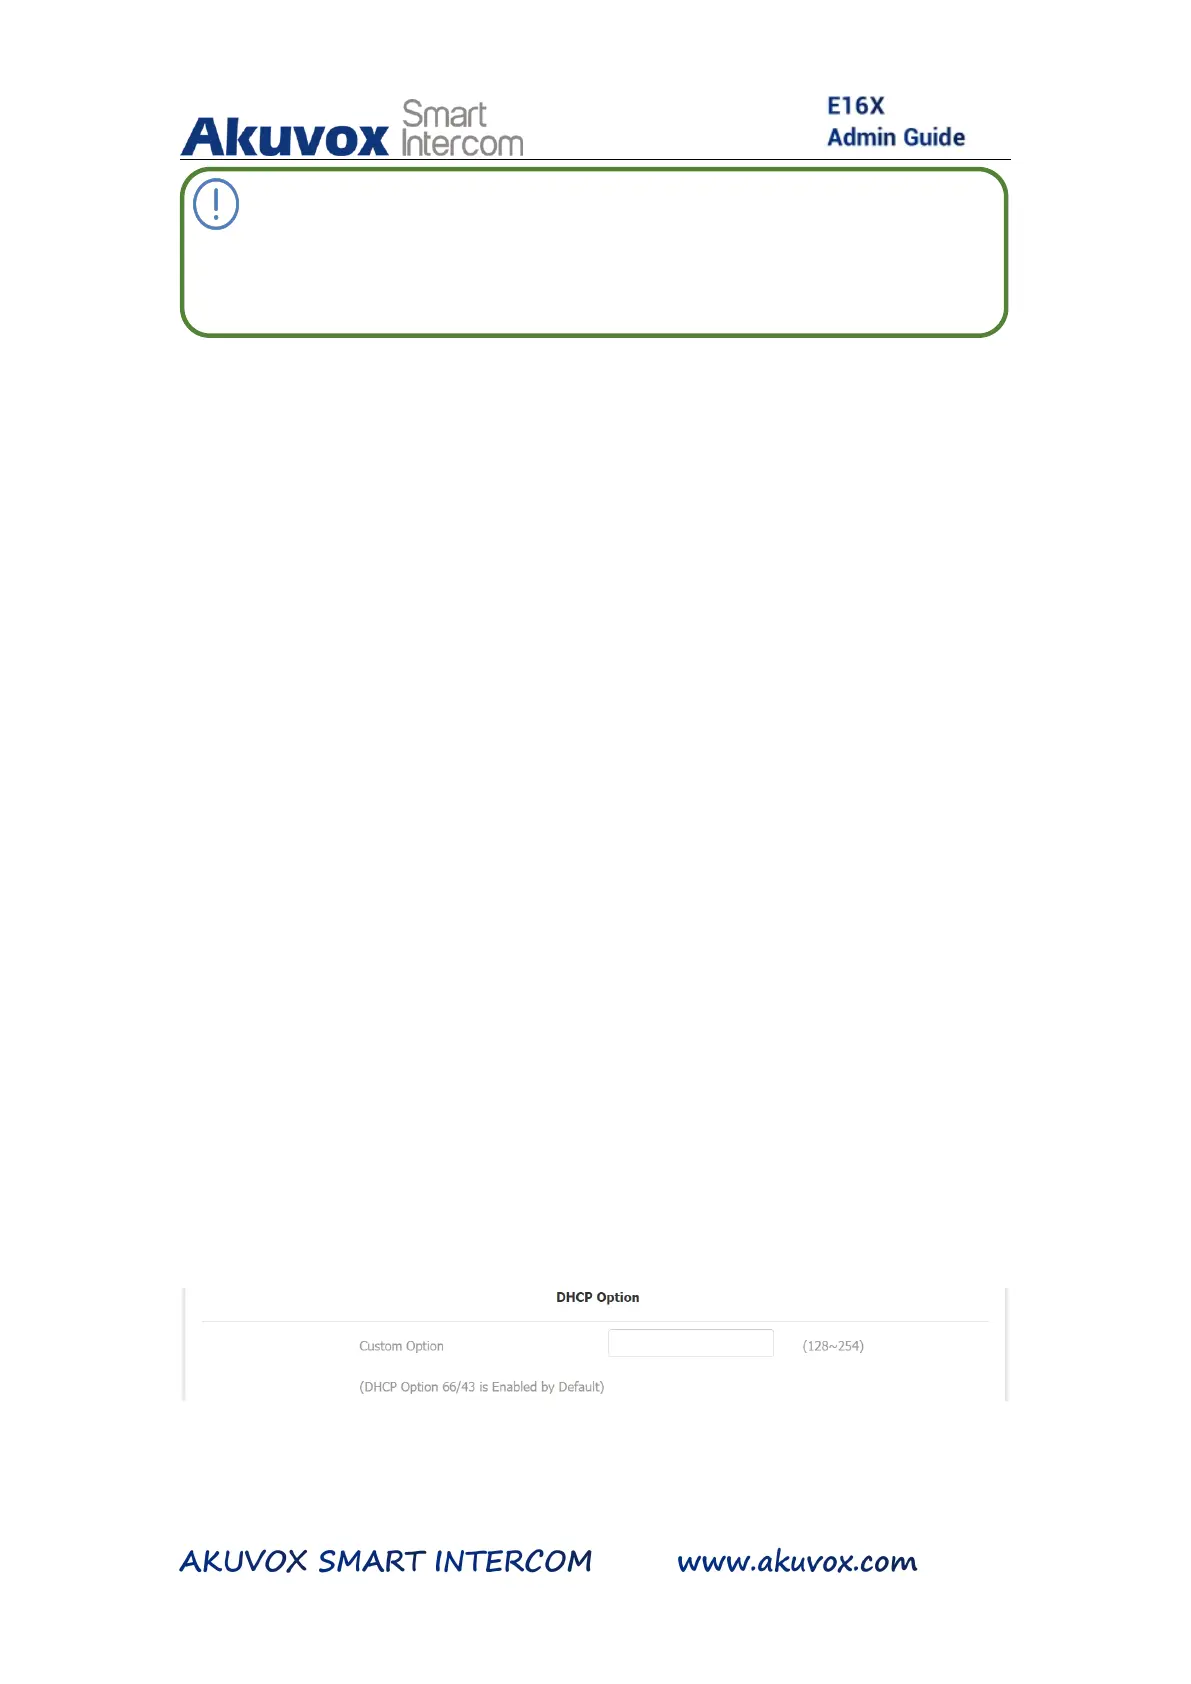
8. Go to Upgrade > Advanced > DHCP Option on the device web
interface.
9. Enter the DHCP code in the Custom Option field for the URL to the
config file server.
10.Click Submit tab for the validation and Cancel tab for the
cancellation.
 Loading...