Set Up Fire TV Stick Hardware
After you unpack your Fire TV Stick and remote, you will need to plug Fire TV Stick into your high-definition
TV and set up the remote.
Before you begin, locate the 2 AAA batteries (included) for the Amazon Fire TV Remote.
1. Plug the small end of the USB power cord into the Fire TV Stick device and the other end into the
power adapter. Then, plug the power adapter into a power source.
Note: It is recommended that you use the power adapter and plug it into a power outlet. Although some TVs have
USB ports, there may not be enough power for Fire TV Stick to work properly.
2. Plug the Fire TV Stick into an available HDMI port on your TV. If needed, you can use the included
HDMI extender to ensure your Fire TV Stick fits securely into your TV. The HDMI extender may also
improve your Wi-Fi connection. To use the HDMI extender, plug the Fire TV Stick into the HDMI
extender, and then plug the HDMI extender into an available HDMI port on your TV.
If your TV has more than one HDMI port, remember the number of the port into which you plugged your
Fire TV Stick.
3. Turn on your TV and select the applicable HDMI input.
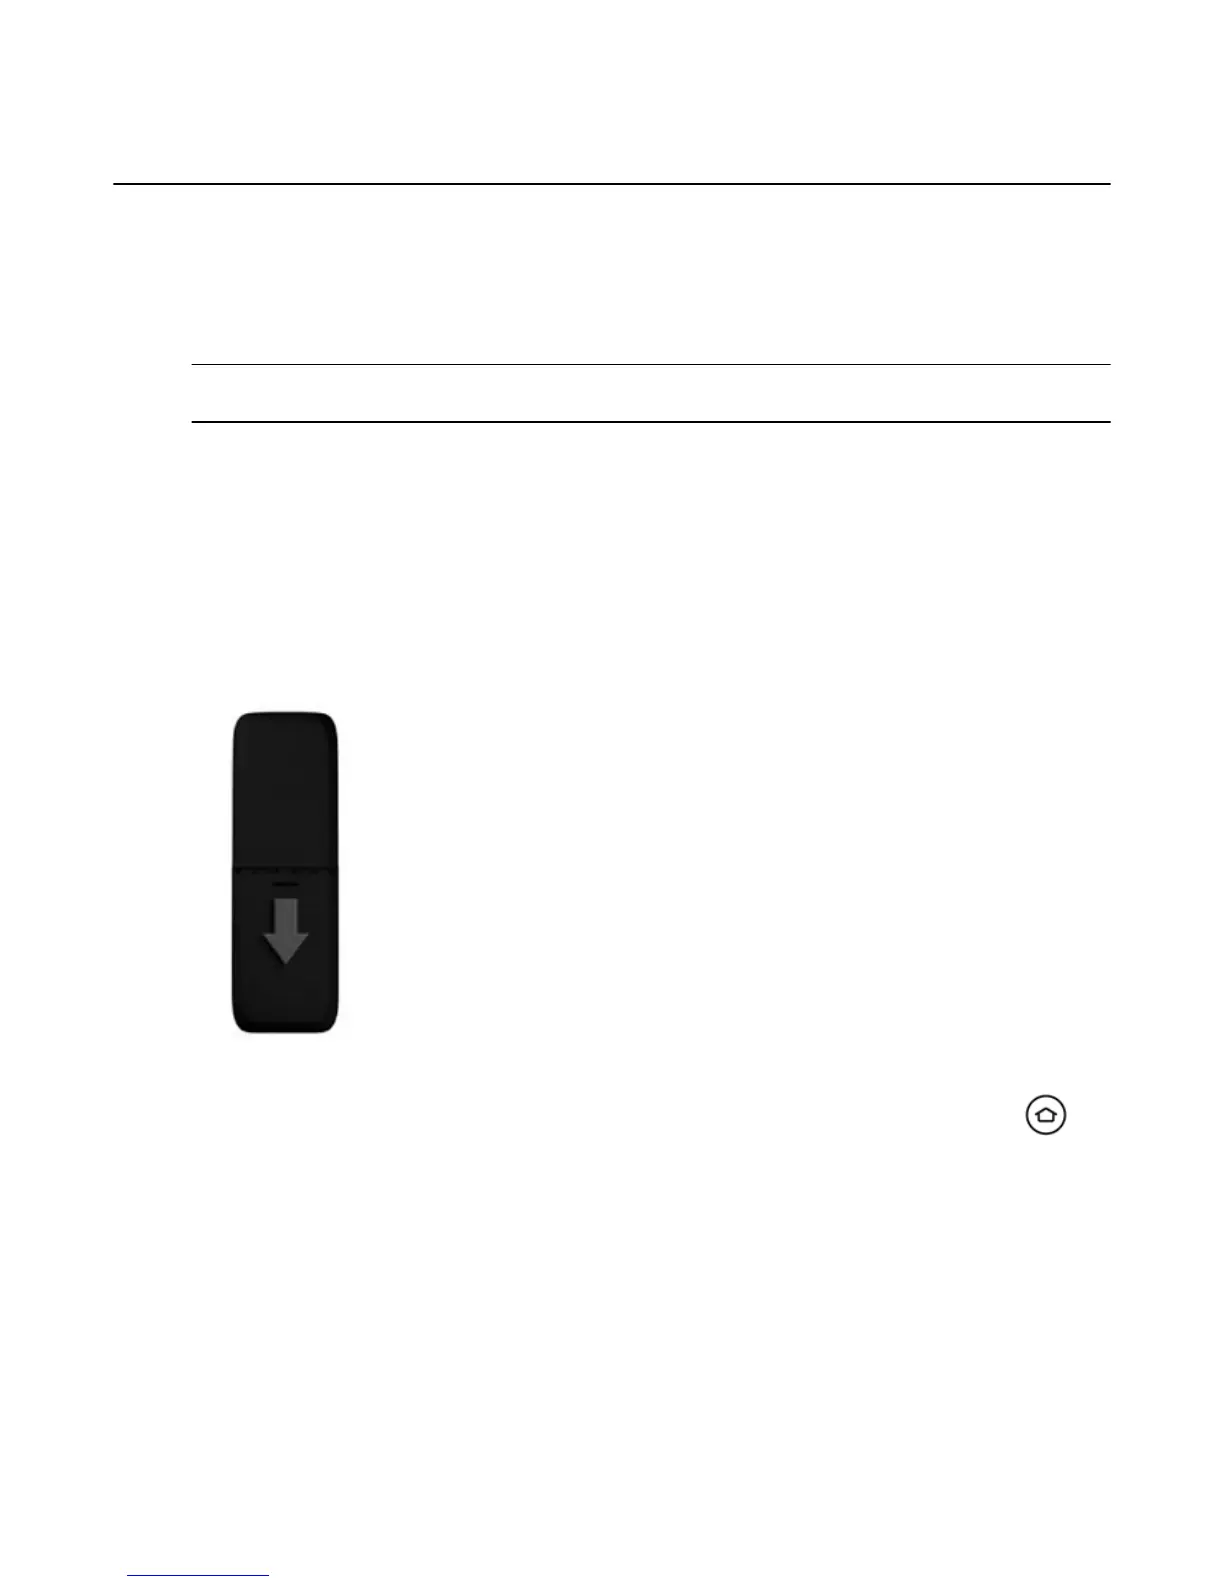
4. Insert the 2 AAA batteries into the Amazon Fire TV Remote.
a. Push in on the line on the back of the remote and while doing this, slide the battery door down.
b. Insert 2 AAA batteries and put the door back in place.
After you insert the batteries, the Amazon Fire TV Remote automatically becomes “discoverable” and
will automatically pair with your Fire TV Stick. If your remote isn’t discovered, press the Home
button for at least five seconds, and then release it.
Figure 5: Video: Set Up
Related Help Topics
Download & Pair the Fire TV Remote App on page 33
Amazon Fire TV Device Basics on page 4
Remote & Game Controller Basics on page 19
Basic Troubleshooting for Amazon Fire TV Devices on page 38
Set Up Fire TV Stick Hardware
44
 Loading...