34 User Guide EN Dansensor® LeakPointer 3/3
+
P/N 380064-F
06/2021
Determination of the Leak Correction Factor
To ensure that measurements are as uniform and correct as possible, the leak correction
factor should be adjusted individually for each product.
This is done by testing the packages with a known hole size, and therefor the testing should
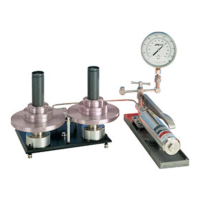
be performed using the leak simulation kit, that comes with the device.
This kit corresponds to a Standard 100 µm Dansensor hole.
If you want to make similar measurements with other hole sizes, we recommend using our
Leak Simulation Kit, which is an accessory that must be ordered separately - see
"Options/
Accessories" on page 91 for details.
The procedure requires that the necessary height adjustment and determination of vacuum
setting has been performed as described in
"Height adjustment" on page 30 and
"Determination of vacuum setting" on page 31 and that the package is positioned accordingly.
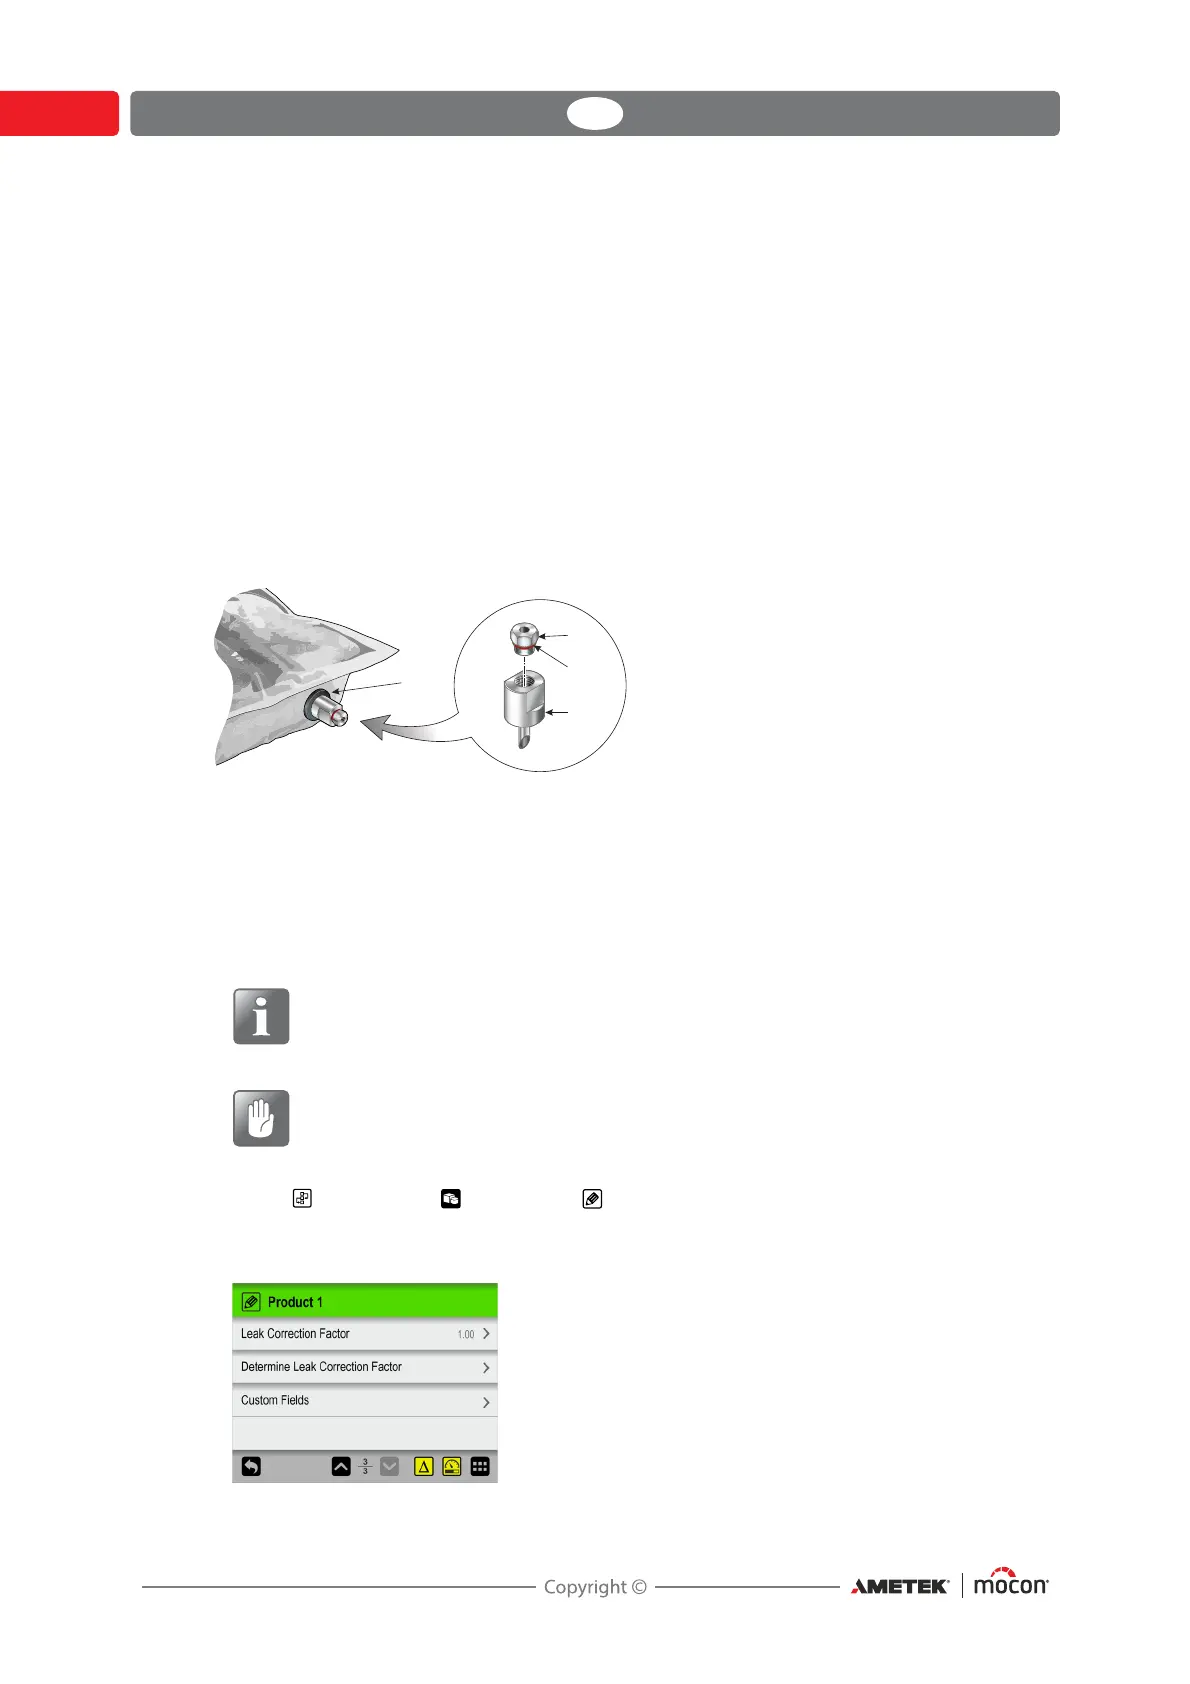
1. Place the O-ring on the restrictor , then assemble it with the needle .
2. Place a septum on the package.
3. Press the needle through the hole in the septum and into the package making sure that
the needle is fully seated onto the septum.
The needle should be inserted just before the test is done to ensure that the gas
concentration and gas amount in the package is correct.
NOTE! Make sure that the needle is not hit by the PackFix and the chamber,
when the chamber is closed. We recommend to place the needle through the
side of the package.
CAUTION! Make sure that the needle does not touch the product in the package,
as this could clog or soil the restrictor.
4. Select Workflow -> Products -> Edit and then select the product you have
created for the specific package type.
5. Check that the Leak Correction Factor is 1.00 (default for all new products)...
...then press Determine Leak Correction Factor.