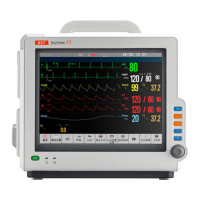
Patient monitor User’s manual
Chapter 19-13
Select
【
HUM
】
to choose the appropriate setup. You can choose from
Enter the main menu, Select
【
System Setup
】
→
【
QRS Volume
】,
select
an appropriate volume.【Close】means turning off the QRS volume while【3】
means the largest volume.
Choose the lead type according to the connected cable.
1) Enter the main menu, select【Module Setup】→【ECG Setup】→【Lead
2) Choose the lead type according to the connected cable. You can choose
from【3 lead】,【5 lead】and【12 lead】.
Enter the main menu, select 【Patient Manage】→【Pat. Information】
→【Paced】, You can choose between 【Yes】and【No】.
Before ECG monitoring, it is very important to correctly set patient paced
status. If the patient is a paced one and the paced signal is detected, “
︱
”
symbol will be marked above ECG waveform.
For the paced patient,【Paced】must be set to【Yes】. Otherwise, it may
lead to mistake the pace pulse for normal QRS waves. When ECG
signal is too weak, the system can’t detect and give alarm.
For the non-paced patient,【Paced】 should be set to【No】. Otherwise,
the system can neither detect the arrhythmia caused by PVC
(including PVCs counting) nor analyse ST segment.
Enter the main menu, select【Module Setup】→【ECG Setup】→【ST
Setup
】
→
【
ST Switch
】
, turn on or off the function.
Enter the main menu, select【Module Setup】→【ECG Setup】→【ST
Setup
】
. In the pop-up window you can operate as follows:
Set the alarm level, Alarm Switch and high/low alarm limits of ST;



 To Next Page