DRAFT
September 25, 2007 1:07 am, 4376782_Install_to_a_Network.fm
Chapter 5 Connect the System to a Network
Set Up a Computer for Remote Monitoring
81
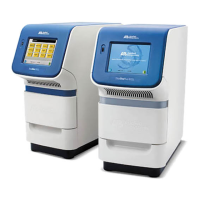
Applied Biosystems StepOne
™
and StepOnePlus
™
Real-Time PCR Systems
Installation, Networking, and Maintenance Guide
Notes
6. Set the Internet Protocol (TCP/IP) Properties:
7. If your network requires advanced TCP/IP settings (such as WINS settings):
a. Click Advanced in the Internet Protocol (TCP/IP) Properties dialog box.
b. Define the IP Settings, DNS, and WINS tabs as instructed by your systems
administrator, then click OK.
8. Close all dialog boxes by clicking OK.
9. Restart the computer.
Note: The computer is now visible to other computers on the network.
Install the
StepOne
™
Software
1. If you have not already done so, install the StepOne
™
software to the networked
computer (see “Install the Software” pages 34 or 57).
Note: The StepOne
™
software is required to monitor the instrument over the
network.
2. (Optional) Install protective software to the computer (see “Select Protective
Hardware and Software” on page 7).
Network
Configuration
Action
DHCP 1. Select Obtain an IP address automatically.
2. If the computer obtains DNS addresses:
• Automatically – Select Obtain DNS server address
automatically.
• Statically – Select Use the following DNS address, enter the
address of the preferred and alternate DNS servers if available.
Static IP 1. Select Use the following IP address.
2. In the IP Address field, enter the static IP address.
3. If necessary, enter a subnet mask.
4. If necessary, enter a static gateway address in the Default
Gateway field.
 Loading...
