30
Quick, step by step setup guide
The following procedure should be followed for initial device setup:
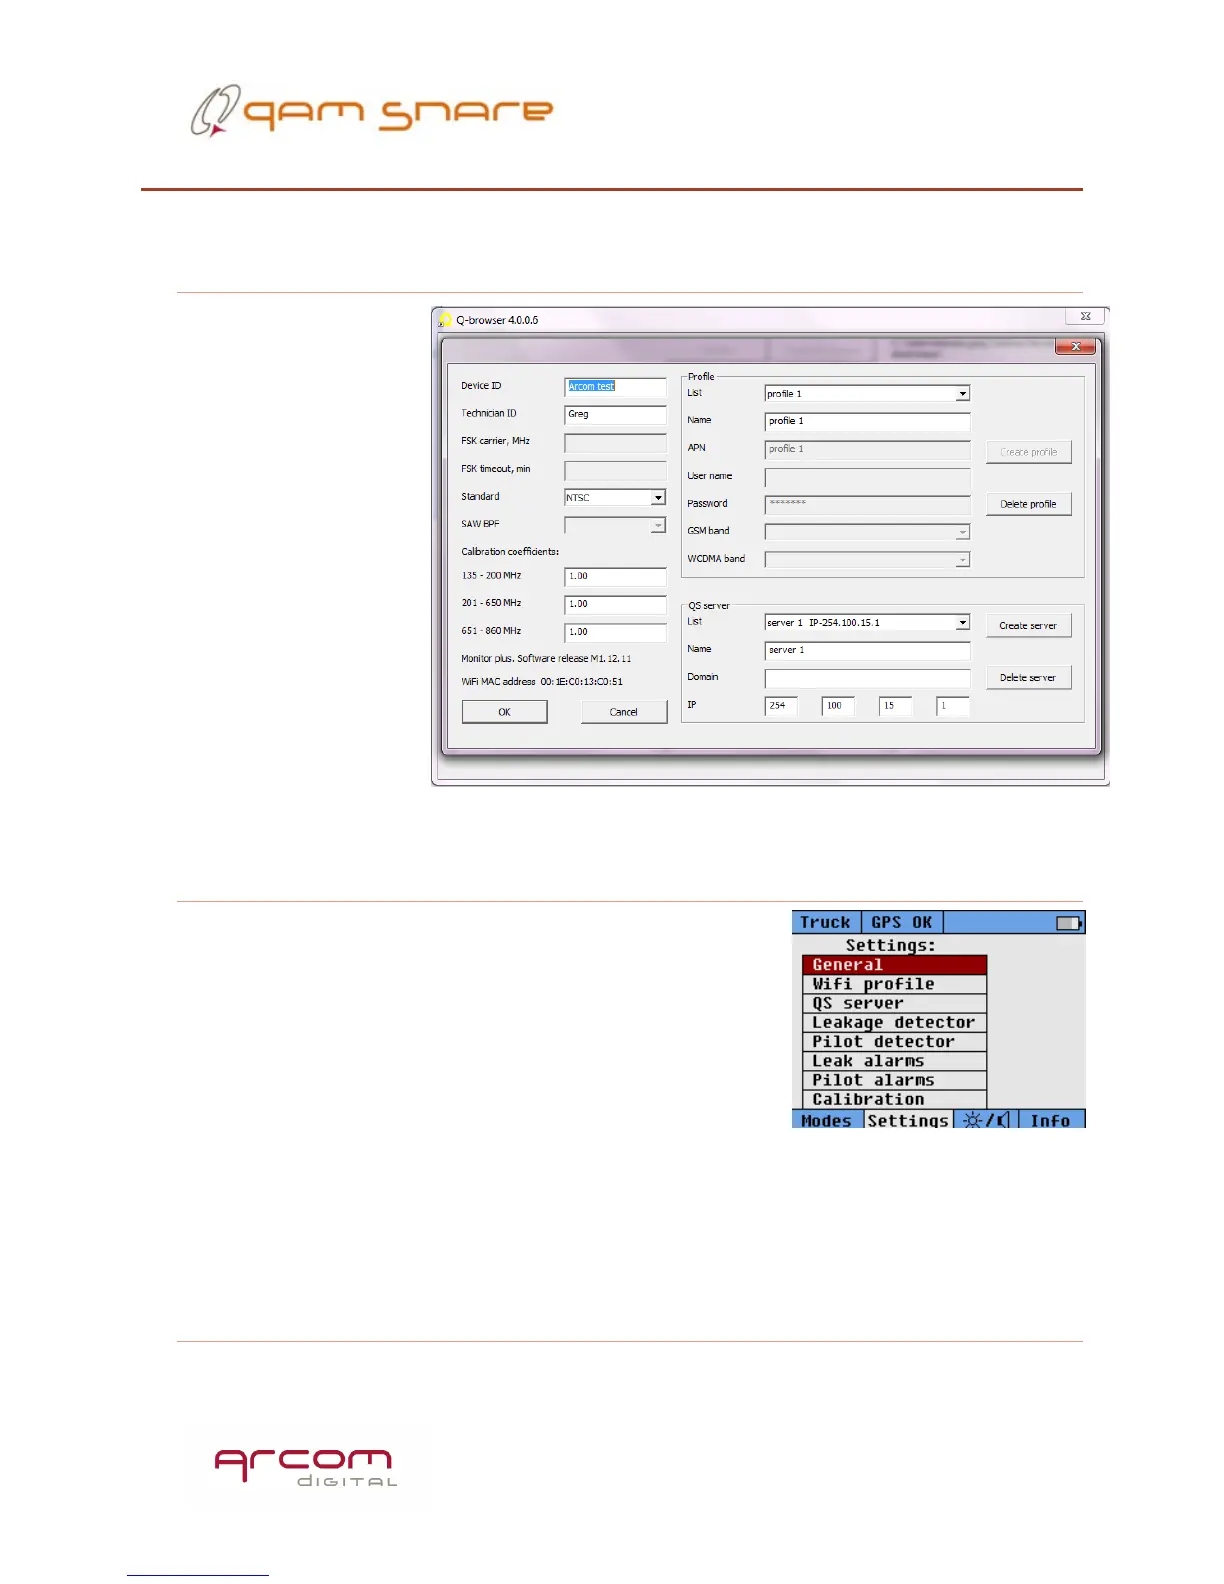
1- Configure device using Q-browser
The first step in
setup is to place the
Navigator plus in its
cradle and connect to
a PC that has the Q-
browser software
loaded on it.
Connection should
be via USB from the
cradle USB port to the
PC. After connecting,
the Wi-Fi SSID(s) and
password need to be
entered, the Server
Dynamic DNS or IP
address needs to be entered, and the device and user ID needs to be entered.
2- Select device settings
Press the Settings hot key, then enter the Wi-Fi
Profile and ensure Truck and Walk mode Wi-Fi settings
are selected as desired, then enter QS server and make
sure the server setting is selected as desired, then
enter Leakage detector and select the number of bands
desired for detection, and the detection channel and
type of modulation within each band. Consult with a
manager for guidance as to specifics on what channels should be used for
detection. There is a limit of four allowable channels at any one time for a server,
and Global channels should be previously configured in the QAM Snare Manager
software to ensure the desired channels for detection are always available.
3- Configure Leak alarm thresholds

 Loading...