43
The low water device input must be made for the
pump to start in either hand mode or auto mode.
O
Stops the pump.
Auto On
Enables the pump to be controlled via the control terminals
and/or serial communication. When a start signal is applied
on the control terminals the pump will start.
For the pump to operate in either Sensorless mode
or any other automatic control mode it is neces-
sary to have pressed the Auto On button.
Reset
Is used for resetting the frequency converter after an
alarm (trip).
12.4 programming
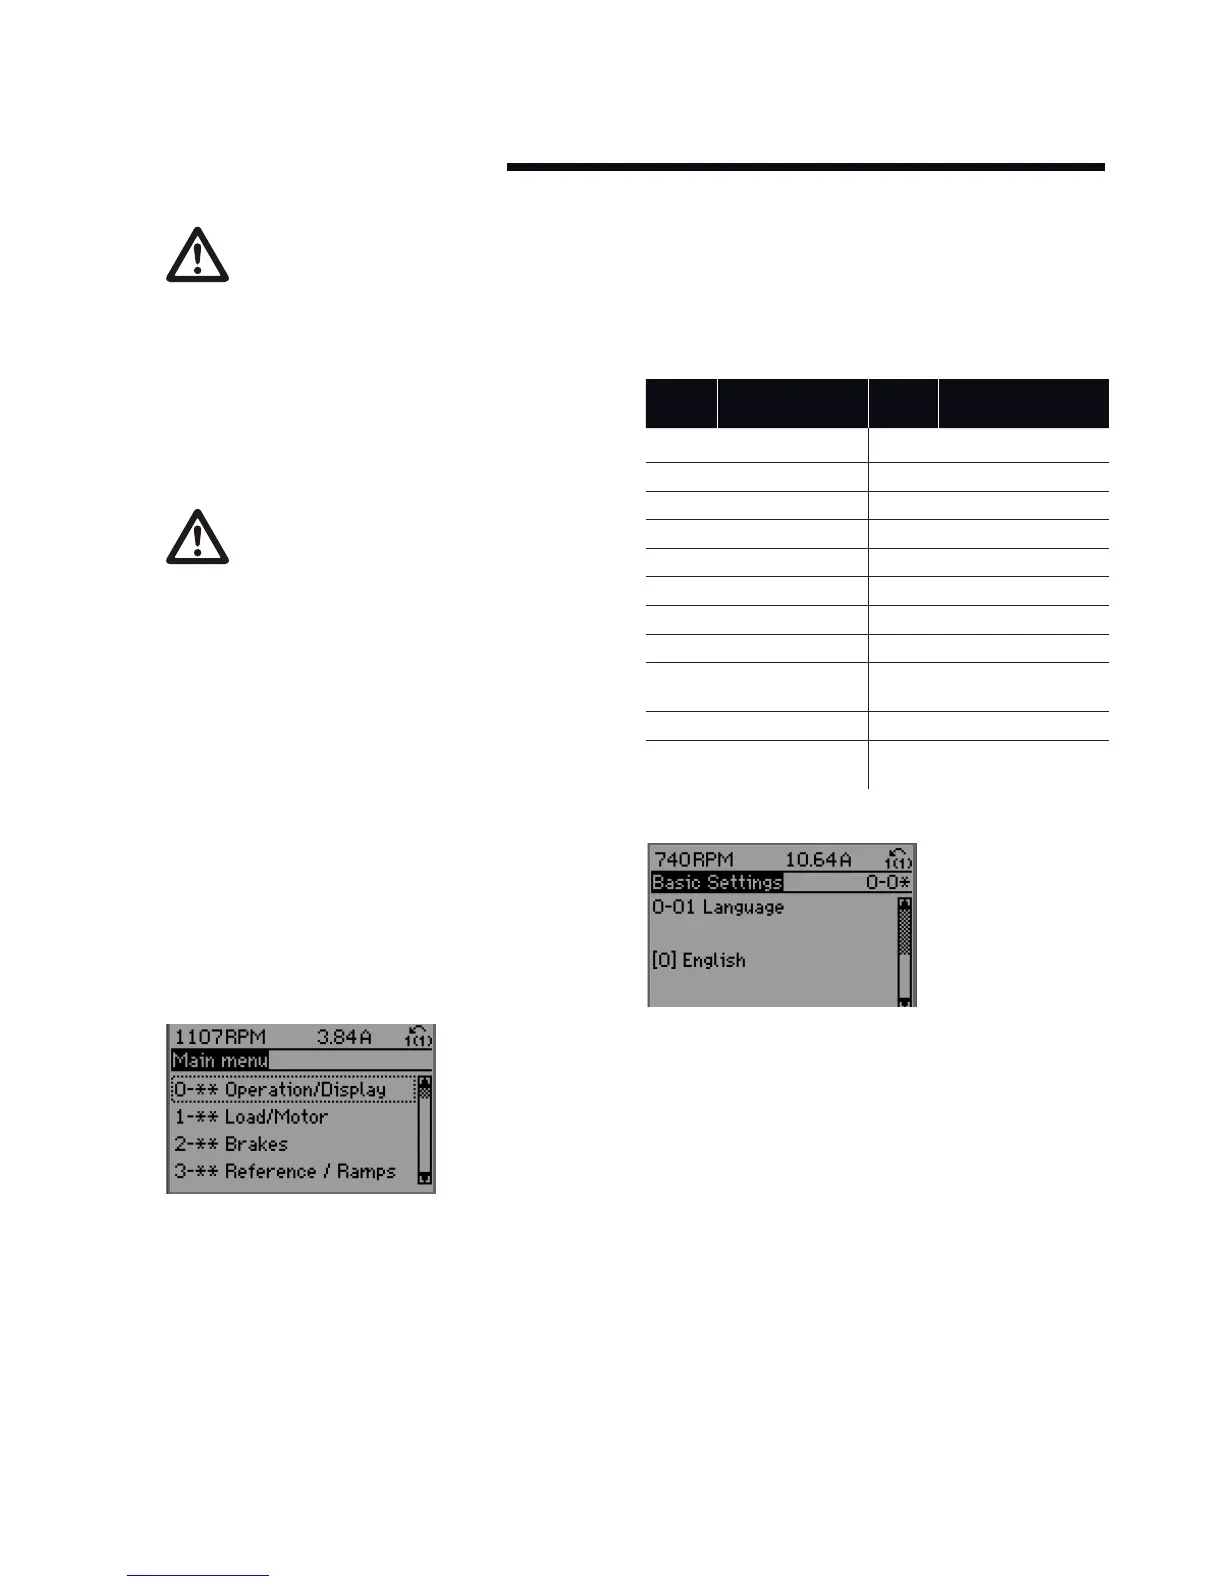
Select the Main Menu mode by pressing the Main Menu
key. The below read-out appears on the display. The middle
and bottom sections on the display show a list of parameter
groups which can be chosen by toggling the up and
down buttons.
Each parameter has a name and number which remain the
same regardless of the programming mode. In the Main
Menu mode, the parameters are divided into groups. The
first digit of the parameter number (from the left) indicates
the parameter group number.
All parameters can be changed in the Main Menu. However,
depending on the choice of configuration (
Par.
1-00 Configu-
ration Mode), some parameters can be hidden.
12.4.1 parameter selection
In the Main Menu mode, the parameters are divided into
groups. You select a parameter group by means of the navi-
gation key
The following parameter groups are accessible:
group
no.
parameter
group
group
no.
parameter
group
0 Operation/display 13 Smart Logic
1 Load/motor 14 Special functions
2 Brakes 15 fc information
3 References/ramps 16 Data readouts
4 Limits/warnings 18 Data readouts 2
5 Digital in/out 20 Drive closed loop
6 Analog in/out 21 Ext. closed loop
8 Com. and options 22 Application functions
9 Profibus 23 Time-based
functions
10 can Fieldbus 25 Cascade controller
11 LonWorks 26 Analog i/0 option
mcb 109
After selecting a parameter group, choose a parameter by
means of the navigation keys.
The middle section on the display shows the parameter
number and name as well as the selected parameter value.