Sheet #678u – Starting up
Version 1.04a User guide ATEQ 6th series Page 1/4
START-UP SETTING
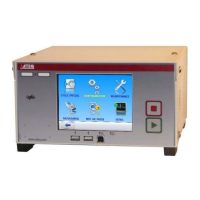
1. POWERING UP THE ATEQ 6
TH
SERIES
The powering the ATEQ 6
th
series can be done by three ways depending of the option ordered
by the customer.
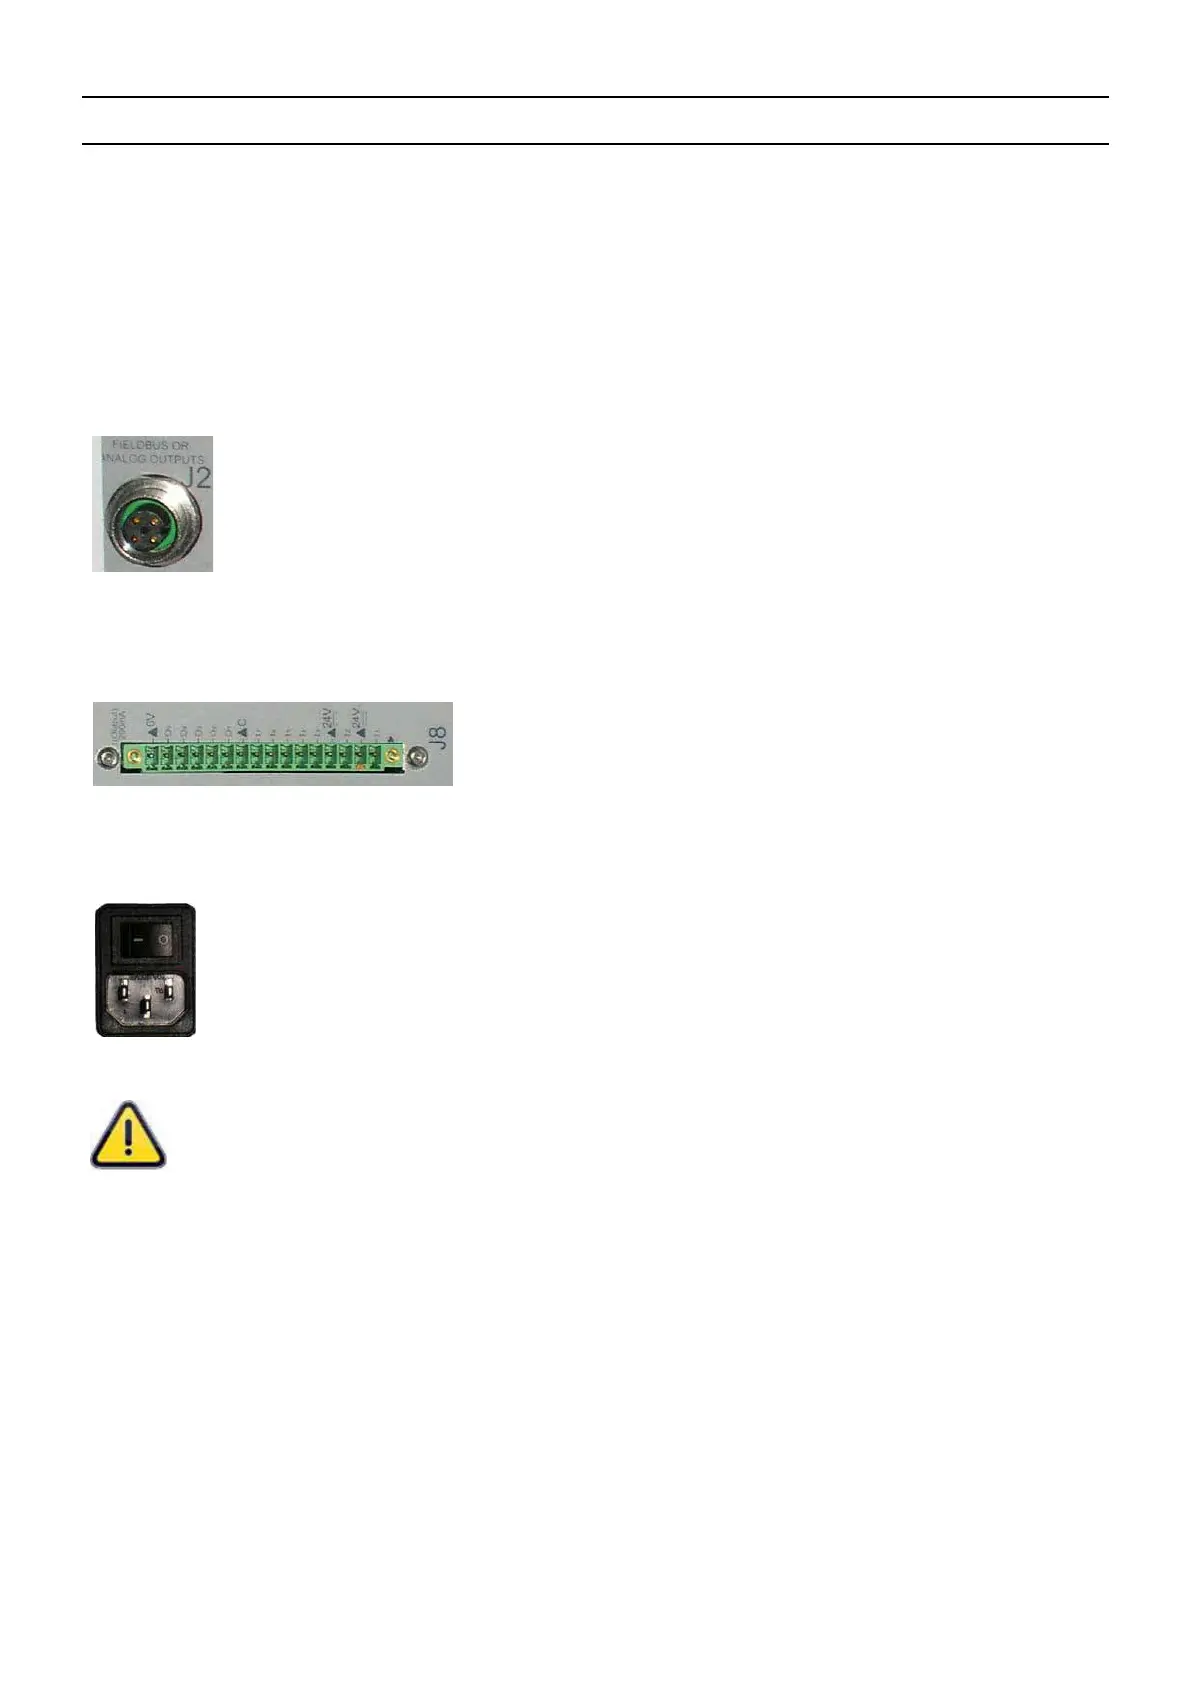
1.1. SUPPLY WITH 24 V DC - 2A ON THE M12 CONNECTOR
Connect the power supply fitted with the device. This option is not available if the
connector is used for the network fieldbus (Devicenet / Profinet).
¾ Pin 2 : + 24 V DC.
¾ Pin 4 : ground 0 V.
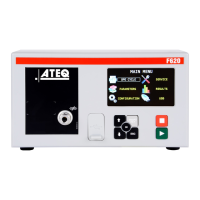
1.2. S
UPPLY WITH 24 V DC - 2A ON THE RELAY BOARD
Connect by the following way:
¾ 24 V DC on the pins 2 or 4.
¾ 0 V on the pin 16.
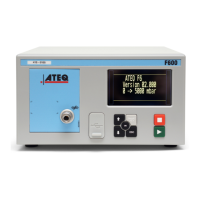
1.3. S
UPPLY WITH 100 / 240 V AC AND ON/OFF SWITCH
With 90 to 240 V DC (50W) network with built in power supply. The instrument is
used for sampling or laboratory setting: power the instrument with a power cord
(instrument with built in power supply).
I : ON / O : OFF.
For North America, the standard way to power the instrument is to supply 24V
to pin 2 or 4 and ground pin 16 of the J3 connector.