Fastening the Branch Gateway to the wall on page 26
Attaching brackets to the Branch Gateway for wall mounting
About this task
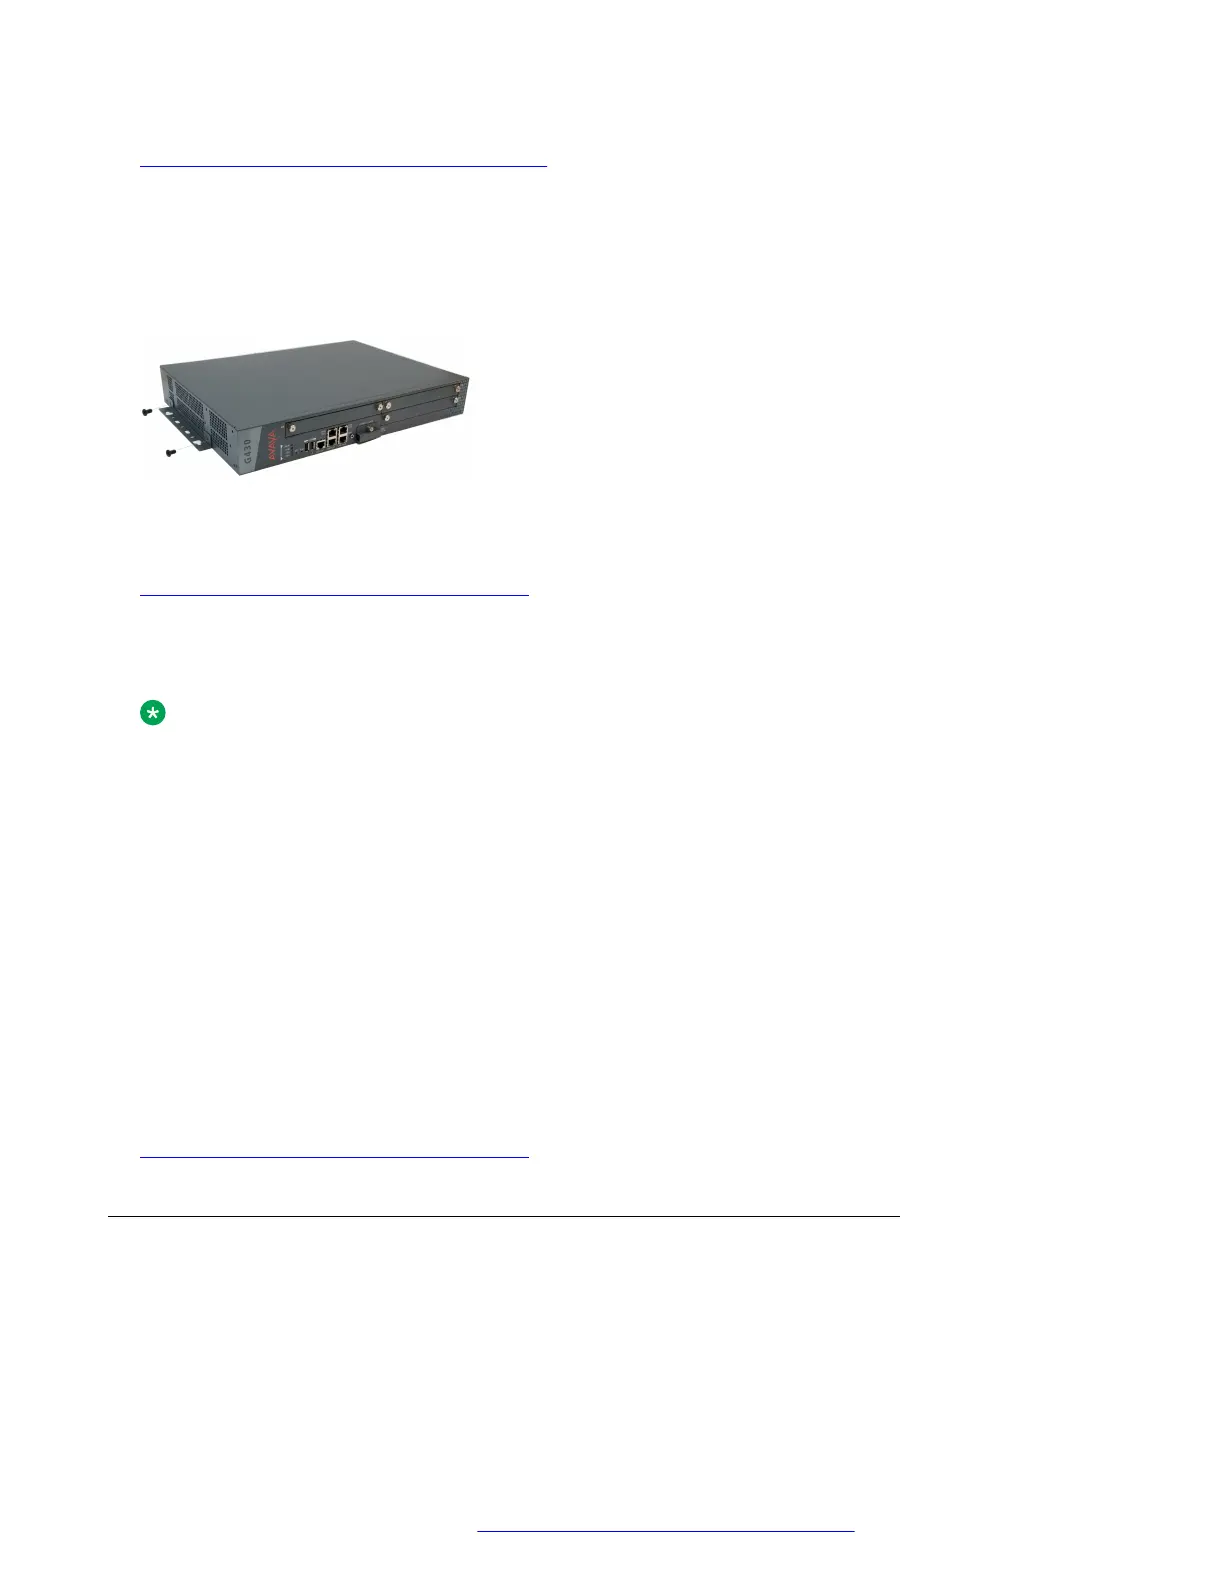
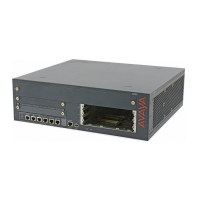
Attach a wall mounting bracket to each side of the Branch Gateway, as shown in the following
figure.
Figure 1: Attaching a bracket to each side of the Branch Gateway
Related links
Mounting the Branch Gateway on a wall on page 25
Fastening the Branch Gateway to the wall
About this task
Note:
The plywood and the hardware to mount the plywood are customer-provided.
Procedure
1. If the wall does not have a portion of plywood available, mount a plywood sheet at least ¾ in
(2.0 cm) thick and at least 4 x 4 ft (1.2 x 1.2 m) in size, horizontally onto the wall.
Make sure the plywood is sufficiently anchored in the wall. Use a minimum of four wood
screws and ensure the screws are driven into wall studs, or use four wall anchors rated not
less than 50 pounds (22.5 kg) shear strength each.
2. Mark the plywood with the location of the Branch Gateway bracket screw holes before
fastening the plywood to the wall.
3. Position the Branch Gateway so that its front panel is facing up, and secure it to the plywood
using a minimum of four screws (pan head at least ¾ in, #10-12 screw).
Related links
Mounting the Branch Gateway on a wall on page 25
Placing the Branch Gateway on a table
About this task
If you install the Branch Gateway as a tabletop unit, affix the provided rubber feet to the underside of
the Branch Gateway.
Installing the Branch Gateway and EM200
February 2017 Installation and Upgrades for the Avaya Branch Gateway G430 26
Comments on this document? infodev@avaya.com


 To Next Page