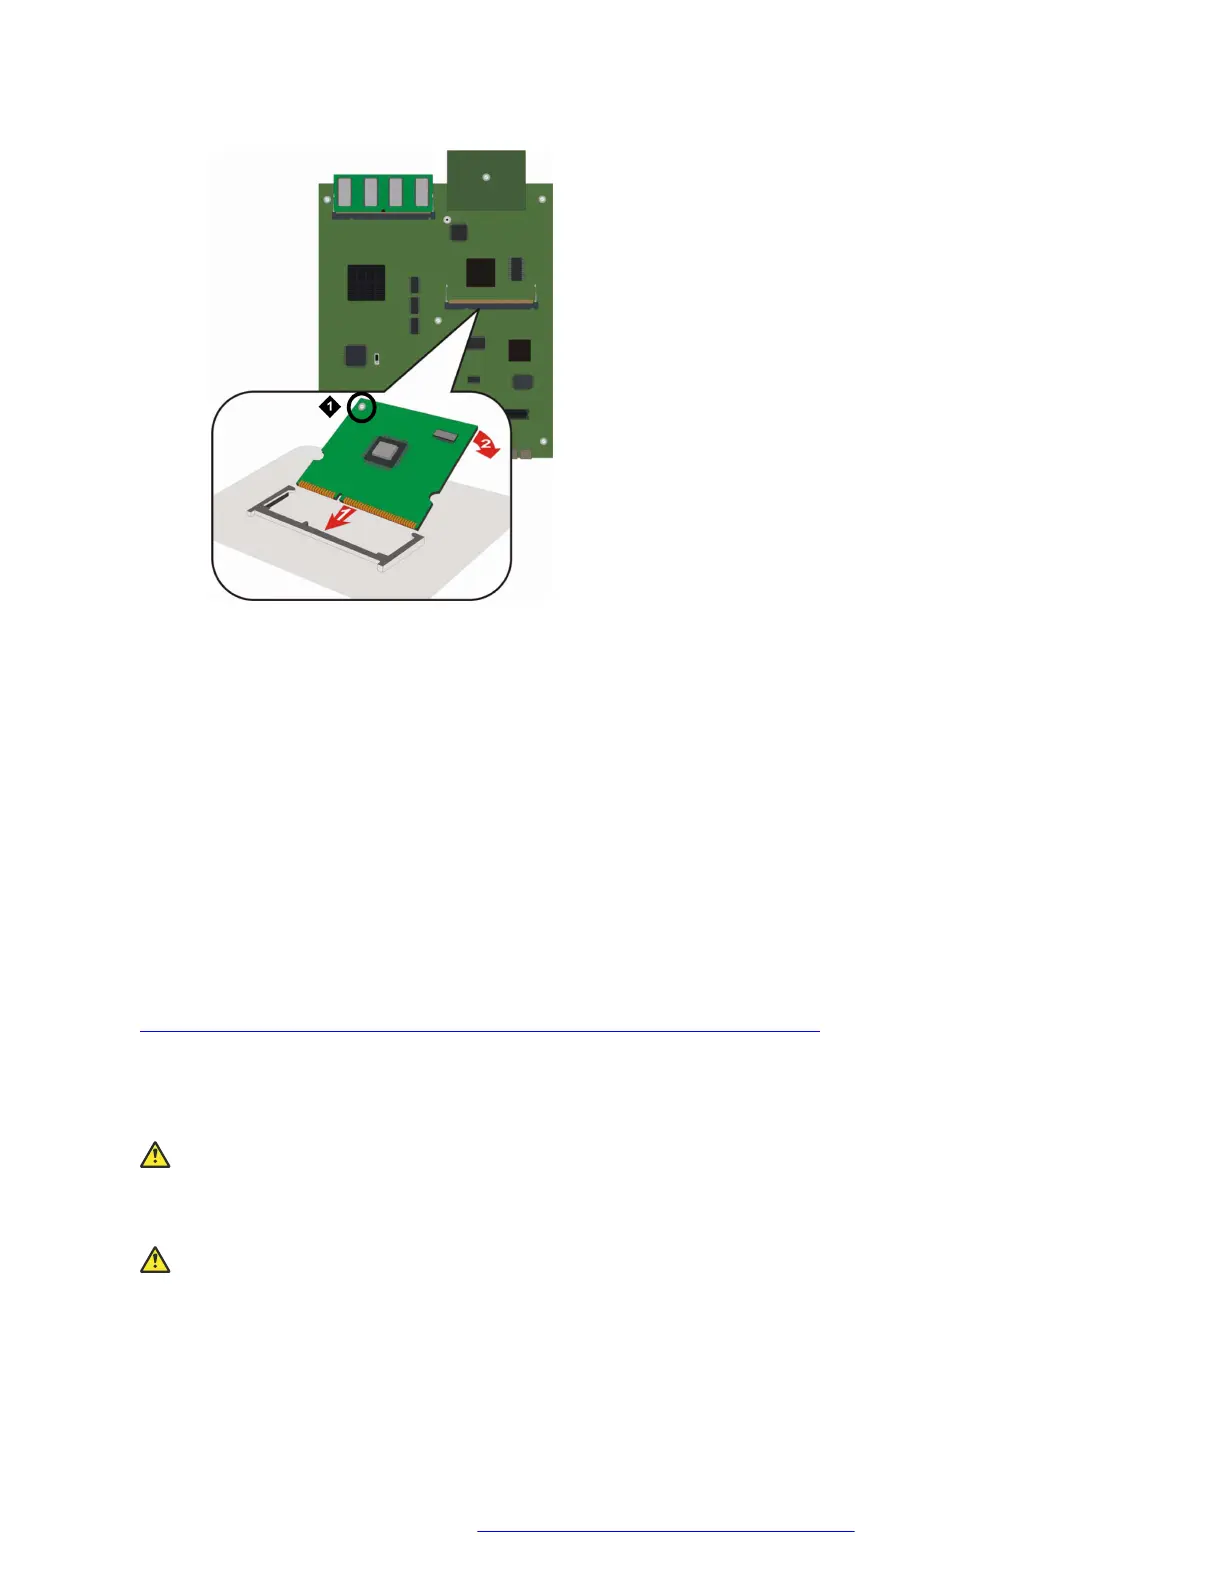
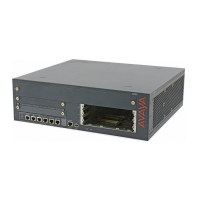
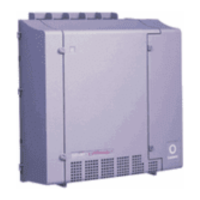
Figure 28: Inserting a VoIP module into the VoIP module slot
Table 7: Figure notes:
a. VoIP module locking screw
4. Push the module in all the way.
Do not use too much force.
5. Flatten the module so it is flush with the main board.
The latches at both sides click shut.
6. Tighten the locking screw affixed to the VoIP module.
This secures the VoIP module to the motherboard.
Related links
Inserting or removing an MP10, MP20, MP80, or MP120 VoIP module on page 74
Removing a VoIP module
About this task
Electrostatic alert:
Hold the module only by its edges to avoid damage from static electricity. Do not touch the top
or bottom of the circuit board. If possible, wear a wrist-strap and use an anti-static bag.
Caution:
The connector pins can be bent or damaged if the module is handled roughly, or if misaligned
and then forced into position.
Upgrading and replacing Field Replaceable Units
February 2017 Installation and Upgrades for the Avaya Branch Gateway G430 78
Comments on this document? infodev@avaya.com


 To Next Page