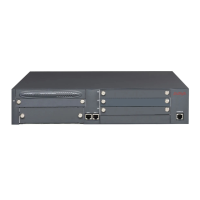
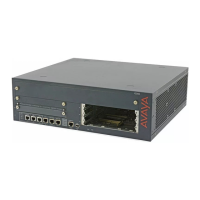
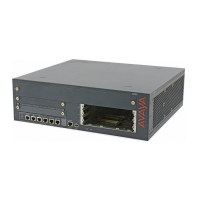
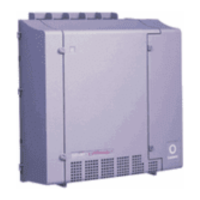
Placing the Branch Gateway on a table
About this task
If you install the Branch Gateway as a tabletop unit, affix the provided rubber feet to the underside
of the Branch Gateway.
Procedure
1. Remove the four feet from their packaging.
2. Turn the Branch Gateway upside down.
3. Position each foot into one of the mounting sites, near each corner of the chassis.
Mounting the EM200 expansion module
About this task
You can optionally extend the G430 by attaching one or two EM200 expansion modules to the
G430. Since the cables attaching the EM200 expansion modules to the G430 are short, you must
install the Branch Gateway and EM200s directly above or below each other.
The EM200 expansion modules can be mounted in a rack or on a table, similarly to how the
Branch Gateway is mounted. Refer to
Mounting the Branch Gateway chassis on page 22. Note
that although the figures illustrating the mounting instructions depict a Branch Gateway, all rack
and table mounting procedures apply equally to both the G430 and the EM200. Keep in mind the
following:
Procedure
If you are mounting the Branch Gateway and EM200 module(s) on a table, always place the G430
on top of the EM200(s).
This enables easy access in case you need to open the G430 cover in order to add or replace a
DSP module or the RAM card.
Result
Note:
You cannot mount a G430 with EM200 modules on a wall.
Related links
EM200 installation on page 28
Mounting the EM200 expansion module
July 2018 Deploying and Upgrading Avaya G430 Branch Gateway 27
Comments on this document? infodev@avaya.com


 To Next Page