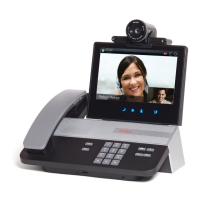
Figure 49: Controlling your Scopia
®
XT Executive with your computer
Scopia
®
XT Control also offers shortcuts for some commonly used tasks, such as sharing content
during a call.
You can still use the XT Remote Control Unit at any time (see About the XT Remote Control Unit on
page 70 for details).
Before you begin
To access the endpoint's main menu using your keyboard and mouse, you must first perform the
following procedures:
1. Connect your computer to the Scopia
®
XT Executive to use it as your computer's monitor
(see
Connecting a Computer to the XT Series on page 65).
2. Perform the initial setup described in
Configuring Basic Settings with the Quick Setup
Wizard on page 83. The last step of the quick setup wizard is installing the Scopia
®
XT
Control utility (see Installing Scopia
®
XT Control to Use Keyboard and Mouse (Scopia
®
XT
Executive) on page 91).
Procedure
1.
Select the Scopia
®
XT Control icon in your taskbar:
The icon turns gray indicating the keyboard and mouse control the endpoint navigation, the
menus appear on the screen, and the mouse cursor is now a square . Move the mouse all
the way to the edge of the screen to ensure the square icon follows its movements.
Controlling the XT Series
74 Avaya Scopia
®
XT Series Deployment Guide April 2015
Comments? infodev@avaya.com

 Loading...


