6. For Windows users only, launch the installation package:
a. Select Next in the installation wizard and select to install Scopia
®
XT Control.
b. Select the installation folder and click Next.
c. Choose a location in the Start menu, and select Install.
d. Select Finish.
Scopia
®
XT Control automatically connects to the Scopia
®
XT Executive.
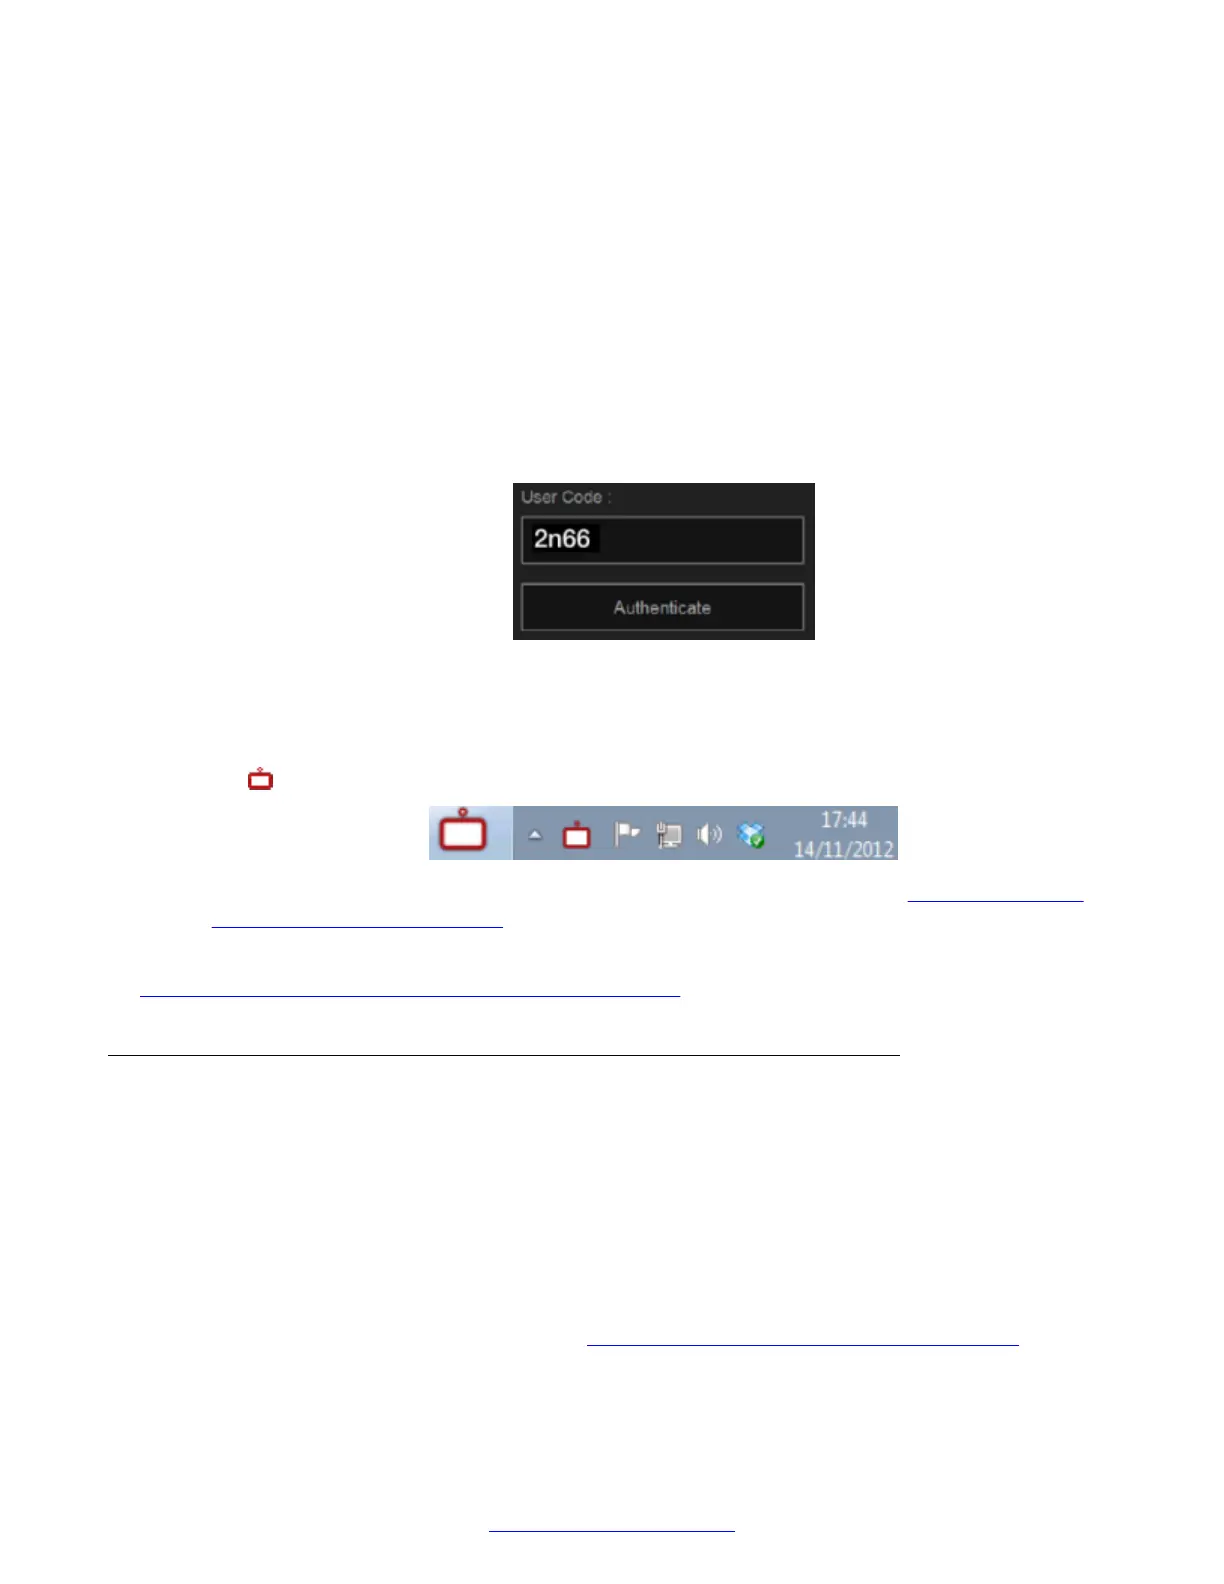
7. Use your keyboard to enter the user code displayed at the start of this procedure.
If you accidentally closed the code, leave the User Code field empty and select
Authenticate to display a new code.
Figure 61: Entering the user code (example)
8. Select Authenticate using your computer mouse.
9. You can now control the Scopia
®
XT Executive with your keyboard and mouse by selecting
the Scopia
®
XT Control icon in your taskbar:
For tips on getting started and using the Scopia
®
XT Control utility, see Navigating Menus
with the Keyboard and Mouse on page 73.
Related Links
Configuring Basic Settings with the Quick Setup Wizard on page 83
Setting Date and Time
About this task
You can set the date and time from either the endpoint or the web interface.
Procedure
1. Access the date and time settings. From the endpoint's main menu, select Configure >
General > Date & Time. From the XT Series web interface, select Basic Settings > Date -
Time.
2. Set the date and time, as described in Table 17: Configuring date and time settings on
page 94.
Configuring Basic Settings with the Quick Setup Wizard
April 2015 Avaya Scopia
®
XT Series Deployment Guide 93
Comments? infodev@avaya.com
 Loading...


