Chapter 6: Installing Modules 59
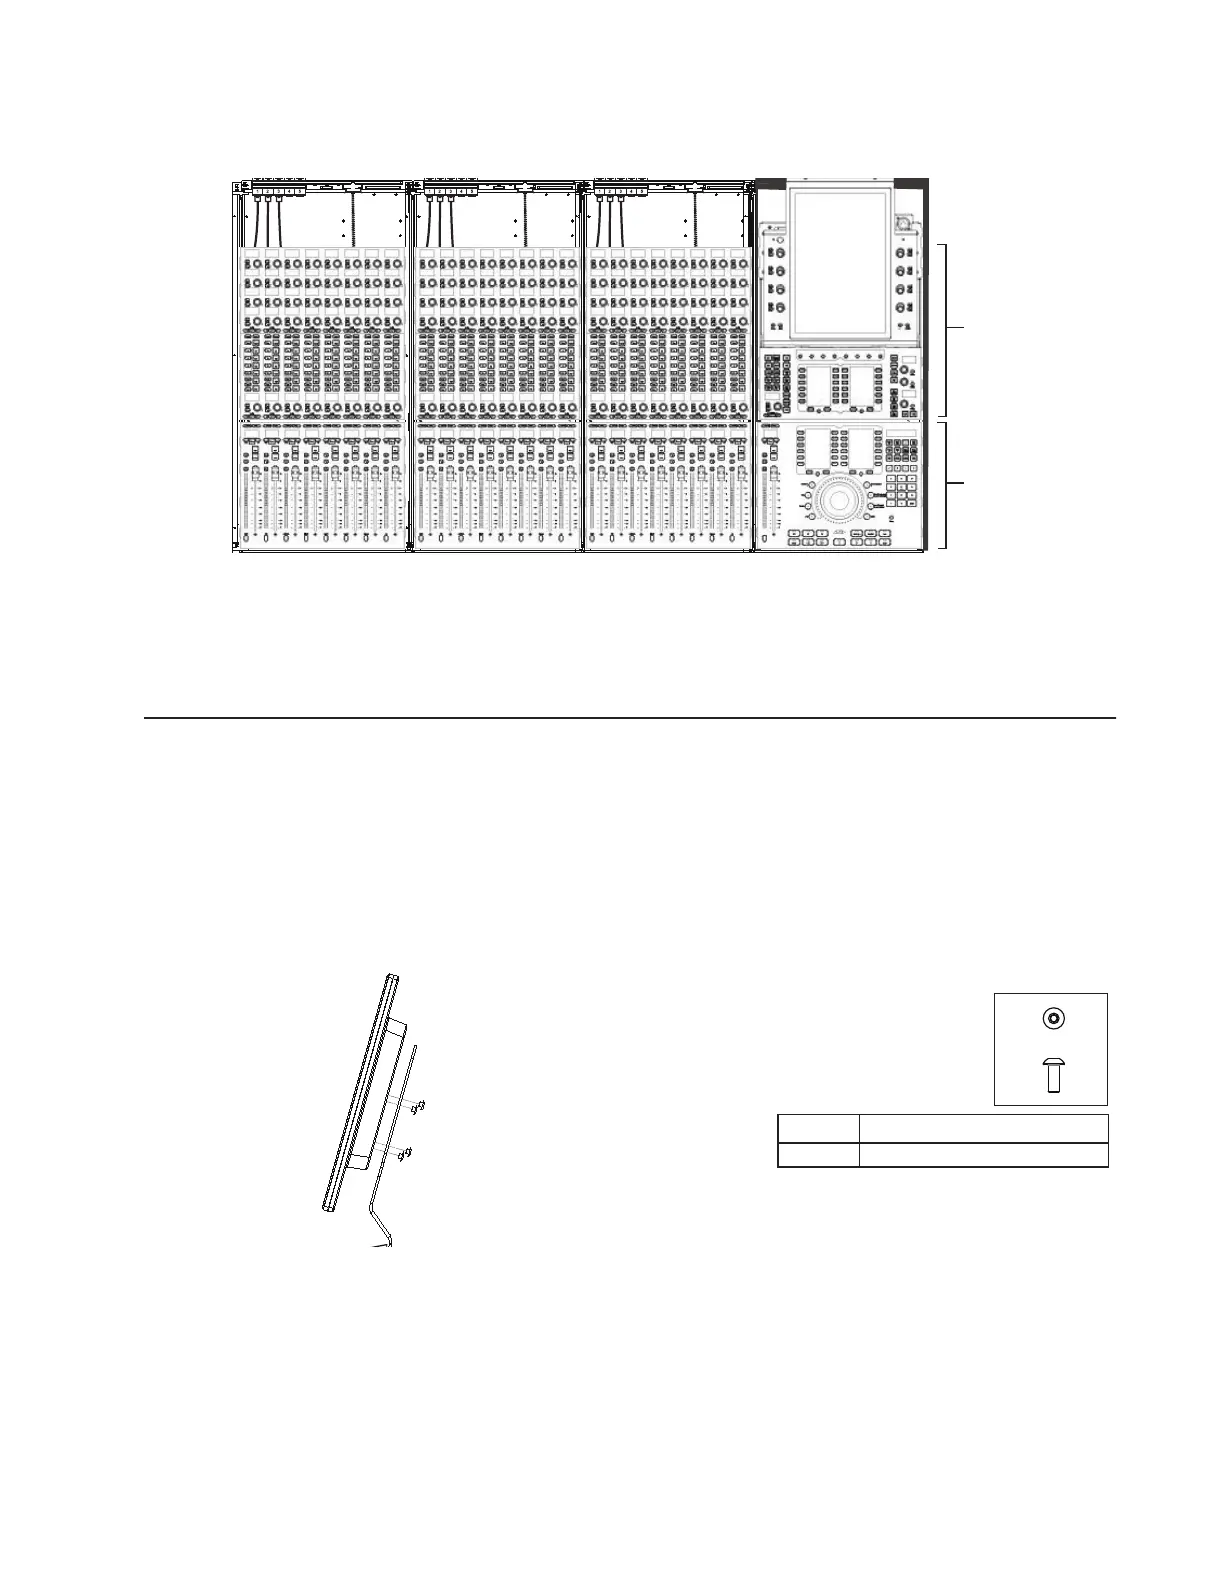
4 Carefully install the connected Master Module into its chassis (the Master Module occupies two slots). Make sure to orient it cor-
rectly by seating it fully against the top edge of the Automation Module. Do not fold or pinch its connected cables. Pay special
attention to the back panel connectors for Ethernet, power, and/or Talkback (optional).
Setting the Touchscreen Angle and Removing Protective Film
After installing the Master Module, set the Touchscreen to your desired viewing angle and lock it in place by tightening the thumb-
screw on the stand. Remove the protective film from the touchscreen.
Installing Display Modules
If your M40 or M10 Plus system includes Display Modules, attach them to the brackets you installed earlier (see “Installing Display
Module Mounting Brackets” on page 29).
To install a Display Module:
1 Locate the four rounded fasteners included with the Display Module that you unpacked when installing the mounting brackets.
2 There are two positions to mount the Display Module, low and high. Select a position, then attach the Display Module to a Dis-
play Module Mounting Bracket and secure it with the included mounting screws.
Figure 40. Master Module and Master Automation Module
Figure 41. Attaching a Display Module to its mounting bracket (side view)
Slot 1
Automation
Slots 2 and 3
Master Module
Module
Fastener
Tool
M4x10 BCHS (7760-30535-00)
M2.5 Hex

 Loading...
