Input Quantity Type Module Terminals Circuit
Optical Sensor 3 Safety Input Base
1. IN3, IN4
2.
IN5, IN6
3. IN7, IN8
Dual-Channel PNP
6. Go to the Functional View tab.
Tip: You may notice that not all inputs are placed on Page 1. There are two solutions to keep the
configuration on one page. Perform one of the following steps:
1. Add a Reference to the block located on a different page—click any of the empty
placeholders in the middle area, select Reference and select the block that is on the next
page. Only blocks from other pages can be added as a Reference.
2. Re-assign page—by default all inputs added on the Equipment tab are placed on the
Functional View tab to the
first available placeholder in the left column. However, inputs
can be moved to any location in the middle area. Move one of the blocks to any of the
placeholders in the middle area. Go to the page which contains the block that needs to
be moved. Select the block and change the page assignment below the Properties table.
7. Split M0:SO2:
a. Double-click M0:SO2 or select it and click Edit under the Properties table.
b. Click Split.
8. Add the following Function Blocks by clicking on any of the empty placeholders in the middle area of the Functional
View tab (see
Function Blocks
on page 80 for more information):
• Muting Block x 3 (Muting Mode: One Pair, ME (Mute Enable): Checked)
• Enabling Device Block (ES: Checked, JOG (Jog): Checked)
9. Add the following Logic Blocks by clicking on any of the empty placeholders in the middle area of the Functional
View tab (see
Logic Blocks
on page 78 for more information):
• AND with 2 input nodes
• AND with 4 input nodes
10. Connect the following to each Muting Block:
• 1 x Optical Sensor (IN node)
• 1 x Mute Sensor Pair (MP1 node)
• 1 x Mute Enable (ME node)
11. Connect Gate Switch x 2 to the AND block with 2 nodes.
12. Connect Muting Block x 3, and AND block with 2 nodes to the AND block with 4 nodes.
13. Connect one of the Muting Blocks to one of the split safety outputs (M0:SO2A or M0:SO2B) and one to the other
split safety output.
14. Connect the following to the Enabling Device Block:
• Emergency Stop (ES node)
• Enabling Device (ED node)
• AND block with four input nodes (IN node)
• Manual Reset (RST node)
• On-Off (JOG node)
15. Connect Enabling Device Block to the remaining Safety Output (M0:SO1).
16. Enable
EDM (External Device Monitoring)
in each of the Safety Output Properties windows.
17. Connect 1x External Device Monitoring input to each of the Safety Outputs.
The Sample Configuration is complete.
Note: At this point you may want to reposition the blocks in the Functional View tab for a better
configuration flow (see
Figure 50
on page 70).
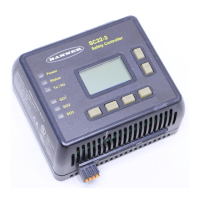
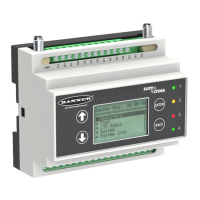
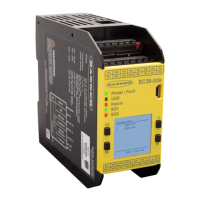
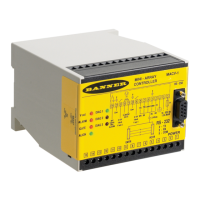
XS/SC26-2 and SC10-2 Safety Controllers
www.bannerengineering.com - Tel: + 1 888 373 6767 69
 Loading...