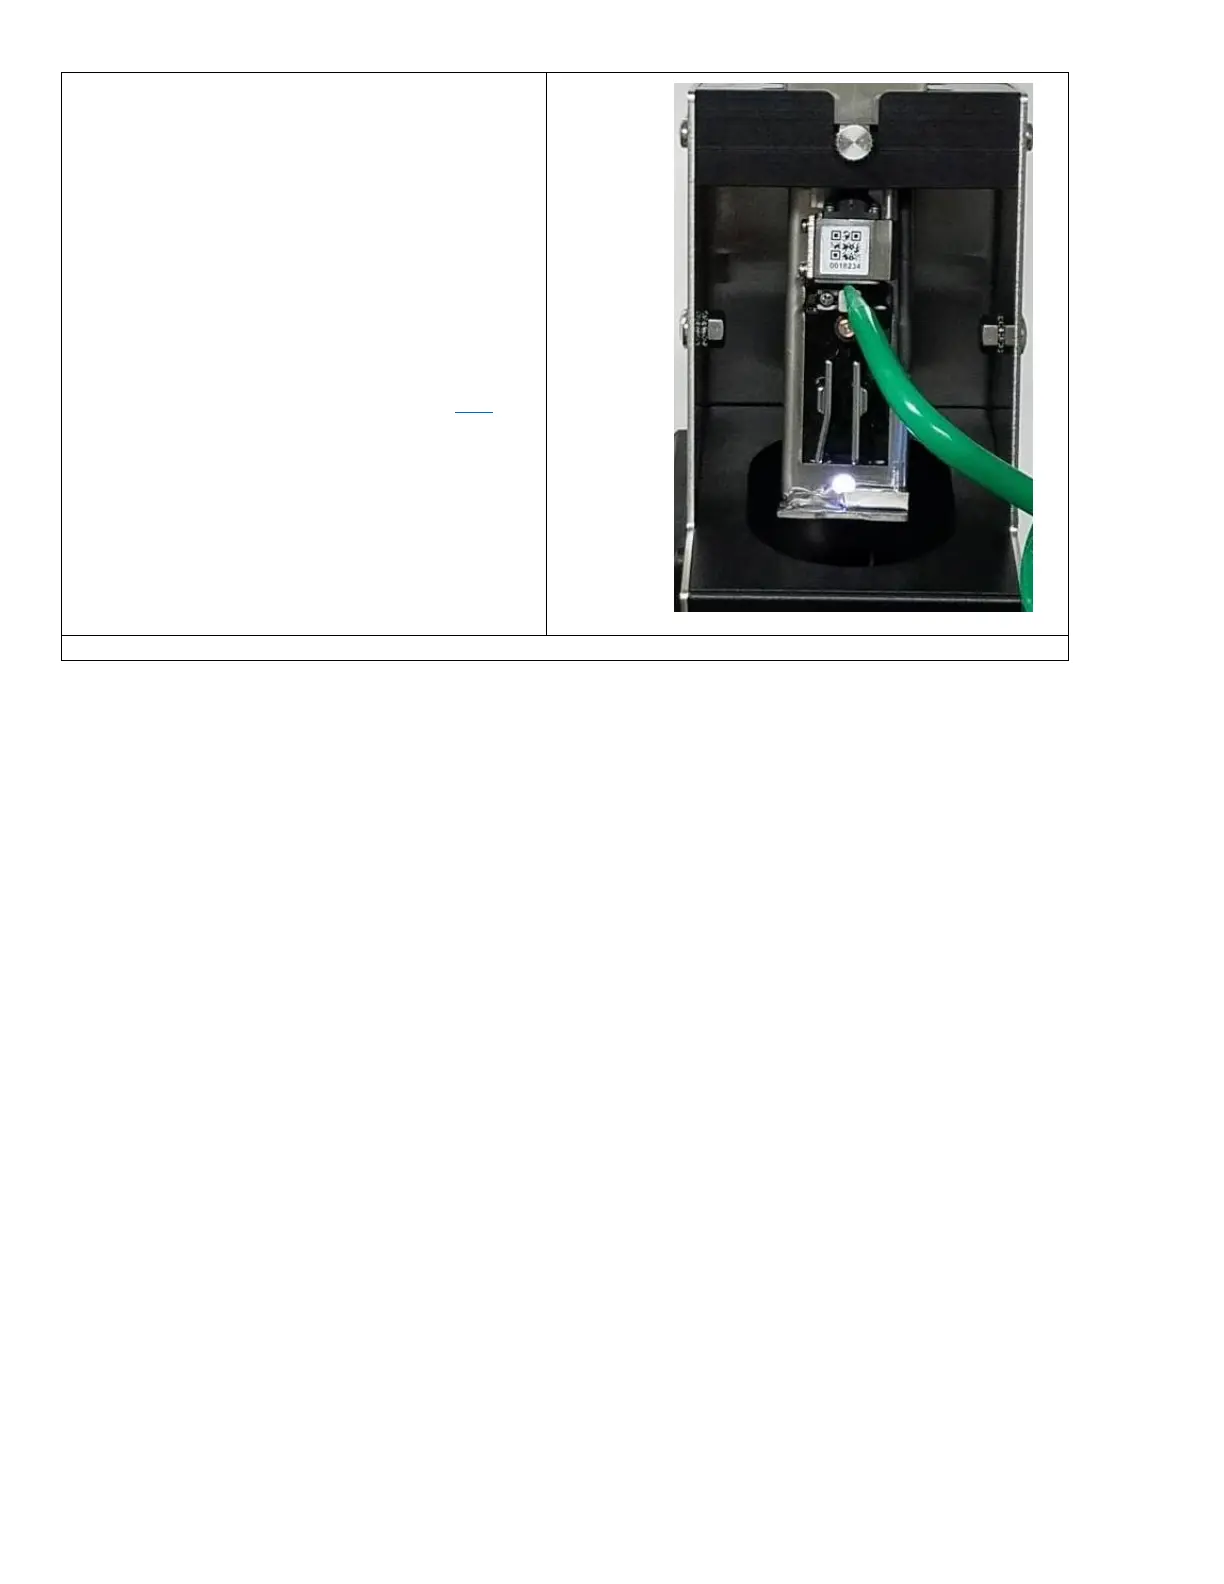
3. Using the cleaner for the ink type of the machine,
immediately spray makeup directly onto the nozzle
plate for 10 seconds. (50-100ml of cleaner).
4. Focus on cleaning the Drop Generator Nozzle,
Phase Detector, Charge Electrode Slot, High
Voltage Plates, Gutter, and Print Slot. See here for
Printhead Anatomy.
Advanced Nozzle Cleaning
47-0053-01 Cleaner, Nozzle Clean (4oz)
For dye based nozzles that are particularly difficult to clean, a special nozzle cleaning solvent is available.
The Cleaner, Nozzle Clean provides a consistent method to recovering/cleaning nozzles that have not been able to be
cleaned by other solvents. The Cleaner, Nozzle Clean is used to clean the nozzle when removed from the system as a
soak/clean agent.
NOTE: The Cleaner, Nozzle Clean is not compatible with inks or makeup solvents.
47-0056-01 Cleaner, Nozzle Pigment (1 Quart)
Cleaner for removal of pigmented inks, particularly helpful when cleaning Printhead on Opaque systems or for nozzles that
are clogged and caked with pigments. Also compatible with Dye based inks.
The Nozzle Pigment Cleaner, provides a consistent method to recovering/cleaning nozzles that have not been able to be
cleaned by other solvents. The Cleaner, Nozzle Pigment is used to clean the nozzle when removed from the system as a
soak/clean agent.
NOTE: The Cleaner, Nozzle Pigment is not compatible with inks or makeup solvents. The Cleaner, Nozzle Pigment is
particularly incompatible with the plastics used in BestCode pumps, so contact should be avoided.
Nozzle Cleaning instructions (Using 47-0053-01 or 47-0056-01)
1. Remove nozzle from drop generator and place into a small jar.
2. Cover nozzle with cleaning solution, ensure the nozzle is completely submerged.
3. Soak nozzle for 10 minutes.
4. Place jar with cleaner and nozzle into a bath of warm water in the Ultra-Sonic cleaner.
a. Cleaner is non-flammable.
5. Run the ultra-sonic bath for 2 minutes maximum.
6. Remove the nozzle from the cleaner and clean with a printer makeup before re-installing.