16
Seat Back Tilt: This adjustment allows the user to
select any of five seat back angle settings: 85,
70, 55, 40 and 25 degrees. To adjust the seat
back tilt, pull up on one of the Seat Back Tilt
Handles, located
on either side of the lower seat
back frame. Adjust the seat back to the desired
angle. Release the handle and ensure that
it locks into the selected detente. Record the new seat back tilt angle from the Seat Back Tilt
Indicator, located at the bottom on either side of the seat back frame.
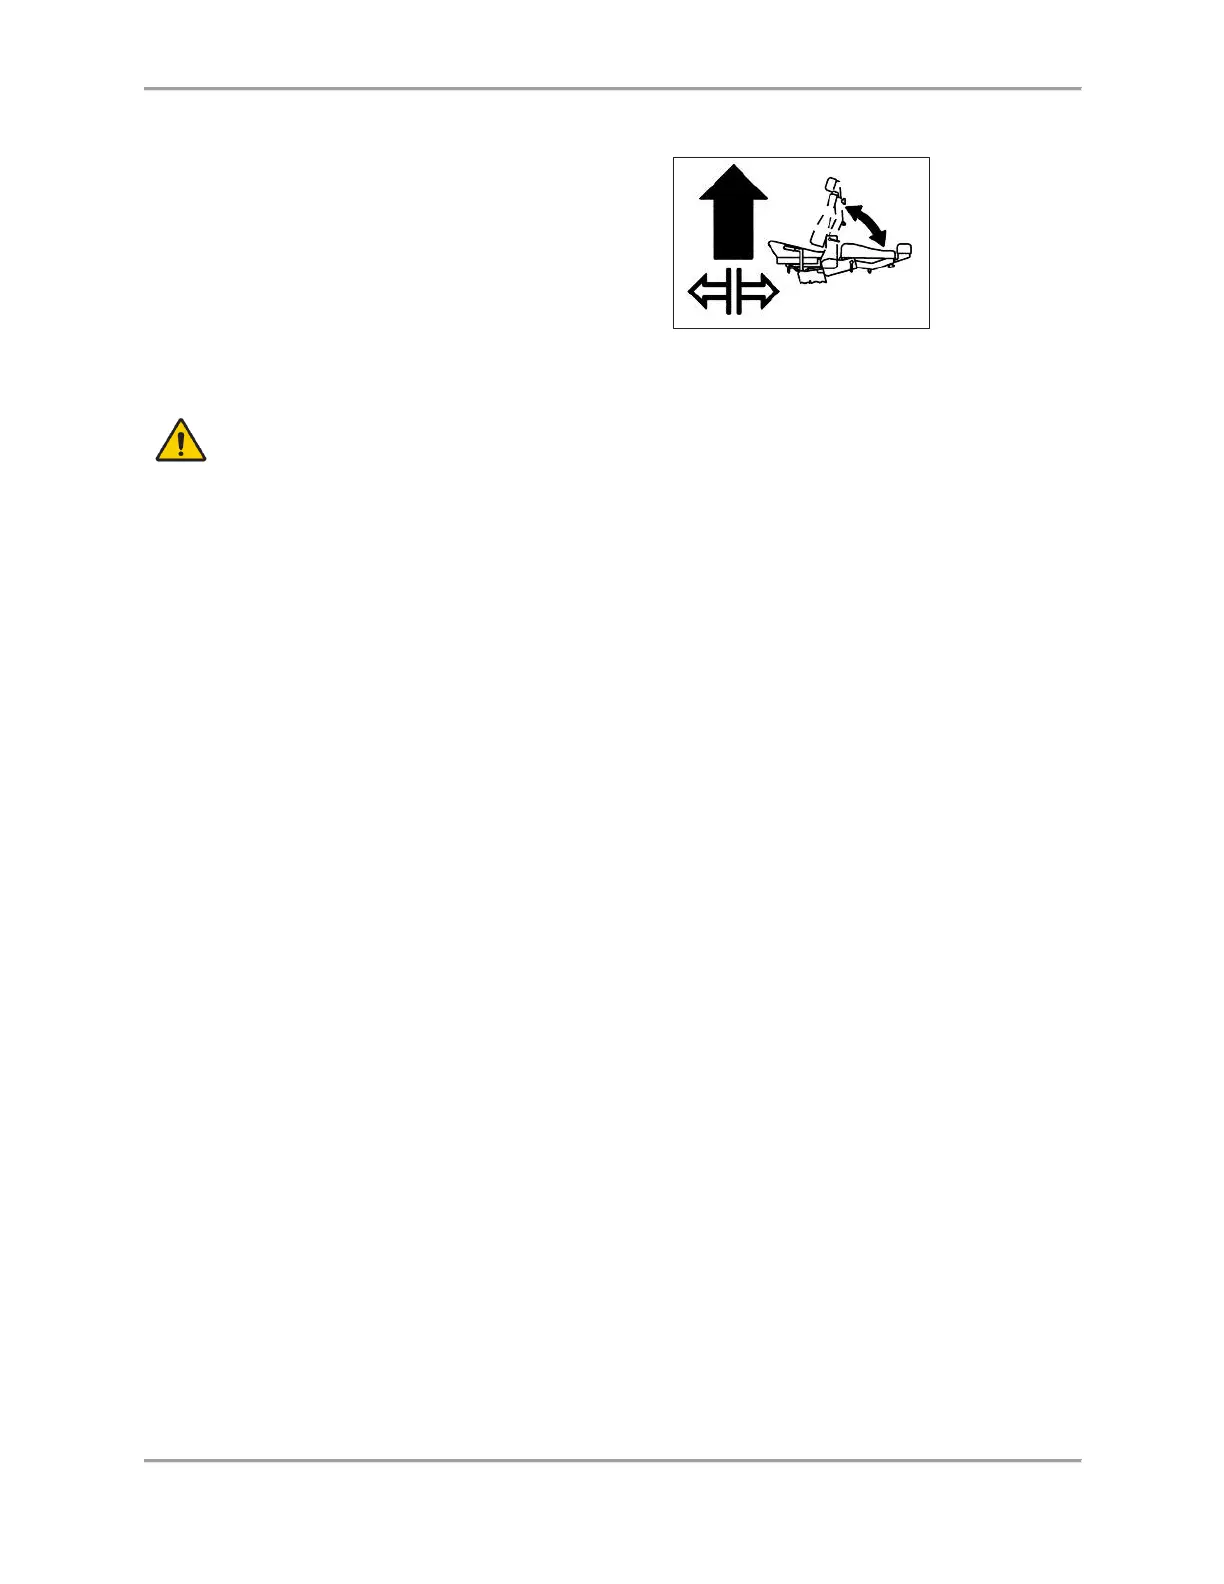
CAUTION: Use caution when adjusting the chair position with the patient in the chair. The
seat may be raised or lowered with the subject seated. Ensure that all wires are clear and
the patient is not strapped to any attachment before beginning to raise or lower it.
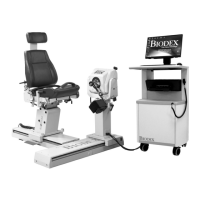
Seat Height (850-000): The motorized seat may be raised or lowered over a range of 14 inches.
To adjust the seat height, step down on the <▲> or <▼> Seat Height Foot Switches, located at
the rear base of the chair.
Seat Back Fore/Aft: Crank the Seat Back Fore/Aft Handle, located at the back of the seat base,
in a counterclockwise direction to move the seat back forward on the seat. Crank the handle in
a clockwise direction to move the seat back toward the rear of the seat. Record the new
fore/aft position from the Seat Back Fore/Aft Scale, located along each side of the seat frame
near the back belt buckle.
Cervical Support: To reposition the Cervical Support, use one hand to hold the support
ensuring it will not slip down. With the free hand, turn the Cervical Support Locking Knob in a
counterclockwise direction until loose. Lift up or push down on the support until the desired
position is achieved. Turn the locking knob in a clockwise direction until tight to secure the
support in place.
NOTE: Be sure to support the Cervical Support with one hand before loosening the locking
knob. If the Cervical Support is not supported, it may slide down and pinch a hand as the knob
is loosened.
Stabilization Straps: The Positioning Chair is fitted with a Thigh Strap and Buckle (secured
toward the front on each side of the seat frame), a Pelvic Strap and buckle (secured directly
beneath the Seat Back Tilt handle on the seat back frame,) and a pair of Shoulder Straps and
buckles (secured toward the back on each side of the seat base). To secure any strap, lift the
buckle handle, insert the strap into the buckle and pull until tight but not uncomfortable for
the patient. Press the buckle handle all the way down to secure.
Receiving Tubes: There are four receiving tubes located on the seat. Two are positioned at
the front of the seat, left and right of center. The remaining two tubes are located one on each
side of the seat. These tubes receive the T-Bar, Limb Support Pad and Footrest. Each receiving
tube has a locking knob. To loosen the knobs, turn them counterclockwise. To tighten the
knobs, turn them clockwise.