24
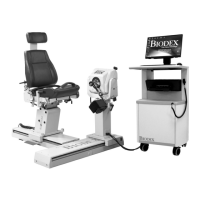
The Combination Ankle Attachment (#830-331) is color-coded to facilitate set ups for all ankle
patterns. To prepare the attachment for use, line up the appropriate color coded position tags
for footplate tilt and rotation with the red dots on the attachment shaft and Footplate Rotation
Lever. The example below is for Plantar/Dorsiflexion.
The footplate color codes are as follows:
White “P” to Red Dot: Plantar/Dorsiflexion Green “I” to Red Dot: Inversion/Eversion
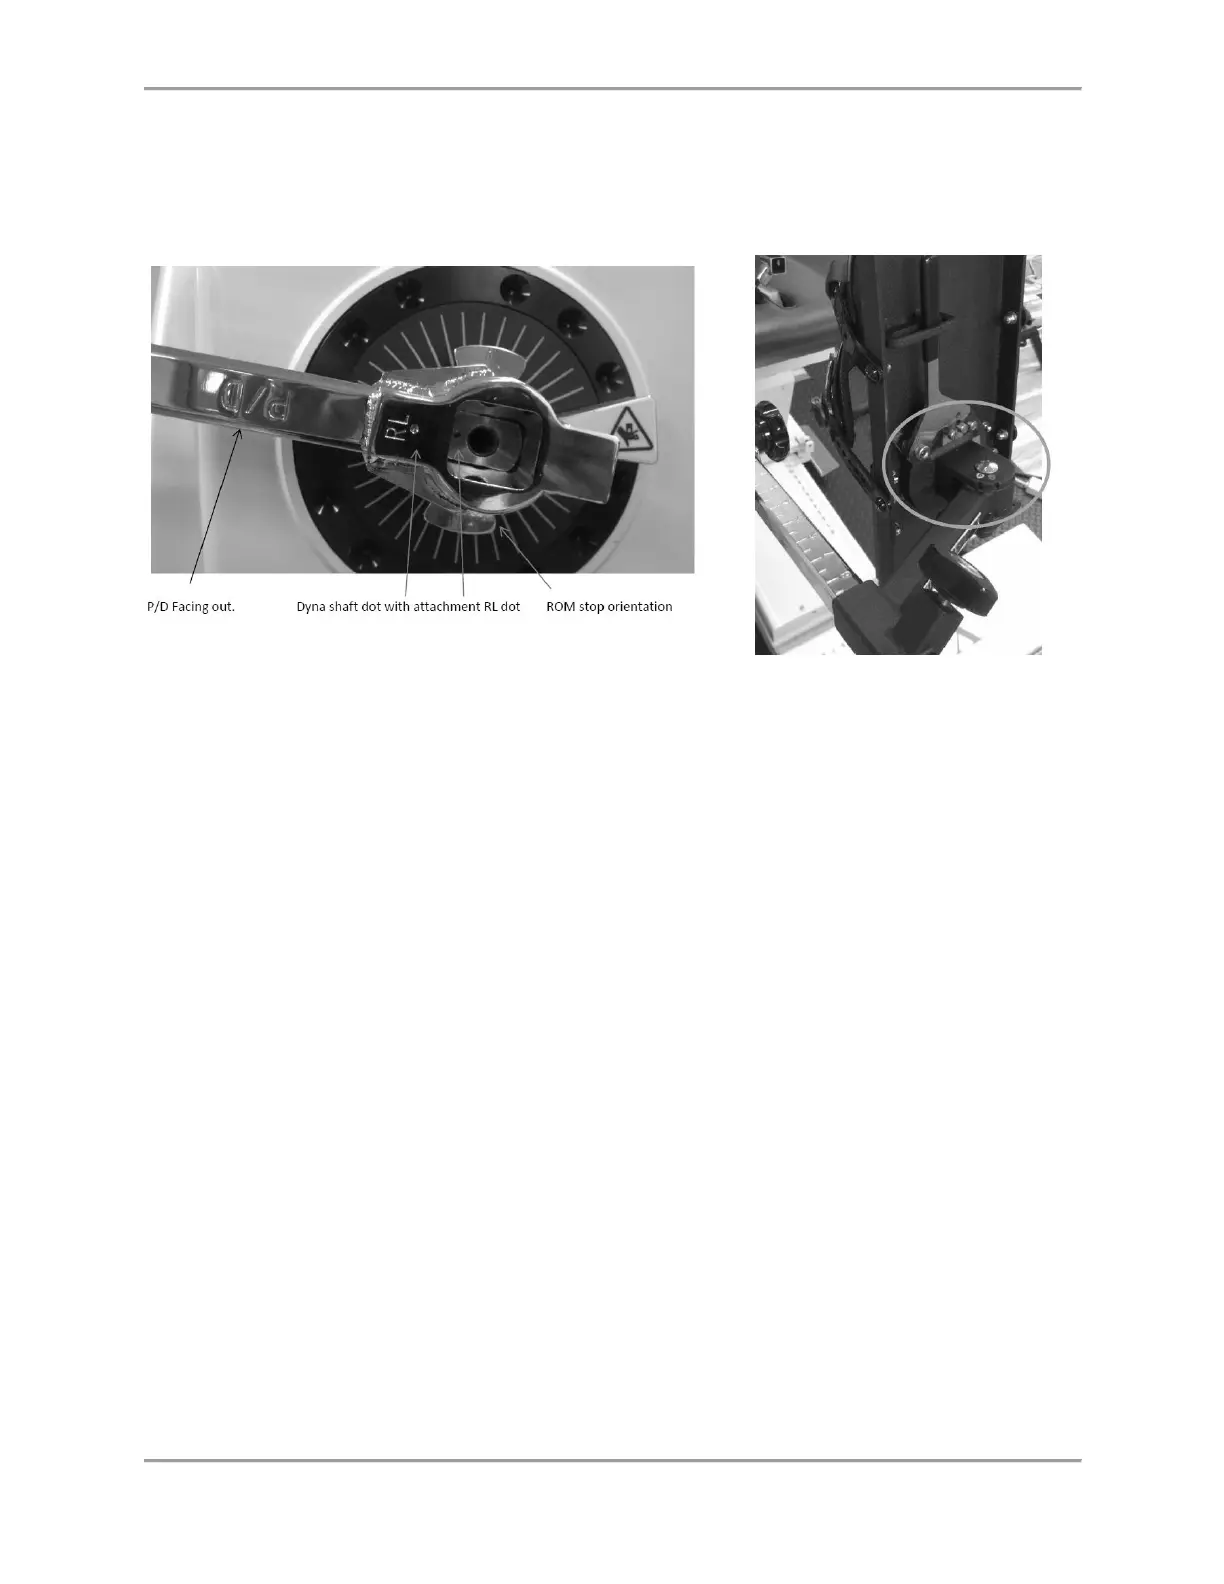
Adjusting the Footplate
Footplate Rotation: The Footplate Rotation Lever is located on the underside of the footplate
at the toe end. Pull the lever and hold it back while rotating the footplate until the desired
color-coded position tag aligns with the lever. Release the lever and ensure that the appropriate
foot-plate peg is secured in the lever’s notch.
Footplate Tilt: The Footplate Tilt Lever is located on the underside of the footplate just above
the color-coded position tags. Loosen the lever and tilt the footplate to align the color-coded
tags
per test or activity protocol by aligning the white “P” with the red dot for
plantar\dorsiflexion or the green “I” to the red dot for Inversion\Eversion. Tighten the lever to
secure the footplate in place.
Heel Cup Position: To facilitate alignment of the subject’s axis of rotation with the
dynamometer shaft, it may be necessary to raise or lower the patient’s foot on the footplate by
adjusting the heel cup position. The Heel Cup Release Buttons are located on the top side of
the footplate at the heel end. Squeeze the Heel Cup Release Buttons together and slide the
support cup to the desired position. Release the buttons to lock the heel cup in place.
Toe and Ankle Straps: Once all adjustments to the footplate have been completed, secure the
patient’s foot using both the foot and ankle straps. To secure the toe and ankle straps, thread
each strap through its respective buckle. Pull up on the narrow end of each buckle to ratchet the
strap tight. Pull up on the wide end of each buckle to loosen the strap.