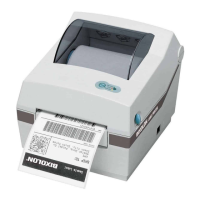
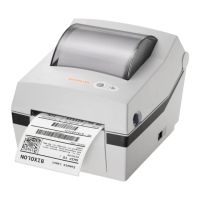
2-2-3 Self-Test
The self-test checks whether the printer has any problems.
(Users cannot perform this procedure if using the printer’s label peel-off option.)
If the printer does not function properly, contact an authorized dealer.
The self-test checks the following;
1) Make sure that the paper roll has been installed properly.
2) Turn on the power while holding down the FEED button. The self-test begins.
(It takes about 5 seconds before starting self-test)
3) The self-test prints the current printer configuration information.
4) After the self-test results are printed out, a printer enters into Print Standby Mode.
2-2-4 Stand-alone Configuration Mode
Various modes can be executed by using button and LED status.
Please take following steps to start Stand-alone Configuration Mode and execute each function.
1) Make sure that a printer is in Print Standby Mode.
2) Depress the Feed button for about 3 seconds, then the LED changes to orange color.
3) Release the Feed button, then the printer starts the Standalone Configuration Mode and
6 numbers of LED status changes sequentially.
4) When the Feed button is depressed at specific LED status, the corresponding operation
will be executed.
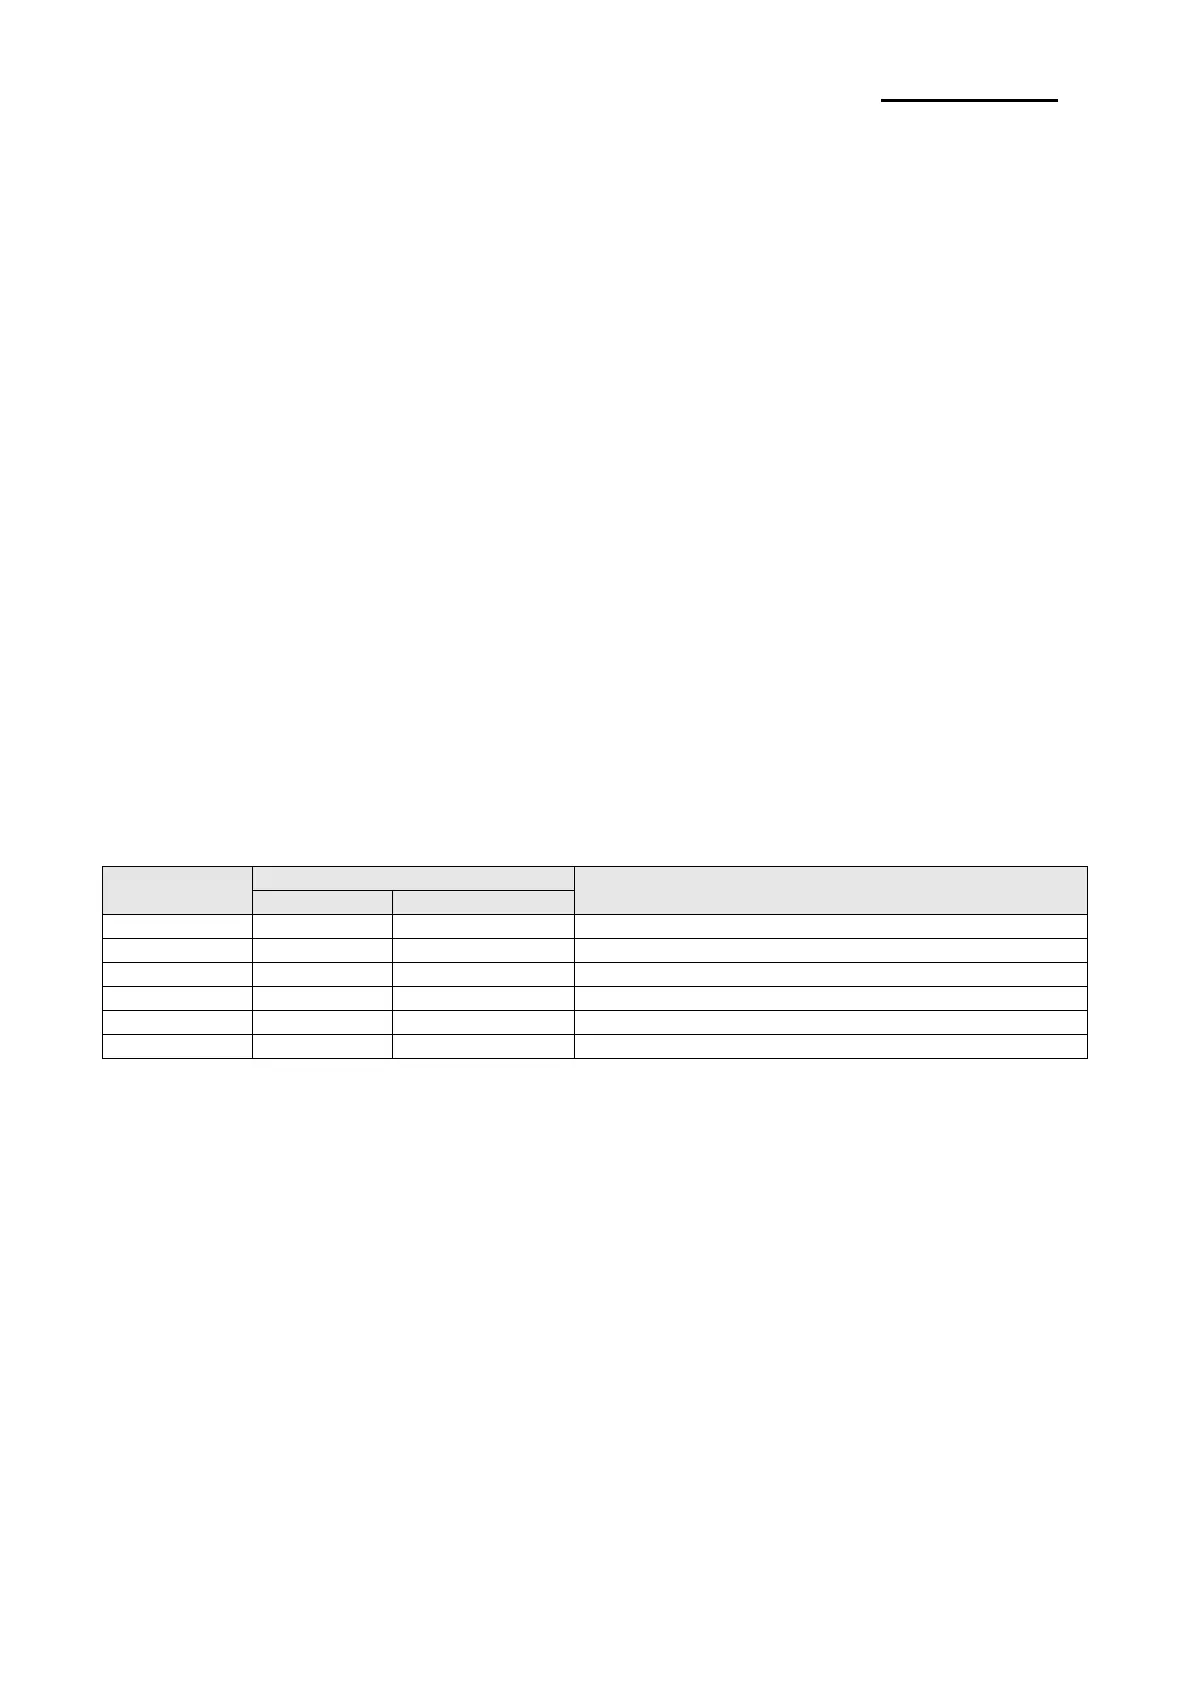
Function List of Stand-alone Configuration Mode.
Printer Operation
Factory Reset and Gap Calibration
Factory Reset and Black Mark Calibration
Toggle Power-up Auto-feed
* This information can be printed out by printer self-test.
2-2-5 Pause/Resume
Press FEED button to pause at the middle of labels printing.
1) Press FEED once.
2) Printer stops after on-going printing and Red LED becomes on.
3) Press FEED once again. It resumes printing in a queue.
Ver. 1.01
- 11 -