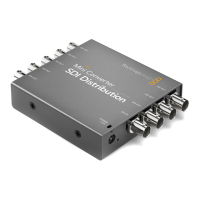
Plugging in Power
Plug in your power via your ATEM Converter’s mains power input using a standard IEC cable.
You can also connect a power adaptor or external camera battery to the 12V to 31V power input.
2 power inputs give you the option of a redundant power connection in case one supply fails or
is accidentally disconnected.
4321
OPTICAL OUT/IN
SDI OUT
L R
RL
USB 2.0
+12V BACKUP
POWER
OPTICAL OUT/IN
SDI OUT
L R
ANALOG AUDIO OUT OPTICAL OUT/IN
SDI OUT
L R
ANALOG AUDIO OUT OPTICAL OUT/IN
SDI OUT
L
OUT
R
ANALOG AUDIO OUTANALOG AUDIO OUT
IN
PGM SDI
OUT
IN
MIC
OUT
IN
H/PHONE
AES/EBU TALKBACK LOOPS
PUSH
LOCK TO TALK
PRESS TO TALK
Plug in power via the mains power, or the 12V or 31V power connector.
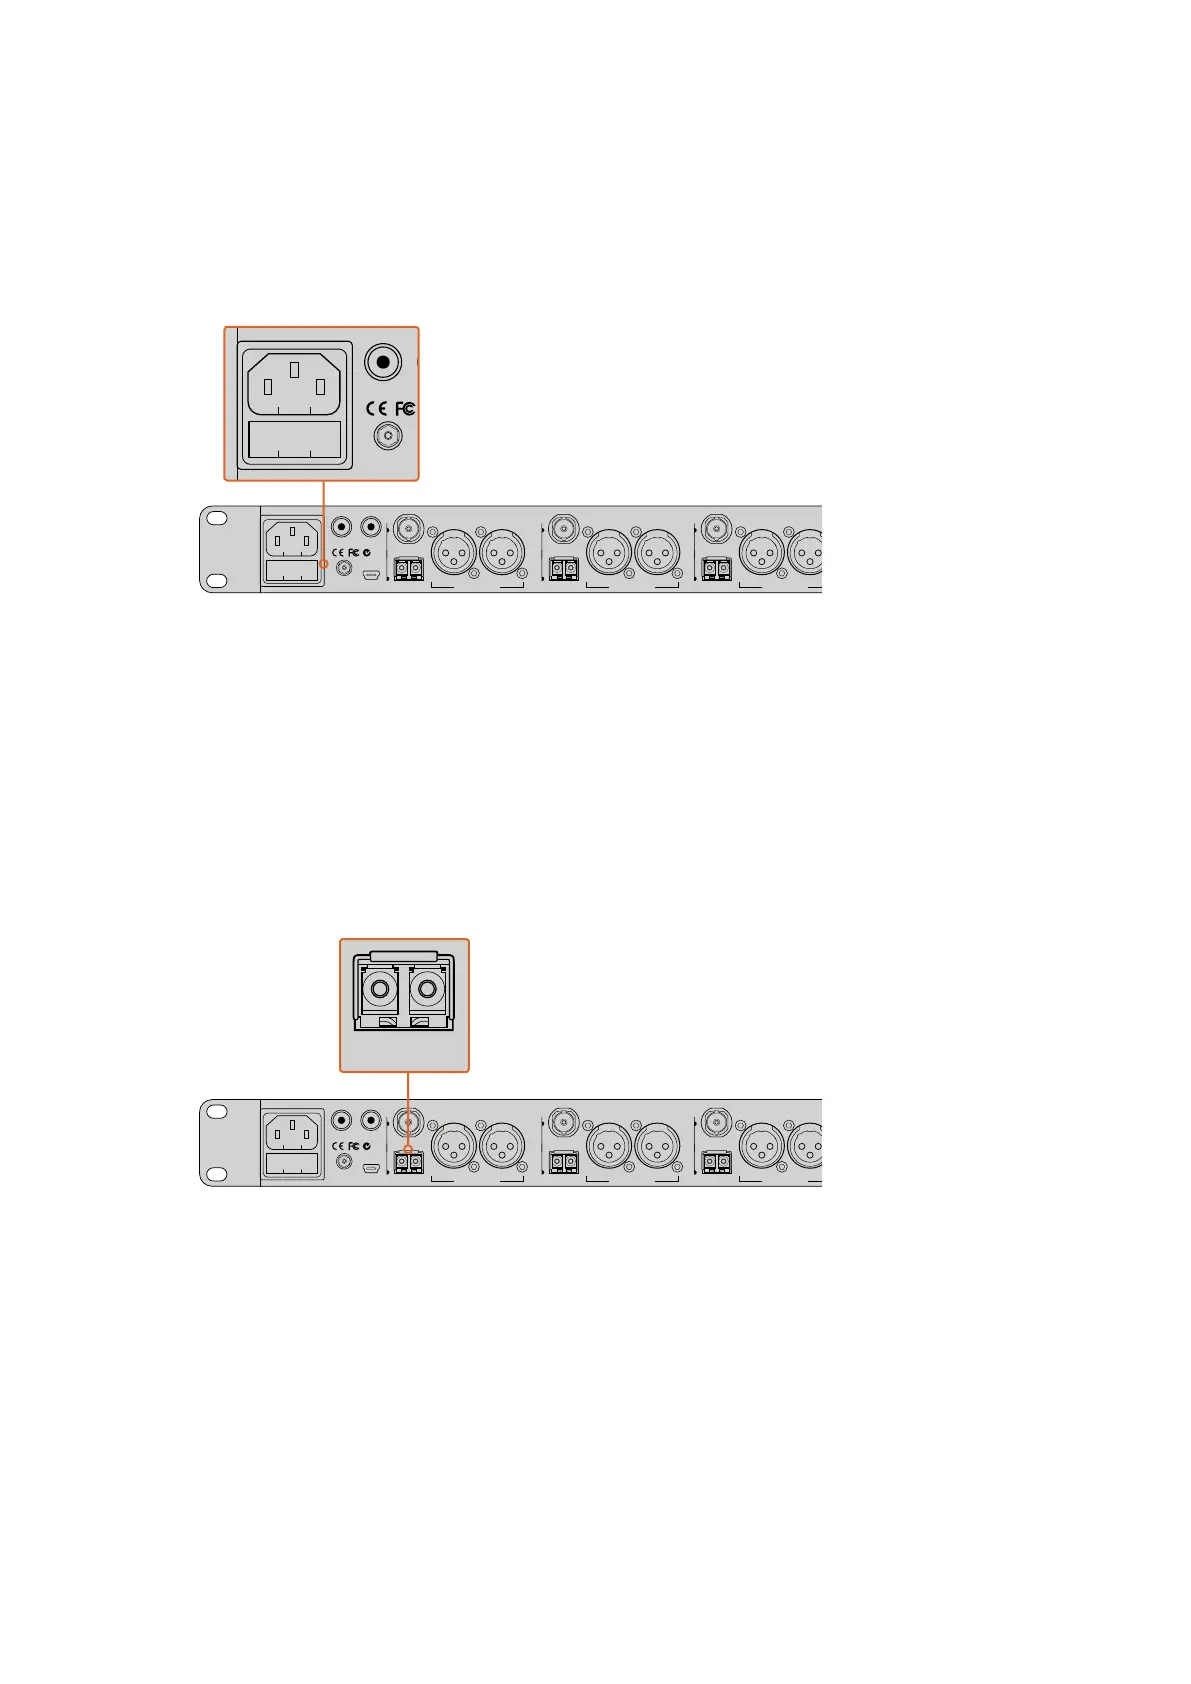
Plugging in Cameras
On the back panel of your ATEM Studio Converter, you’ll see 4 groups of connectors
numbered 1 to 4.
1 Plug your cameras into each optical fiber SFP module.
2 The second LC connector plugged into the SFP module is used to connect the program
video back to your Blackmagic Studio Camera or ATEM Camera Converter.
3 Plug each camera SDI output from your ATEM Studio Converter to the corresponding
camera inputs in your switcher.
4321
OPTICAL OUT/IN
SDI OUT
L R
RL
USB 2.0
+12V BACKUP
POWER
OPTICAL OUT/IN
SDI OUT
L R
ANALOG AUDIO OUT OPTICAL OUT/IN
SDI OUT
L R
ANALOG AUDIO OUT OPTICAL OUT/IN
SDI OUT
L
OUT
R
ANALOG AUDIO OUTANALOG AUDIO OUT
IN
PGM SDI
OUT
IN
MIC
OUT
IN
H/PHONE
AES/EBU TALKBACK LOOPS
PUSH
LOCK TO TALK
PRESS TO TALK
Plug your cameras into ATEM Studio Converter’s optical fiber inputs.
Plugging in the Program Feed from your Switcher
Connect the program output from your switcher to your ATEM Studio Converter’s ‘PGM SDI in’
connector. When connecting the program output from an ATEM switcher, tally is also
embedded in the SDI signal. This will enable tally lights when connected to
ATEM Camera Converters via optical fiber and Blackmagic Studio Cameras.
9Getting Started

 Loading...