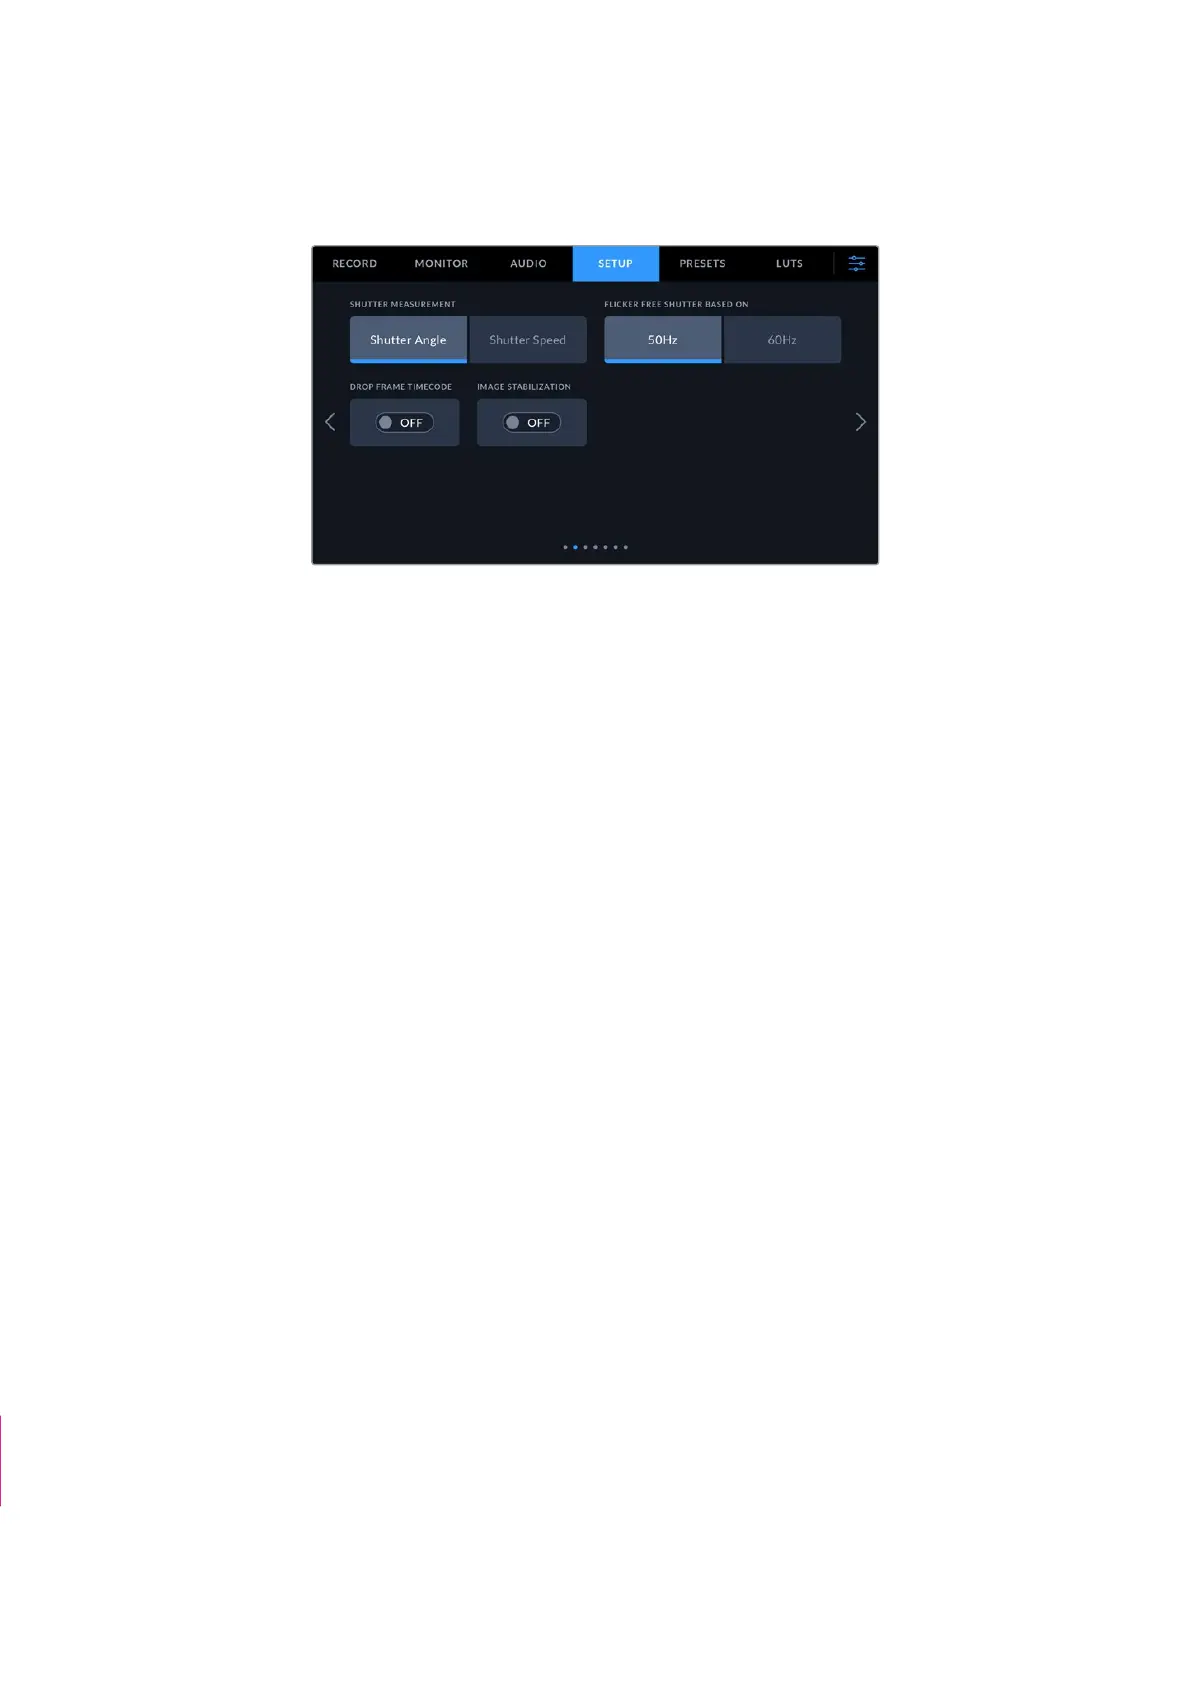
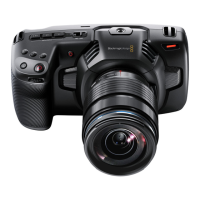
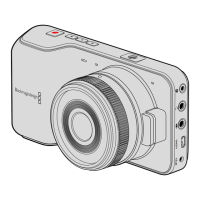
Setup Settings 2
The second page of your camera’s ‘setup’ tab contains the following settings.
Shutter Measurement
Use this setting to select whether to display shutter information as ‘shutter angle’ or
‘shutter speed’.
It’s worth mentioning that when using shutter angle, the shutter conforms to the frame rate.
For example, 180 degrees produces the same motion blur, no matter which frame rate you use.
When using shutter speed, however, the shutter is given an absolute value determined
independently of the frame rate, so the results differ if you change the frame rate.
Flicker Free Shutter Based On
Use this setting to change the mains power frequency your camera uses to calculate flicker free
shutter settings.
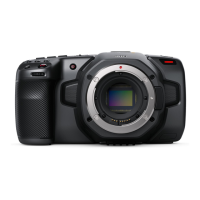
When shooting under lights, your shutter can affect the visibility of flicker. Your Blackmagic
Cinema Camera 6K automatically calculates a flicker free shutter value for your current frame
rate and suggests up to three shutter values. Shutter values are affected by the frequency of
the local mains power supply used to drive those lights. In most PAL countries, this frequency
is 50Hz, while NTSC countries typically use 60Hz power. Tap ‘50Hz’ or ‘60Hz’ to set the right
frequency for your region.
Characteristics of various light sources may still cause flicker even when using flicker free
shutter values. We recommend performing a test shoot when not using continuous lights.
Drop Frame Timecode
Use the ‘timecode drop frame’ option to use drop frame timecode when using NTSC project
frame rates of 29.97 and 59.94. Drop frame timecode skips a small number of frames from the
timecode at set intervals. This keeps your project timecode accurate despite each second not
containing a whole number of frames at NTSC frame rates.
Image Stabilization
Use the ‘image stabilization’ option to enable or disable image stabilization on lenses without a
physical switch.
When using gyro stabilization in DaVinci Resolve, ensure this setting is disabled. For more
information on how to use gyro stabilization, refer to the ‘gyro stabilization’ section later in
this manual.
“Display ND Filter
As” section removed
70Settings