THE
BODY
R
Section R.1
WINDSCREEN GLASS
Removing
(1) Lift the wiper blades from the glass.
(2) Prise
up
the end
of
the locking filler and pull
it
from the rubber channel.
(3) Push the glass from inside the car
and
ease the
rubber surround from the body.
Refitting
(4)
Fit
the rubber surround to the body
and
lubricate
with soap and water.
(5)
Fit
the glass into the lower channel
of
the rubber
and
lift the lip
of
the surround with the short peg
of
Service tool 18G 468, starting
at
one corner and
working round.
(6) Thread the locking filler through the handle
and
eye
of
the tool, insert the tool into the filler strip
channel and draw the tool along the channel,
feeding the filler through the tool. When cutting the
filler, allow a small overlap and then force the ends
into position.
•
4927
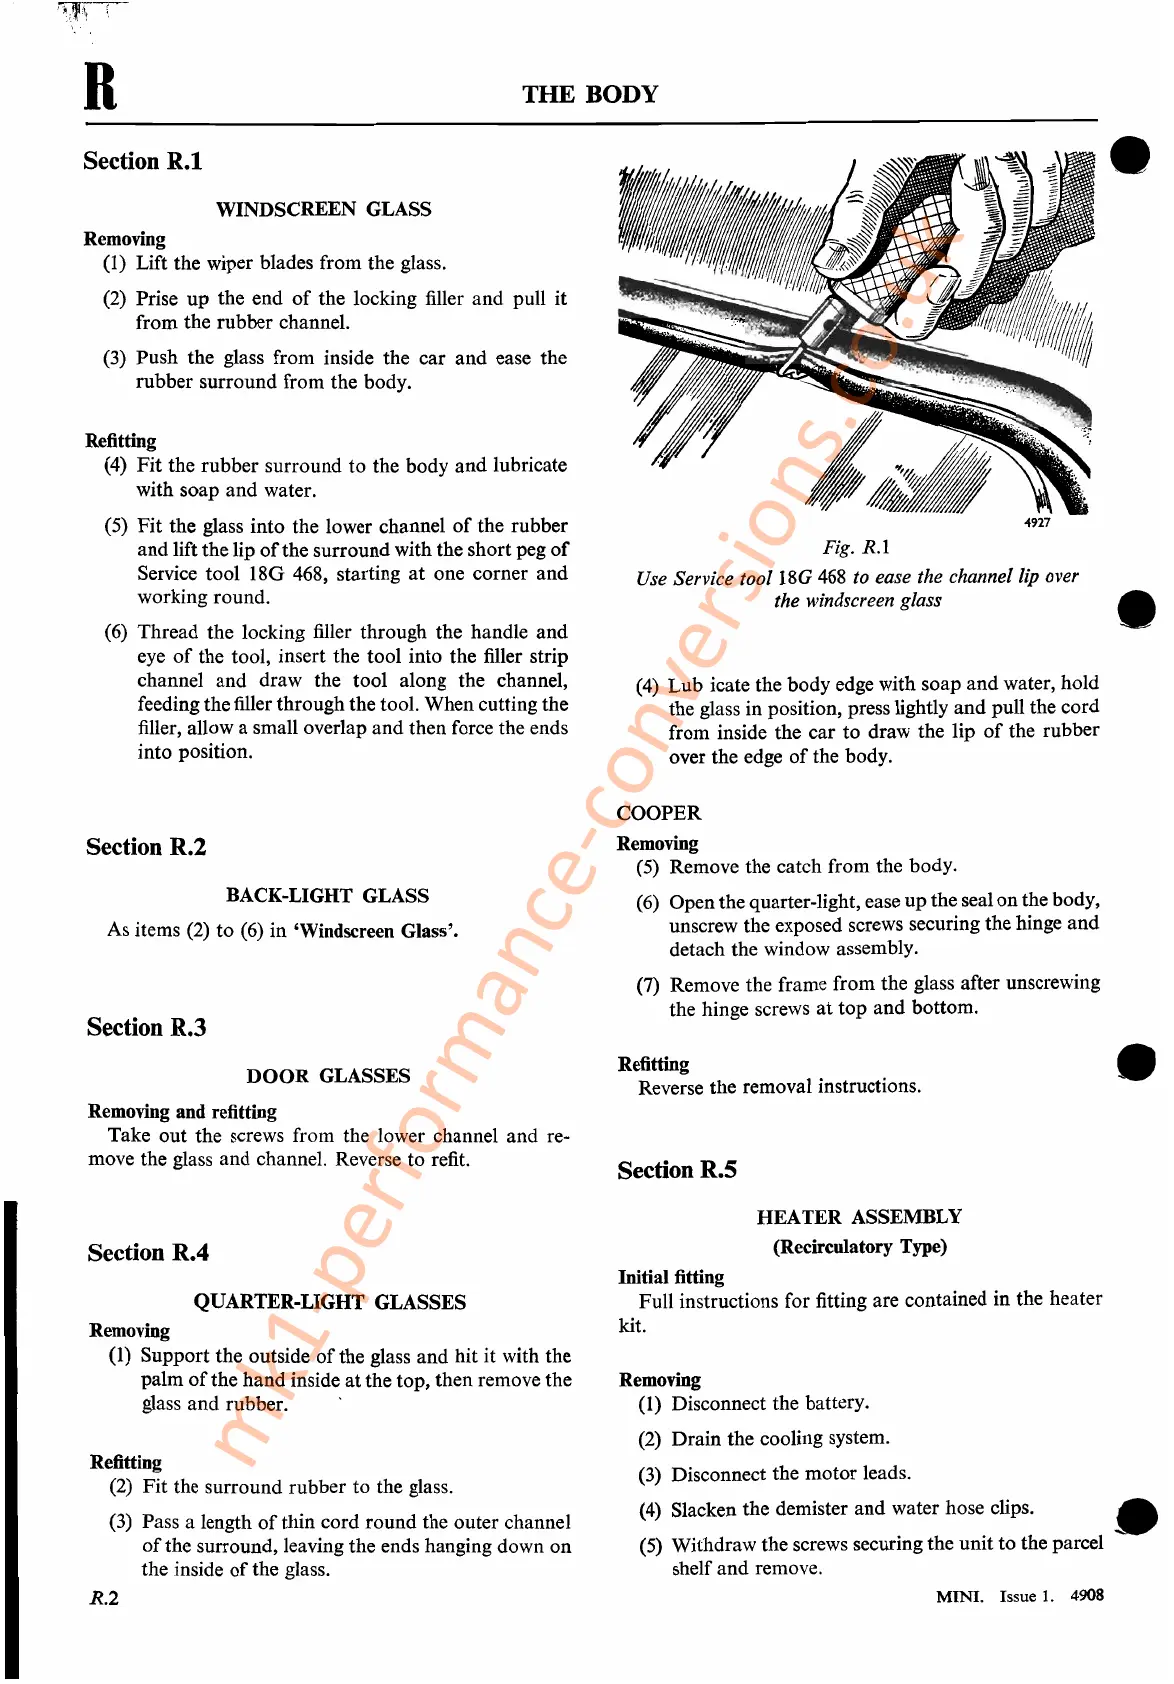
Fig. R.I
Use
Service
tool18G
468 to ease the channel lip over
the windscreen glass •
(4)
Lub
icate the body edge with soap
and
water, hold
the glass in position, press lightly
and
pull the cord
from inside the car
to
draw the lip
of
the rubber
over the edge
of
the body.
Section R.2
BACK-LIGHT GLASS
As items (2)
to
(6) in 'Windscreen Glass'.
Section R.3
DOOR
GLASSES
Removing and refitting
Take out the screws from the lower channel and re-
move the glass and channel. Reverse
to
refit.
Section R.4
COOPER
Removing
(5) Remove the catch from the body.
(6) Open the quarter-light, ease
up
the seal
on
the body,
unscrew the exposed screws securing the hinge
and
detach the window assembly.
(7) Remove the frame from the glass after unscrewing
the hinge screws
at
top
and
bottom.
Refitting
Reverse the removal instructions.
Section R.S
HEATER
ASSEMBLY
(Recirculatory Type)
•
QUARTER-LIGHT GLASSES
Removing
(1) Support the outside
of
the glass and hit it with the
palm
of
the
hand
inside
at
the top, then remove the
glass
and
rubber.
Refitting
(2)
Fit
the surround rubber to the glass.
(3) Pass a length
of
thin cord
round
the outer channel
of
the surround, leaving the ends hanging down
on
the inside
of
the glass.
R.2
Initial fitting
Full instructions for fitting are contained in the heater
kit.
Removing
(1) Disconnect the battery.
(2)
Drain
the cooling system.
(3) Disconnect the
motor
leads.
(4) Slacken the demister
and
water hose clips. •
(5) Withdraw the screws securing the
unit
to
the parcel
shelf
and
remove.
MINI.
Issue
1.
4908
mk1-performance-conversions.co.uk
 Loading...


