THE
BODY
R
• Refitting
(6)
Reverse the removal instructions.
(7)
Open the heater tap on the rear
of
the engine and
refill the cooling system.
(8)
Test the heater;
if
the water return hose does not
warm up in a
few
minutes, there may be
an
air lock.
(9)
To clear, disconnect the return hose from the
lower radiator hose and plug the hole.
(10)
Extend the return hose to reach the radiator filler.
(11)
Start up and note the flow
of
water from the return
hose; when it is free from bubbles, switch off and
reconnect.
Section R.6
ROOF
LINER
•
Removal
(1)
Disconnect the battery and remove the
roof
light.
(2)
Mark
the position
of
the rear edge
of
the front
liner
on
the cant rail.
(3)
Grip the outer edges
of
the liner and pull it back-
wards and inwards.
(4)
Mark
the position
of
the front edge
of
the rear liner
and pull it forwards and inwards.
Refitting
Reverse the removal instructions.
Section R.7
4928
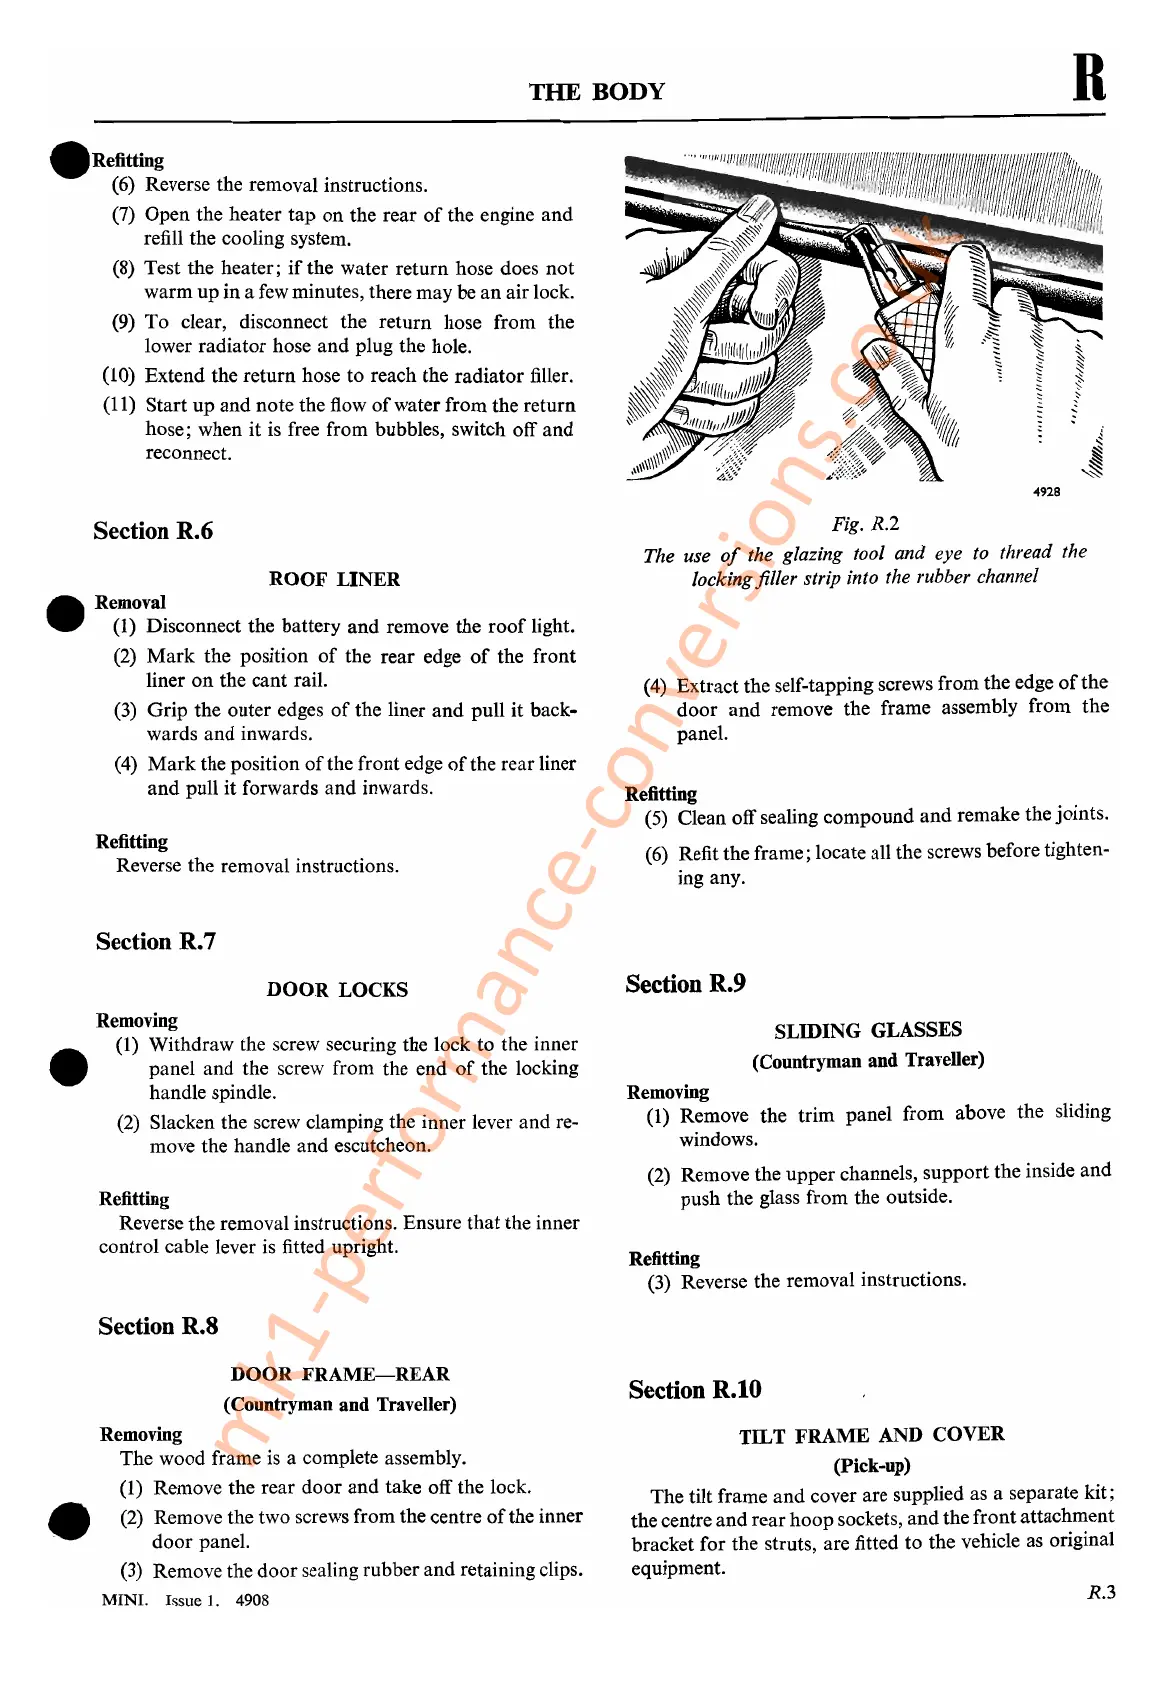
Fig. R.2
The use
of
the glazing tool and eye to thread the
locking filler strip into the rubber channel
(4)
Extract the self-tapping screws from the edge
of
the
door and remove the frame assembly from the
panel.
Refitting
(5)
Clean off sealing compound and remake the joints.
(6)
Refit the frame; locate all the screws before tighten-
ing any.
•
DOOR
LOCKS
Removing
(1)
Withdraw the screw securing the lock to the inner
panel and the screw from the end
of
the locking
handle spindle.
(2)
Slacken the screw clamping the inner lever and re-
move the handle and escutcheon.
Refitting
Reverse the removal instructions. Ensure that the inner
control cable lever is fitted upright.
Section R.S
DOOR
FRAME-REAR
(Countryman and Traveller)
Section R.9
SLIDING
GLASSES
(Countryman and Traveller)
Removing
(1) Remove the trim panel from above the sliding
windows.
(2)
Remove the upper channels, support the inside and
push the glass from the outside.
Refitting
(3)
Reverse the removal instructions.
Section
R.I0
•
Removing
The wood frame
is
a complete assembly.
(1)
Remove the rear door and take off the lock.
(2)
Remove the two screws from the centre
of
the inner
door panel.
(3)
Remove the door sealing rubber and retaining clips.
MINI.
Issue
1.
4908
TILT
FRAME
AND COVER
(Pick-up)
The tilt frame and cover are supplied as a separate kit;
the centre and rear hoop sockets, andthe front attachment
bracket for the struts, are fitted to the vehicle as original
equipment.
R.3
mk1-performance-conversions.co.uk